
Effectively using tent pegs is crucial for a stable and secure camping setup. This guide explains the different types of tent pegs available and provides step-by-step instructions on how to properly insert and utilize them in various ground conditions. Learn how to choose the right pegs for your needs and troubleshoot common issues for a worry-free outdoor adventure.
Camping is a fantastic way to connect with nature, but a poorly secured tent can quickly turn a dream trip into a damp, frustrating ordeal. The unsung heroes of a stable campsite? Tent pegs. These simple yet essential pieces of gear are your primary defense against wind, rain, and general instability. But how do you use them effectively?
This comprehensive guide will equip you with all the knowledge you need to confidently use tent pegs. We’ll delve into the different types of pegs, how to choose the right ones for your needs, and provide clear, step-by-step instructions for securing your tent like a pro. By the end, you’ll be an expert in pegging, ensuring your shelter remains steadfast no matter what the elements throw at you.
Key Takeaways
- Peg Types Matter: Understanding the variety of tent pegs, from standard to specialized, helps you choose the best option for different ground types and weather conditions.
- Site Selection is Key: Always scout your camping spot for level ground and avoid areas prone to flooding or strong winds to ensure your tent stays put.
- Proper Insertion is Crucial: Angling tent pegs at 45 degrees away from the tent and hammering them in fully provides maximum holding power.
- Use All Stake Loops: Utilize every guy line and stake loop on your tent for optimal stability and wind resistance.
- Ground Conditions Dictate Technique: Adapt your pegging strategy for soft ground, rocky soil, sand, or frozen earth, using techniques like angled insertion or specialized pegs.
- Reinforce for Tough Weather: In high winds, consider using extra pegs, heavier-duty stakes, or adding rocks for enhanced security.
Why Tent Pegs Are So Important
Imagine this: you’ve set up your tent, you’re ready to relax, and then a sudden gust of wind whips through your campsite. If your tent isn’t properly secured with robust tent pegs, it could lift off, tear, or even blow away. Tent pegs anchor your tent to the ground, providing the stability it needs to withstand wind, rain, and the general wear and tear of outdoor life. They are the foundation of your temporary home, and getting them right is paramount for comfort and safety.
Understanding Different Types of Tent Pegs
Not all tent pegs are created equal. The type of peg you use can significantly impact its holding power and suitability for different terrains. Familiarizing yourself with the common types will help you make informed choices.
Standard J-Hooks and Shepherds Crooks
These are the most common pegs you’ll find included with most tents. They are typically made of metal (steel or aluminum) and feature a hook at the top to secure guy lines.
- Pros: Lightweight, inexpensive, and generally effective in firm soil.
- Cons: Can bend or break easily in rocky or very hard ground. They can also pull out easily in very soft soil.
Screw-In Pegs
As the name suggests, these pegs are designed to be screwed into the ground. They have a corkscrew-like design.
- Pros: Excellent holding power in a variety of soil types, especially soft ground, sand, and even some loose gravel. They are less likely to bend than standard pegs.
- Cons: Can be harder to insert, especially in very compacted or rocky soil. They are often heavier and bulkier than standard pegs.
Rock Pegs (V-Pegs or Y-Pegs)
These pegs have a wider, flatter profile, often shaped like a “V” or “Y”. They are designed to offer more surface area and better grip in softer or sandy soils.
- Pros: Good for sand and very soft ground where standard pegs would pull out.
- Cons: May not be as effective in hard-packed soil.
Pegs for Hard Ground (Hammer-In or Steel Pegs)
These are typically made of solid, heavy-duty steel and are designed to be hammered into very hard or rocky ground. They often have a rounded or pointed end and a secure hook or loop at the top.
- Pros: Extremely durable and capable of penetrating tough surfaces.
- Cons: Heavy and can be difficult to drive in without a sturdy hammer.
Snow Pegs
Specifically designed for camping in snow, these are wide and flat, acting like skis to distribute the weight and prevent sinking.
- Pros: Essential for snow camping, providing excellent stability on snow.
- Cons: Useless on any other terrain.
Inflatable Pegs
These are less common but exist. They are essentially inflatable bags that you fill with sand or snow to anchor your tent.
- Pros: Very lightweight and useful in conditions where traditional pegs are impossible to use (e.g., pure sand dunes, snowfields).
- Cons: Require a source of material to fill them, and their holding power can be less predictable.
Choosing the Right Tent Pegs
The best tent pegs for you depend on several factors:
Ground Type
- Firm Soil: Standard J-hooks or shepherds crooks are usually sufficient.
- Soft Soil/Sand: Screw-in pegs, rock pegs (V/Y shapes), or wider pegs are your best bet.
- Rocky/Hard Ground: Heavy-duty steel pegs designed for hammering are necessary.
- Frozen Ground: Specialized cold-weather pegs or very robust steel pegs might be needed.
- Snow: Snow pegs are essential.
Weather Conditions
If you anticipate strong winds, you’ll need pegs with superior holding power. Screw-in pegs or extra-long, heavy-duty pegs are advisable. For rainy conditions, ensure your pegs can penetrate the ground effectively even when it’s saturated and soft.
Tent Type
Larger, heavier tents, or tents designed for extreme weather, often require more robust pegging solutions than smaller, lightweight backpacking tents. Some tents may come with specific peg recommendations. If you’re looking for a tent that can handle various conditions, consider exploring options like the best pop-up tent for wind or a durable camping backpacking tent.
Weight and Portability
If you’re backpacking, every ounce counts. Lighter pegs made of aluminum are a good choice, but be prepared for them to be less durable than steel.
How to Use Tent Pegs: Step-by-Step
Now that you understand the types, let’s get down to the practicalities of pegging your tent securely.
Step 1: Choose Your Campsite Wisely
Before you even think about pegs, select a good spot for your tent.
- Look for Level Ground: A flat surface is more comfortable and helps water drain away from your tent.
- Avoid Low-Lying Areas: These can fill with water if it rains.
- Consider Wind Direction: Position your tent to take advantage of natural windbreaks, like bushes or rocks, but avoid camping directly under large, dead trees or branches.
- Check for Obstructions: Look out for roots, rocks, or ant nests that might interfere with peg insertion or cause discomfort.
Step 2: Lay Out Your Tent
Unpack your tent and lay the footprint or groundsheet flat on your chosen spot. Then, unfold the tent itself and position it over the groundsheet. This ensures your tent is oriented correctly and you can see where all the guy lines and loops will need to be anchored.
Step 3: Identify Pegging Points
Your tent will have several key areas that require pegging:
- Corners: The main structure of your tent needs to be anchored securely at the base.
- Guylines: These are the ropes that extend from the tent’s poles or fabric to provide additional tension and stability. They are crucial for wind resistance.
- Vestibules: The covered areas outside your main tent door often have their own pegging points to keep them taut and prevent flapping.
Step 4: Insert Tent Pegs
This is where the magic happens. The technique for inserting pegs is vital for their holding power.
For Standard Pegs (J-Hooks/Shepherds Crooks)
Angle is Key: Always insert standard pegs at an angle. The ideal angle is approximately 45 degrees relative to the ground.
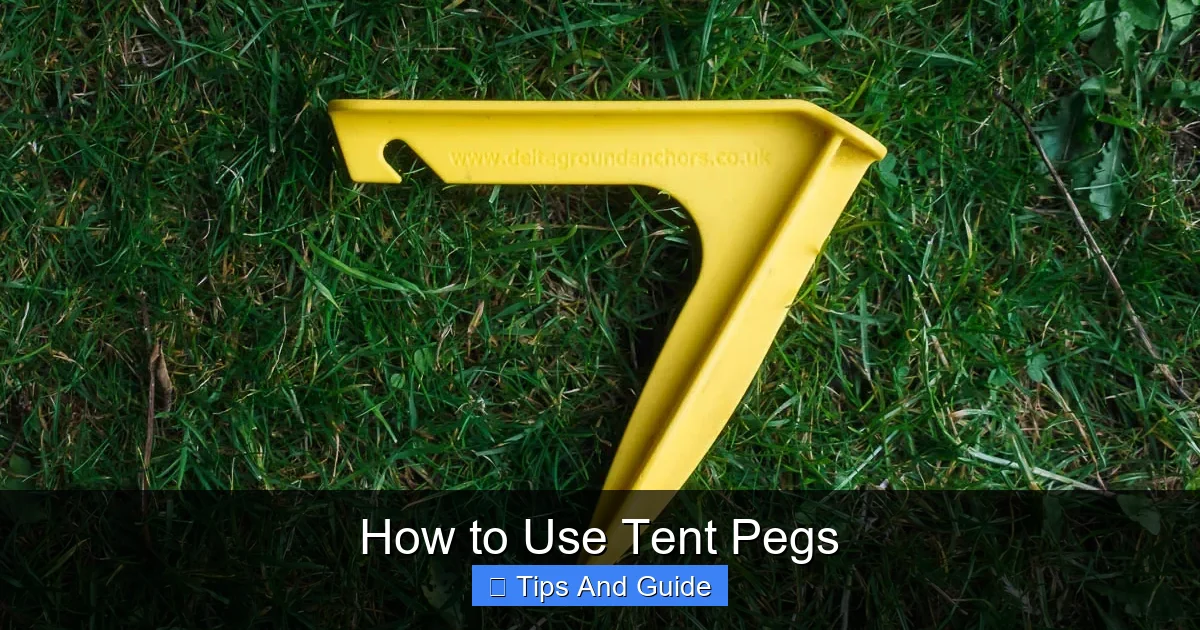
Visual guide about How to Use Tent Pegs
Image source: i1.wp.com
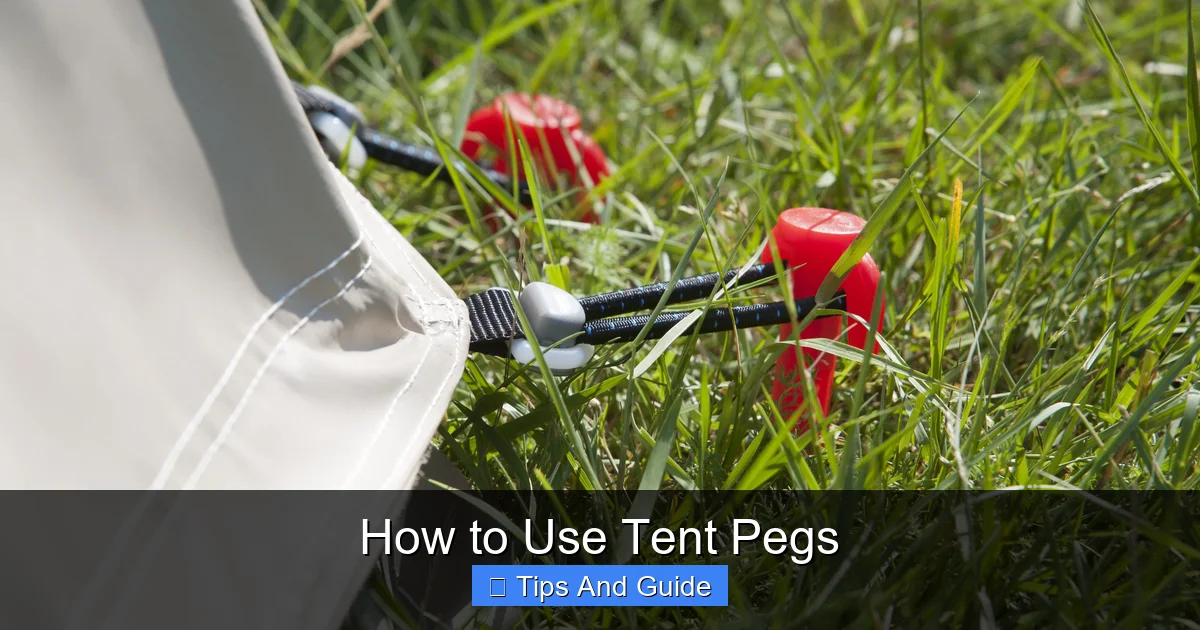
Visual guide about How to Use Tent Pegs
Image source: cdn.mos.cms.futurecdn.net
Visual guide about How to Use Tent Pegs
Image source: cdn.snowys.com.au
Direction Matters: The angle should be directed *away* from the tent. This way, when the wind pulls on the guylines, it pulls the peg deeper into the ground rather than pulling it upwards and out.
Hammering Technique: Use a mallet or the back of a sturdy boot to strike the peg’s head. Hammer it in firmly until only the hook or loop is visible above ground. Never use a rock to hammer pegs, as this can damage the pegs and the ground.
For Screw-In Pegs
Start the Screw: Begin by placing the pointed end of the peg into the ground at the desired location. Gently twist the peg to start it digging into the soil.
Twist and Push: Continue twisting the peg. You may need to apply downward pressure. For very soft ground, you might find it easier to get a good grip by using a tool or by attaching a short rope to the peg for leverage.
Depth is Important: Screw the peg in as far as it will go, leaving only the top loop exposed for attaching the guylines.
For Hard Ground Pegs
Position the Peg: Place the pointed end of the peg at the desired location.
Hammer Firmly: Use a rubber mallet or a proper hammer to strike the head of the peg squarely. You may need to apply significant force to drive it into the ground. If you encounter a large rock that prevents insertion, try shifting the pegging point slightly.
Step 5: Attach Guy Lines and Tent Loops
Once your pegs are in place, it’s time to connect them to your tent.
- Connect to Loops: Attach the loops on your tent or guylines to the hooks or holes in your tent pegs.
- Tension is Crucial: Pull the guylines taut. This will create tension that helps to keep your tent fabric from flapping in the wind and provides structural integrity. Ensure all pegging points are properly tensioned.
- Utilize All Loops: Don’t skip any pegging points or guy lines, especially if you anticipate challenging weather. The more anchor points your tent has, the more stable it will be.
Step 6: Check and Adjust
Once everything is pegged and tensioned, walk around your tent and give it a gentle shake.
- Stability Test: Does the tent feel secure? Are there any loose guy lines?
- Adjust Tension: If any part feels loose, adjust the tension on the guylines or re-peg if a peg has pulled out.
- Groundsheet Check: Ensure the groundsheet is pulled taut and not bunching up, which can create puddles.
Tips for Different Ground Conditions
Every campsite is different, and adapting your pegging technique is key.
Soft Ground or Sand
- Use screw-in pegs or wide, V-shaped rock pegs.
- Angle standard pegs at a shallower angle, almost parallel to the ground, to maximize surface area in contact with the soil.
- Consider using “deadman anchors” in very loose sand. This involves burying an object (like a bag filled with sand or a buried stick) with your guylines attached.
Rocky Ground
- Use heavy-duty steel pegs and a mallet.
- If a peg won’t go in, try shifting the location slightly.
- If you’re in a very rocky area, consider tying guylines to large, stable rocks or trees if possible, in addition to using pegs where you can.
Hard-Packed Earth
- Hammer-in steel pegs are usually the best option.
- You might need to pre-drill small pilot holes with a tent peg finder tool if the ground is extremely hard.
- Ensure pegs are hammered in straight and fully to avoid bending.
Frozen Ground
- This is one of the most challenging conditions. Use specialized cold-weather pegs or very robust, long steel pegs.
- You may need to hammer them in at a steeper angle.
- Consider using ice screws if camping on ice.
- If you have tent guylines that can be attached to large rocks, this can provide extra security.
Troubleshooting Common Pegging Problems
Even with the best intentions, you might encounter issues.
Problem: Pegs Keep Pulling Out
- Solution: Use longer pegs, pegs with a wider surface area, or screw-in pegs. Ensure you are angling standard pegs away from the tent at 45 degrees. In very soft ground, try using rocks to add weight around the base of the peg, or use deadman anchors.
Problem: Pegs Bend or Break
- Solution: You are likely using pegs that are too light for the ground conditions, or you are trying to hammer them into overly hard or rocky soil. Switch to heavier-duty steel pegs for hard ground. For soft ground, screw-in pegs are generally more durable than thin aluminum ones.
Problem: It’s Too Windy to Peg Effectively
- Solution: Double up on pegs at crucial points. Use heavier-duty pegs. Ensure all guylines are taut and properly tensioned. If you have a pop-up tent for wind, make sure you are using all its designated pegging points. Consider placing heavy rocks on top of the pegs for added weight.
Problem: Ground is Too Hard to Hammer Pegs In
- Solution: Use a more powerful hammer or mallet. Try a different angle. If it’s still impossible, use rocks or other heavy objects as anchors for your guylines, or seek out slightly softer ground nearby if possible.
Beyond the Basics: Enhancing Tent Security
For extra peace of mind, especially in challenging conditions, consider these advanced techniques:
- Extra Pegs: Use more pegs than your tent initially provides. You can often buy additional pegs separately.
- Peg Replacement: Carry a few different types of pegs to suit various conditions. Investing in a good set of heavy-duty steel pegs for your main anchor points is often worthwhile.
- Guy Line Adjusters: These small plastic or metal pieces allow for quick and easy adjustment of guy line tension.
- Groundsheet Pegging: Sometimes, pegging the corners of your groundsheet directly can provide a more stable base before you even pitch the tent.
- Weight Additions: In high winds, placing heavy rocks or logs on top of your pegs can significantly increase their holding power.
Conclusion
Mastering the art of using tent pegs is fundamental to successful and enjoyable camping. By understanding the different types of pegs, selecting the right ones for your environment, and employing proper insertion techniques, you can ensure your shelter remains a secure and comfortable haven. Remember to choose your campsite wisely, utilize all available pegging points, and always check for stability. With a little practice and the right knowledge, your tent pegs will be your most reliable allies, allowing you to relax and soak in the beauty of the outdoors, no matter the weather. Happy camping!