
Learning to tie a proper tent knot is crucial for a secure and stable camping shelter. This guide offers a comprehensive, step-by-step approach to mastering essential knots, ensuring your tent stands firm against the elements. With clear instructions and practical advice, you’ll be well-prepared for any camping adventure.
# How to Tie a Tent Knot
Camping is all about connecting with nature, enjoying the great outdoors, and finding a peaceful place to rest your head. A key part of that experience is having a reliable and secure tent. But what happens when the wind picks up, or the rain starts to fall? If your tent isn’t properly secured, your cozy haven could quickly become a soggy, flapping mess. That’s where knowing how to tie a proper tent knot comes in.
This guide will walk you through the essential knots every camper needs to know. We’ll break down each knot into simple, actionable steps, making it easy for even the most beginner camper to learn. By the end of this guide, you’ll have the confidence to pitch your tent securely, ensuring a comfortable and safe camping trip, no matter the weather. We’ll cover the most critical knots for tent setup, explain why they’re important, and offer tips to make your knot-tying skills second nature.
## Why Are Tent Knots So Important?
Before we dive into the “how-to,” let’s talk about the “why.” Your tent is your shelter, your home away from home in the wilderness. Properly tied knots are the unsung heroes that keep it standing strong.
* **Stability:** Knots secure guy lines and stakes, preventing your tent from being blown away or collapsing under wind pressure. A stable tent means a peaceful night’s sleep.
* **Waterproofing:** Properly tensioned rain flies, achieved through secure knots, help direct water away from your tent’s interior, keeping you dry.
* **Durability:** A well-pitched tent experiences less stress on its poles and fabric, extending its lifespan.
* **Safety:** In extreme weather, a securely anchored tent is a matter of safety. You don’t want your shelter becoming a hazard.
Think of your tent poles and fabric as the bones and skin of your shelter. The guy lines and knots are the muscles and tendons that hold it all together, allowing it to flex and withstand the forces of nature. Mastering a few key knots is as important as choosing the right tent or sleeping bag. It’s a fundamental camping skill.
## Essential Tent Knots Explained
There are many knots out there, but for tent setups, a few stand out for their reliability, ease of use, and versatility. We’ll focus on the most crucial ones: the Taut-line Hitch and the Bowline.
### 1. The Taut-line Hitch: The Adjustable Master
The taut-line hitch is an absolute must-have for tent camping. Its primary advantage is that it’s an *adjustable* knot. This means you can tighten or loosen the guy line without having to untie the knot itself. This is incredibly useful for fine-tuning your tent’s tension, especially as temperatures change and fabrics expand or contract.
How to Tie the Taut-line Hitch
Let’s break this down step-by-step. You’ll need a cord (like a guy line) and a stake or anchor point.
Step 1: Create the First Turn
Take the working end of your cord (the end you’re manipulating) and wrap it around your stake or anchor point. Bring the working end *behind* the standing part of the cord (the part that goes back to your tent). This creates a basic loop around the anchor.
Step 2: The First Hitch
Now, bring the working end *over* the standing part of the cord. This forms a half-hitch. You’ve essentially created a simple loop secured around the anchor.
Step 3: The Second Turn (Crucial for Adjustment)
This is where the magic happens. Bring the working end *around* the standing part again, but this time, go *in front* of where you made the first hitch. Imagine you’re going around the standing part again, parallel to your first wrap, but in the opposite direction.
Step 4: The Second Hitch (The Locking Turn)
Now, take the working end and pass it *underneath* the loop you just created in Step 3. This forms another half-hitch. Crucially, this second hitch will grip the standing part and create friction, allowing the knot to hold its position.
Step 5: Final Adjustment
You should now have two turns around the standing part, with the working end tucked underneath the last turn. Pull the working end to cinch the knot down. To adjust the tension, slide the knot itself up or down the standing part. Pulling the standing part will tighten the knot; pushing the knot towards the anchor will loosen it.
Tip: When practicing, use a longer piece of cord and a sturdy object like a tree branch or a chair leg to simulate an anchor point. This gives you plenty of room to work with.
When to Use the Taut-line Hitch
- Securing tent guy lines to stakes.
- Adjusting the tension of tarps.
- Creating an adjustable loop for hanging gear.
This knot is ideal for situations where you need to adjust the tension frequently, making it perfect for keeping your tent taut even as the weather or ground conditions change. If you’re looking for the best camping lights for your tent, ensuring they are properly secured with a taut-line hitch will prevent them from falling.
### 2. The Bowline: The Secure, Non-Slip Loop
The bowline is a classic knot known for creating a fixed loop at the end of a rope that will not slip or jam. This is invaluable for creating a secure attachment point on your tent’s guylines or for tying off to trees or other fixed objects. It’s strong, reliable, and relatively easy to untie even after bearing a heavy load.
How to Tie the Bowline
This knot is often described with a little story to help remember the steps. Imagine a rabbit coming out of a hole, around a tree, and back into the hole.
Step 1: Create the “Rabbit Hole”
Take your cord and form a small loop in the standing part of the rope. This is your “rabbit hole.” The working end of the rope is the “rabbit.” Make sure the loop is large enough for the working end to pass through.
Step 2: The Rabbit Comes Out of the Hole
Bring the working end (the “rabbit”) up through the loop you just created (the “rabbit hole”).
Step 3: Around the Tree
Now, take the working end and pass it *around* the standing part of the rope (this is your “tree”).
Step 4: Back into the Hole
Bring the working end back down and feed it through the “rabbit hole” again, the same way it initially came out.
Step 5: Tighten the Knot
Hold the “tree” (the standing part that will connect to your tent) and the loop you’ve created. Pull the working end to snug the knot up. The knot should form a secure loop that won’t slide larger or smaller.
Tip: Practice this knot many times. It can feel a bit fiddly at first, but once you get the sequence down, it becomes second nature. You can also tie it around something stable to help you practice the “around the tree” part.
When to Use the Bowline
- Creating a secure loop to attach a guy line to a tent grommet.
- Tying a rope to a fixed object like a tree for extra stability.
- Making a non-slip loop for hanging items.
The bowline is excellent for creating a permanent or semi-permanent loop that you can attach to your tent’s existing loops or grommets. If you’ve invested in a great camping mattress for your tent, you’ll want to ensure your tent is stable enough to protect it.
## Practical Tips for Tent Knot Tying
Learning the knots is just the first step. Here are some practical tips to help you master them and use them effectively in the real world.
1. Practice, Practice, Practice!
The best way to learn any knot is to practice. Keep a piece of paracord or similar rope in your camping gear and practice tying these knots whenever you have a spare moment. Tie them while watching TV, during your lunch break, or even while waiting for water to boil on your camping trip. Muscle memory is your best friend when you’re out in the field, possibly in challenging conditions.
2. Use the Right Cordage
Most tents come with basic guy lines. However, upgrading to a good quality paracord can make a big difference. Paracord is strong, lightweight, and has multiple inner strands that can be used for other purposes. Ensure your cordage is of sufficient length for your needs and is weather-resistant.
3. Understand the “Working End” and “Standing Part”
In knot tying, the “working end” is the end of the rope that you are actively manipulating to form the knot. The “standing part” is the rest of the rope that is not being used in the knot itself, often leading to the object it’s attached to (like your tent). Knowing these terms will help you follow instructions more accurately.
4. Visualize the Process
Many knot instructions use analogies (like the rabbit and the hole). Try to visualize the rope’s path. Drawing the knot or watching video tutorials can also be incredibly helpful. Sometimes seeing the three-dimensional movement of the rope makes it click.
5. Test Your Knots
Before relying on a knot in a critical situation, give it a good tug. Ensure it holds firmly and doesn’t slip. For adjustable knots like the taut-line hitch, practice sliding it to tighten and loosen it.
6. Consider the Environment
If you’re camping in a windy area, you’ll want to ensure your guy lines are pulled taut and anchored securely. If you’re expecting rain, proper tensioning using your adjustable knots will be crucial for water runoff. For very loose soil, you might need longer or wider stakes, and ensure your knots are tied firmly to prevent them from pulling out.
For those camping in varied weather, having a reliable shelter is paramount. Whether you’re looking for a waterproof pop-up tent or a sturdy dome tent, the ability to properly secure it with knots is essential.
- Understanding the Importance: Properly tied knots are fundamental for a secure tent, preventing collapses, leaks, and general instability during your outdoor adventures.
- Essential Knot Types: This guide focuses on the most practical and commonly used knots for tent setups, like the taut-line hitch and the bowline.
- Step-by-Step Instructions: Each knot is broken down into simple, easy-to-follow steps with clear visual cues to aid in learning.
- Practice Makes Perfect: Regular practice with cordage will build muscle memory and confidence in tying these vital knots quickly and efficiently.
- Troubleshooting Common Issues: Learn how to identify and fix common problems like knots slipping or becoming too tight.
- Adapting to Conditions: Understanding how different knots perform in various weather conditions ensures optimal tent stability.
Troubleshooting Common Knot Issues
Even with practice, you might run into a few common problems. Here’s how to fix them:
Issue: My Taut-line Hitch is Slipping
Cause: This usually happens if the knot isn’t formed correctly, particularly the second turn and locking hitch. It can also occur if the rope is very slick or wet.
Solution: Ensure you’re making the second turn around the standing part *in the opposite direction* of the first, and that the working end is tucked *underneath* the last wrap. Pull the knot tight. If it still slips, try reversing the direction of your turns, or consider using a different knot for very slippery cordage.
Issue: My Bowline is Jamming
Cause: A bowline can sometimes jam if it’s tied incorrectly or if it’s been under extreme tension for a long time.
Solution: When untying, try wiggling the knot as you pull. If it’s severely jammed, you might need to use a marlinspike or a similar tool to loosen it. To prevent jamming, ensure the knot is tied neatly and avoid overtightening it unnecessarily.
Issue: My Guy Lines Are Too Loose or Too Tight
Cause: This is where an adjustable knot like the taut-line hitch shines. If you’re using a fixed knot and this happens, you simply need to re-tie it.
Solution: If using a taut-line hitch, simply slide the knot up or down the standing part to adjust the tension. If you’re using a fixed knot, you’ll need to untie and re-tie, making the initial loop longer or shorter as needed.
Issue: My Knots Are Difficult to See in the Dark
Cause: Camping often involves setting up or adjusting things in low light.
Solution: Use brightly colored cordage for your guy lines and tent stakes. Consider carrying a good headlamp or a portable camping light to help you see what you’re doing. Practice tying your knots by feel as much as by sight.
Beyond the Basics: Other Useful Knots
While the taut-line hitch and bowline will serve you well for most tent situations, here are a couple of other knots that can be handy:
The Square Knot (Reef Knot)
This is a simple knot for joining two ends of a rope *of the same size*. It’s useful for tying things down but is *not* suitable for critical load-bearing situations as it can slip under pressure, especially if the ropes are different thicknesses or materials. Think of it for tying a tarp to a picnic table, not for securing your tent in a storm.
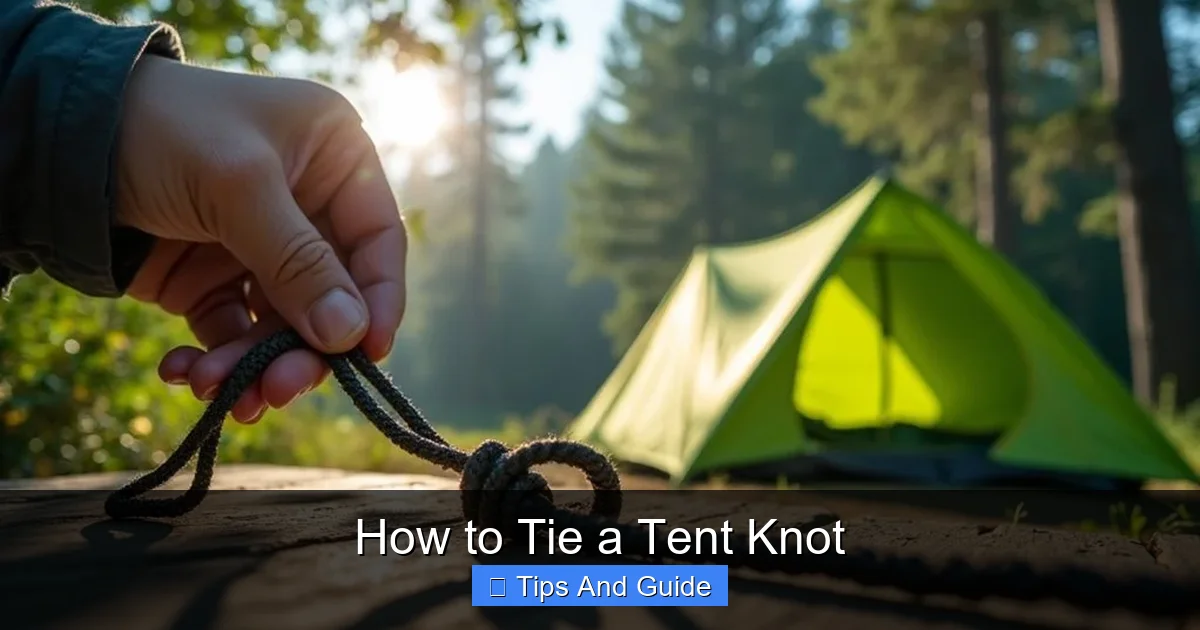
Visual guide about How to Tie a Tent Knot
Image source: besttentreview.com
The Sheet Bend
Similar to the square knot, the sheet bend is used to tie two ropes of *different sizes* together. It’s more secure than a square knot in this scenario and is often used to extend a shorter guy line with a longer one.
Conclusion

Visual guide about How to Tie a Tent Knot
Image source: yifarope.com
Mastering a few key tent knots like the taut-line hitch and the bowline is a fundamental skill that every camper should possess. These knots provide security, stability, and peace of mind, allowing you to fully enjoy your time outdoors without worrying about your shelter.
Remember, practice is key. The more you tie these knots, the faster and more confident you’ll become. Don’t wait until you’re on your next camping trip to try them out. Keep a piece of cord with you and practice regularly. With a little effort, you’ll be tying secure knots like a pro, ensuring your tent remains a safe and comfortable sanctuary, no matter what the wilderness throws at you. Happy camping!