
Setting up a camping tent might seem daunting, but this guide breaks it down into simple, actionable steps. From choosing the right spot to securing the final stake, you’ll learn everything you need to know to pitch your tent efficiently. Follow these instructions for a stable and comfortable shelter, ensuring a stress-free camping experience.
How to Set Up Camping Tent
Embarking on a camping trip is an exciting adventure, but the first hurdle can often be setting up your shelter. Don’t let the poles and fabric intimidate you! This comprehensive guide will walk you through every step of setting up your camping tent, from selecting the perfect spot to securely staking it down. By the end, you’ll be a tent-pitching pro, ready to enjoy the great outdoors with confidence. We’ll cover everything from preparing your gear to handling common issues.
Key Takeaways
- Choose the Right Campsite: Select a flat, well-drained area away from hazards like dead trees or water runoff.
- Unpack and Organize: Lay out all tent components, including poles, stakes, and the rainfly, to ensure nothing is missing.
- Assemble Tent Poles: Connect the tent poles by sliding them together, being careful not to force them.
- Position the Tent Body: Lay the tent body flat on the ground in your chosen spot, orienting the door for convenience.
- Insert Poles and Raise the Tent: Connect the poles to the tent body and carefully raise the structure.
- Attach the Rainfly: Drape the rainfly over the tent, aligning it correctly for maximum protection and ventilation.
- Stake Down the Tent: Secure the tent and rainfly with stakes at critical points to ensure stability against wind and weather.
Step 1: Prepare Your Gear and Choose Your Location
Before you even touch your tent, a little preparation goes a long way. This ensures a smoother setup process and a more enjoyable camping experience.
Gather All Your Tent Components
Open your tent bag and carefully lay out all the parts. This includes the tent body, the rainfly, the tent poles (often color-coded or numbered), and the stakes. Check if you have all the necessary pieces. If anything is missing, now is the time to find out, not when you’re setting up camp in the dark. Understanding your tent’s components is the first step to a successful setup. Many newer tents, like some of the best pop up tents for camping, come with intuitive designs that make this step even simpler.
Select the Ideal Campsite
The location of your tent is crucial for comfort and safety. Look for a spot that is:
- Flat: A level surface ensures comfortable sleeping and prevents water from pooling inside your tent.
- Well-Drained: Avoid low-lying areas that might collect rainwater. Look for slightly elevated ground.
- Sheltered: Consider natural windbreaks like trees or large rocks. However, be cautious of dead branches or trees that could fall.
- Away from Water Sources: Setting up too close to rivers or lakes can lead to dampness, increased insect activity, and potential flooding.
- Clear of Debris: Remove any sharp rocks, sticks, or pinecones that could puncture your tent floor or make sleeping uncomfortable.
If you’re camping in an established campground, follow designated tent pad guidelines. For backcountry camping, take your time to find the most suitable spot. Remember, a good night’s sleep starts with a good location.
Consider a Ground Tarp or Footprint
Most tents come with a durable floor, but an extra layer of protection can extend its lifespan and add comfort. A ground tarp or a tent footprint (a custom-fit sheet for your tent model) shields the tent floor from abrasion and moisture. Place this on the ground before laying out your tent body. Ensure it doesn’t extend beyond the tent’s edges, as this could collect water and channel it under your tent.
Step 2: Assemble the Tent Poles
Tent poles are the backbone of your shelter. They provide structure and support. Modern tent poles are usually made of shock-corded fiberglass or aluminum, meaning they are flexible and self-aligning.
Connect the Pole Sections
Take each pole and gently slide the sections together. The shock cord running through the center will help guide them into place. Be careful not to force sections together. If they feel resistant, double-check that they are aligned correctly. Most poles have a male end that fits into a female end.
Identify Pole Sets
Many tents have different sets of poles for the main tent body and the rainfly poles. They might be different lengths or thicknesses. Familiarize yourself with which poles go where. Often, they are color-coded to match grommets or sleeves on the tent.
Step 3: Lay Out and Position the Tent Body
With your poles assembled and your location scouted, it’s time to get the tent itself onto the ground.
Unfold and Orient the Tent Body
Carefully unfold the tent body and lay it flat on your chosen spot (or on top of your ground tarp). Make sure the door is facing the direction you want it to. Think about where the sun will rise and set, and where you’ll want easy access from your campsite.
Locate Pole Sleeves or Grommets
Examine the tent body. You’ll see either sleeves (long fabric channels) or grommets (metal rings) where the poles will attach. Most modern tents use clips that attach to the poles after they are inserted into sleeves, or poles that insert into grommets at the tent corners.
Step 4: Insert Poles and Raise the Tent
This is where your tent starts to take shape. This step requires a bit of coordination, especially with larger tents.
Connect Poles to Sleeves or Clips
If your tent uses sleeves, carefully feed the assembled poles through the designated sleeves. Work slowly to avoid snagging the fabric. If your tent has clips, you’ll typically attach these after the poles are positioned. For tents with grommets, insert the end of the pole into the corresponding grommet at the corners of the tent floor.
Lift and Secure the Tent Structure
Once the poles are partially inserted, gently lift the tent. You’ll usually have a second person to help hold the other side. As you lift, the poles will bend into their arc. Secure the ends of the poles into the grommets or clips located at the corners or along the edges of the tent floor. You should see the tent body begin to rise and take its dome or cabin shape.
Tip: For tents with clips, it’s often easier to lay the tent body flat, insert the poles into the corners, and then attach the clips as you go around, lifting the tent as you work.
For those seeking the ultimate in quick setup, exploring best pop up tent camping options can be a game-changer. These tents often require minimal pole assembly.
Step 5: Attach the Rainfly
The rainfly is your tent’s first line of defense against rain and wind. It also provides shade and helps regulate temperature.
Drape the Rainfly Over the Tent
Carefully unfold the rainfly and drape it over the erected tent body. Make sure it’s oriented correctly. Most rainflies have a specific front and back, often indicated by the door or vent placement. The rainfly should align with the tent doors.
Secure the Rainfly
The rainfly typically attaches to the tent poles or the tent body at various points. Look for buckles, Velcro straps, or ties. Secure these attachments firmly. Ensure the rainfly is taut and not sagging, which could allow water to pool. The corners of the rainfly usually connect to the tent poles or tent floor.
Important: Proper tension on the rainfly is key. If it’s too loose, water can get inside. If it’s too tight in some areas and loose in others, it can create stress points.
Step 6: Stake Down the Tent and Rainfly
Staking your tent securely is vital for stability, especially in windy conditions. Don’t skip this step!
Identify Stake Points
Your tent and rainfly will have loops or grommets at strategic points for staking. These are typically found at the corners of the tent floor, along the edges of the rainfly, and sometimes at points where guy lines will be attached.
Insert Stakes at an Angle
Push the stakes into the ground at about a 45-degree angle, pointing away from the tent. This angle provides the best holding power. If the ground is hard, you might need to use a rock or a mallet (gently!) to tap the stakes in.
Use Guy Lines for Added Stability
Many tents come with guy lines – extra cords that attach to the rainfly and stake out away from the tent. These are crucial for wind resistance. Extend the guy lines to a point where they are taut and stake them securely. Adjust the tension on the guy lines to keep the rainfly snug.
Troubleshooting Tip: If the ground is very soft and stakes won’t hold, you can improvise. Try tying guy lines to nearby sturdy trees or large rocks. In sandy conditions, burying the stakes horizontally or using rocks to anchor them can also work.
Step 7: Final Adjustments and Interior Setup
Once the exterior is secure, it’s time for the finishing touches.
Check for Tension and Fit
Walk around your tent and rainfly. Ensure everything is taut and evenly distributed. Look for any areas where the rainfly might be touching the tent body – this can compromise waterproofing. Adjust stakes and guy lines as needed.
Set Up Your Interior
Now you can bring in your sleeping bags, camping mattress (check out our guide on the best camping mattress for tent), and other gear. Arrange your sleeping bags and pads. Consider where you’ll store your clothes and gear to maximize living space. For extra comfort, a good camping mat for tent can make a big difference.
Add Lighting and Ventilation
Hang a camping light for tent inside. Open vents on the rainfly or tent body if needed for airflow, especially if you’re experiencing condensation.
Troubleshooting Common Tent Setup Issues
Even experienced campers can run into minor problems. Here are a few common issues and how to solve them:
Problem: Tent Poles Won’t Fit Together Properly
Solution: Ensure you are not forcing the sections. The shock cord should help guide them. Check for dirt or damage at the connection points. If a pole section is bent, try to straighten it gently. For severely damaged poles, you might need a repair sleeve.
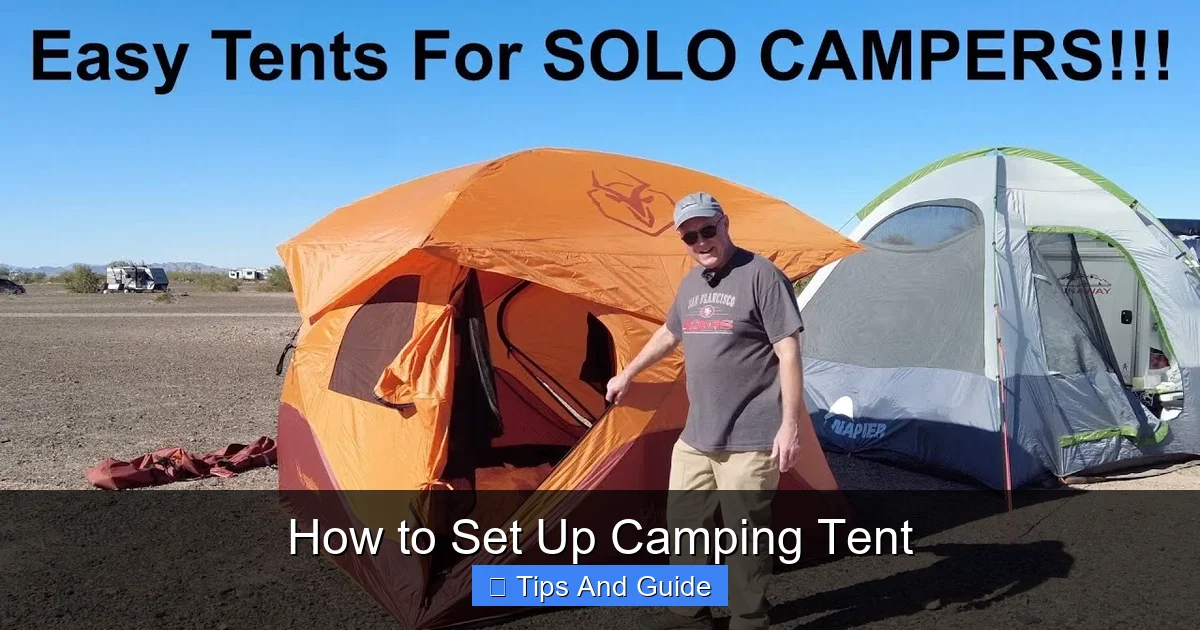
Visual guide about How to Set Up Camping Tent
Image source: i.ytimg.com

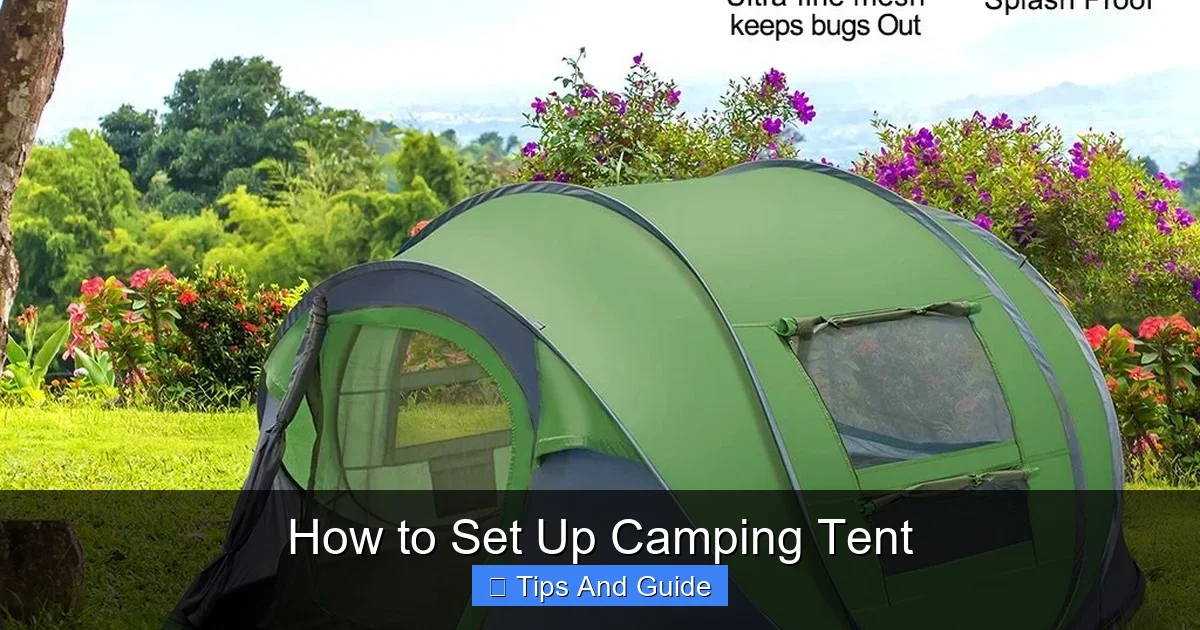
Visual guide about How to Set Up Camping Tent
Image source: images-na.ssl-images-amazon.com
Visual guide about How to Set Up Camping Tent
Image source: i5.walmartimages.com
Problem: Rainfly Doesn’t Fit Correctly or Seems Too Small/Large
Solution: Double-check that you have the correct rainfly for your tent and that it is oriented correctly (front vs. back). Ensure all attachment points are properly secured before concluding it doesn’t fit. Some rainflies require significant tension to fit properly.
Problem: Stakes Won’t Stay in the Ground
Solution: This is common in soft soil or sand. Try inserting stakes at a sharper angle (closer to horizontal). If available, use wider stakes designed for soft ground. In sandy conditions, burying stakes horizontally and piling dirt on top can be effective. Alternatively, use rocks or logs to anchor the guy lines.
Problem: Condensation Inside the Tent
Solution: Condensation is caused by moisture from your breath and body escaping the tent and condensing on cooler surfaces. Ensure proper ventilation by opening tent vents and rainfly vents. Avoid touching the tent walls, as this can wick moisture. If you’re in a very humid environment, it’s harder to avoid completely.
Problem: Tent is Sagging or Unstable
Solution: This usually means the poles aren’t fully seated in their grommets/clips, or the stakes aren’t securely in the ground. Re-check all pole connections and re-stake any loose points, ensuring guy lines are taut.
Conclusion
Setting up your camping tent is a fundamental camping skill that becomes easier with practice. By following these steps – from selecting the perfect location to securely staking your shelter – you’ll build a comfortable and reliable home away from home. Remember to always read your specific tent’s instructions, as designs can vary. With a well-pitched tent, you’re free to relax, explore, and truly enjoy your camping adventure. Happy camping!