
Don’t let rain dampen your camping spirits! This guide provides essential advice for setting up your tent in wet weather. We’ll cover pre-trip preparation, choosing the right spot, and a step-by-step process for getting your tent up quickly and efficiently, ensuring you stay dry and comfortable throughout your adventure.
How to Set Up a Tent in the Rain
Camping is a fantastic way to connect with nature. But what happens when the weather forecast calls for rain? Don’t let a little (or a lot) of precipitation ruin your trip. Setting up a tent in the rain can be a challenge, but with the right preparation and a smart approach, you can stay dry and make it a smooth process. This guide will walk you through everything you need to know to successfully pitch your tent, even when the skies open up. We’ll cover essential pre-trip planning, on-site strategies, and a step-by-step method to keep you and your gear as dry as possible.
Key Takeaways
- Prepare Before You Go: Pack extra tarps, a large trash bag for wet gear, and consider a tent with a bathtub floor and good waterproofing.
- Choose Your Site Wisely: Select a spot with good drainage, away from potential water runoff or low-lying areas.
- Prioritize the Fly First: Many modern tents allow you to pitch the flysheet first or attach it to the poles before the inner tent, keeping the interior dry.
- Work Quickly and Efficiently: The faster you get the tent up, the less exposure you and your gear will have to the rain.
- Utilize Tools and Techniques: A well-placed tarp and teamwork can significantly reduce the amount of rain that enters your tent during setup.
- Dry Out at Home: Always dry your tent thoroughly once you return home to prevent mold and mildew.
Why Setting Up a Tent in the Rain is Tricky
Let’s be honest, nobody enjoys wrestling with wet fabric and soggy poles while a downpour soaks you to the bone. The main challenge is obvious: keeping the inside of your tent dry. Every time you unfurl your tent, you risk exposing the inner walls and floor to rain, which can lead to a damp sleeping area and discomfort. Beyond that, wet gear can be heavy and slippery, making the setup process more difficult. Cold temperatures often accompany rain, adding another layer of unpleasantness to the experience. But with a bit of foresight, these challenges are entirely manageable.
Preparation is Key: Before You Leave Home
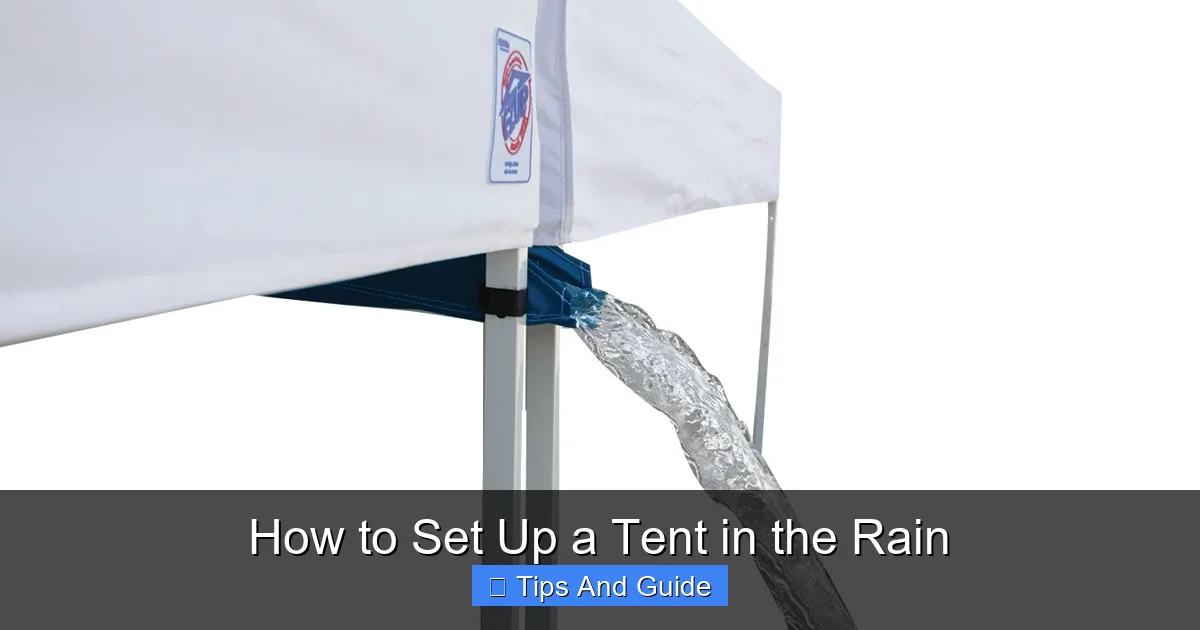
Visual guide about How to Set Up a Tent in the Rain
Image source: buyshade.com
The secret to a successful rain-soaked tent setup starts long before you arrive at your campsite. Proper preparation will make a world of difference.
Check Your Tent’s Waterproofing
First and foremost, ensure your tent is in good condition. Check for any rips, tears, or worn seams. Make sure the waterproofing on the flysheet and the floor is still effective. You can test this by pouring a little water on a section of the fabric; if it beads up and rolls off, it’s good. If it soaks in, you might need to reapply a waterproofing treatment. If you’re looking for a new tent specifically for wet conditions, exploring options for the best pop up tent waterproof can be a wise investment.
Pack Smart for Rain
Your packing list needs a rain-specific upgrade.
- Extra Tarps: Bring at least one large tarp. This is your best friend for creating a dry workspace.
- Large Trash Bags: Keep a few heavy-duty trash bags handy. They are perfect for storing wet clothes, shoes, or even the tent bag if it gets soaked.
- Groundsheet/Footprint: A footprint (or a cheap tarp cut to size) that fits your tent’s base is crucial. It adds an extra layer of protection against ground moisture and punctures.
- Waterproof Stuff Sacks: Use these for your sleeping bag, clothes, and electronics.
- Quick-Dry Towels: These are invaluable for wiping down gear and yourself.
- Tent Stakes: Bring a few extra, especially if you expect strong winds. Stronger stakes can help secure your tent better in wet soil.
Practice Your Pitch
If you’re not familiar with your tent, practice setting it up at home, even in your backyard. Doing this in dry conditions first will help you understand the process. Then, if you have a chance, try setting it up in the rain before your trip. This might sound counterintuitive, but it’s the best way to get comfortable with the procedure.
Choosing the Right Campsite in the Rain
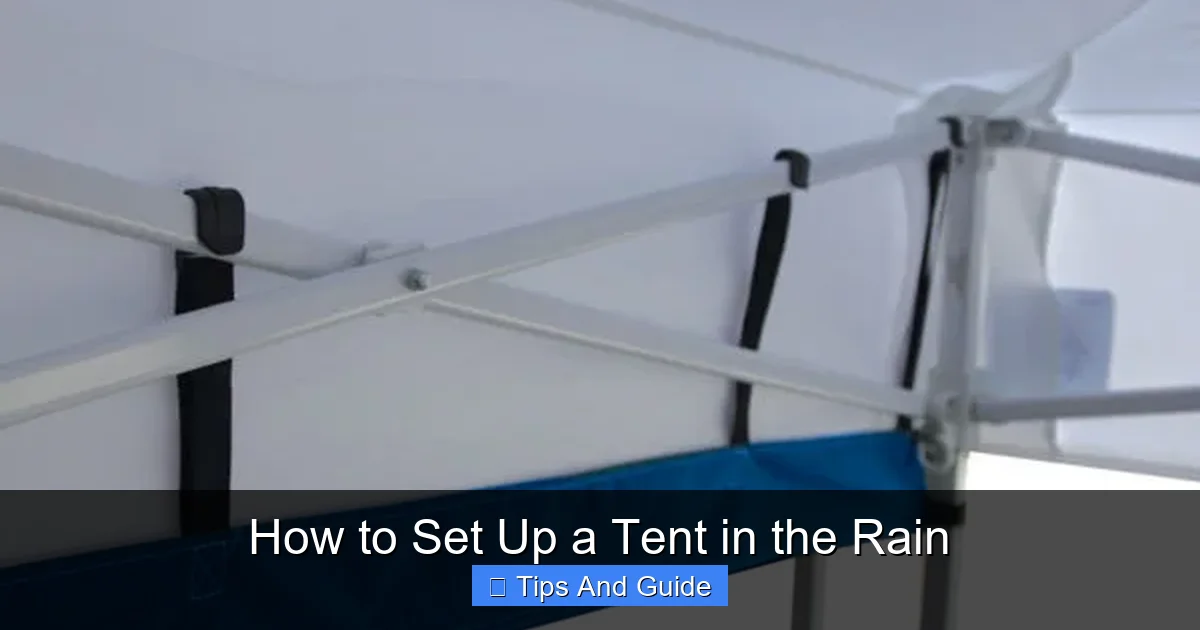
Visual guide about How to Set Up a Tent in the Rain
Image source: buyshade.com
Where you pitch your tent is incredibly important when rain is in the forecast. Even the best-waterproofed tent can flood if placed poorly.
Look for High Ground and Good Drainage
The most critical factor is drainage. Avoid setting up your tent in low-lying areas, dips, or gullies where water naturally collects. Instead, seek out slightly elevated ground. Look for areas where water appears to run off easily. If you are in a wooded area, be mindful of potential “waterfalls” from dense tree canopies.
Avoid Underside of Steep Slopes
While you want to be on higher ground, avoid pitching directly at the bottom of a steep slope or cliff. Rainwater can run down these surfaces in large volumes, potentially overwhelming your tent.
Consider Shelter from the Elements
If possible, pitch your tent under natural cover like dense trees. This can help reduce the direct impact of rain and wind. However, be cautious of dead branches (“widowmakers”) that could fall during strong winds.
The Step-by-Step Guide to Setting Up a Tent in the Rain
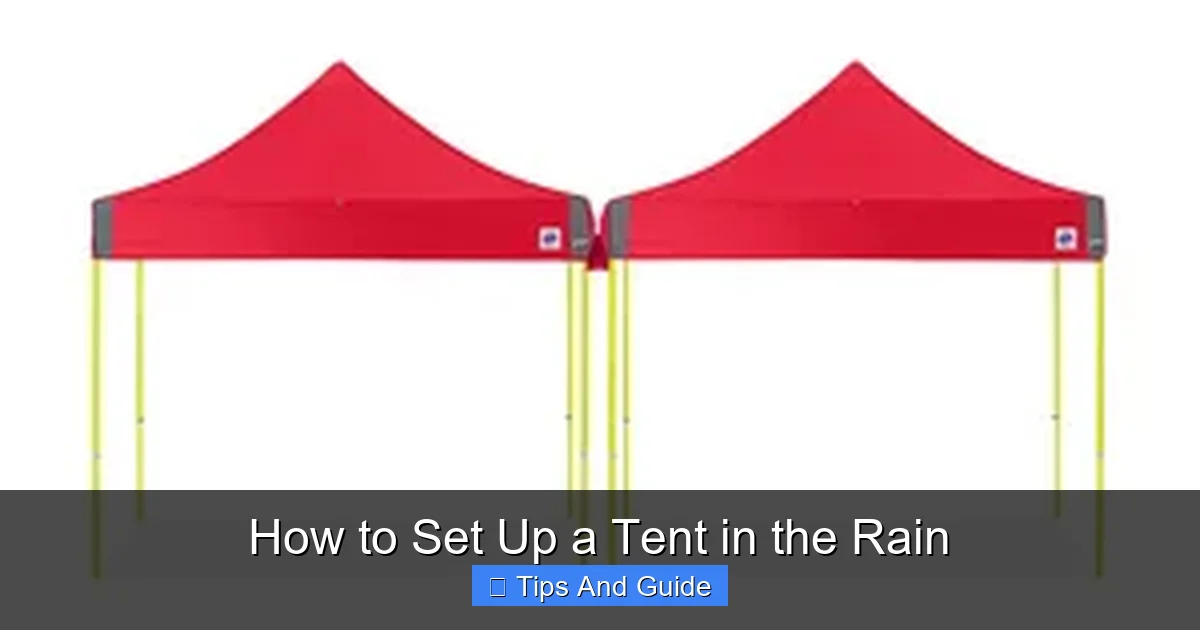
Visual guide about How to Set Up a Tent in the Rain
Image source: buyshade.com
Now that you’re prepared and have found a good spot, it’s time to get that tent up. The key here is speed and efficiency while minimizing water ingress.
Step 1: Lay Down Your Tarp
This is your first line of defense. Lay your large tarp on the ground in the spot where you intend to pitch your tent. This tarp serves multiple purposes:
- Dry Workspace: It creates a relatively dry area to unpack your tent and its components.
- Ground Protection: It adds an extra layer of waterproofing to the tent floor.
- Containment: It helps keep the tent bag and poles off the wet ground while you work.
Ensure the tarp is spread out as much as your tent’s footprint will cover, or slightly larger.
Step 2: Unpack Your Tent Carefully
Open your tent bag *on top of the tarp*. Gently take out the tent body, flysheet, poles, and stakes. Try to keep everything organized on the tarp. If the tent bag itself is wet, you can place it aside or even inside another large trash bag to prevent it from getting the rest of your gear wet.
Step 3: Assemble the Poles
Assemble your tent poles. Most modern tents use shock-corded poles, making this quick and easy. Lay them out on the tarp to avoid dropping them in the mud.
Step 4: Position the Tent Body (If Possible)
This step can vary greatly depending on your tent type.
- Inner-Tent-First Pitch: Some tents allow you to connect the poles to the inner tent first, getting the main structure up quickly. This is ideal in the rain.
- Flysheet-First Pitch: Many modern, high-quality tents are designed for a flysheet-first pitch. This means you can attach the poles to the flysheet and erect that *before* attaching the inner tent. This is the most effective method for staying dry. If your tent allows this, prioritize it! You can find some excellent options for the best pop up tent for rain that often feature this design.
If your tent requires you to lay out the inner tent first and then drape the flysheet over it, you’ll need to be even quicker.
The “Tent Sandwich” Method (for inner-first pitch tents)
If your tent requires the inner tent to be set up first, and you don’t have a flysheet-first option:
- Lay the inner tent flat on the tarp.
- Insert the poles into the sleeves or clips as per your tent’s instructions.
- Fasten the tent to the poles.
- This is the critical moment. You’ll need to quickly attach the flysheet. Try to have it ready and unrolled to one side.
This method is where speed is paramount. You might have to accept a *small* amount of rain getting inside.
Step 5: Erect the Tent Structure
Follow your tent’s specific instructions for inserting poles and raising the structure. If you have a flysheet-first design, you’ll be attaching the poles to the flysheet and raising it, creating an instant shelter. If it’s an inner-tent-first design, you’ll be raising the inner tent.
Step 6: Stake Down the Tent
Once the main structure is up, it’s time to secure it.
- Initial Stakes: Start by loosely staking down the corners to prevent the wind from blowing it away.
- Tensioning: Then, work your way around the tent, staking out the guy lines and ensuring the fabric is taut. This is essential for shedding water effectively and preventing pooling.
- Wet Ground: In wet, soft ground, regular stakes might not hold well. Consider using longer, broader stakes or even rocks to anchor your tent securely.
Step 7: Attach the Inner Tent (If Flysheet-First Pitch)
If you used the flysheet-first method, now is the time to attach the inner tent. This usually involves clipping or toggling the inner tent to the inside of the flysheet. This process is much easier as the flysheet is already protecting you.
Step 8: Ventilate and Organize
Once the tent is securely pitched, open the vents to allow for airflow. This helps reduce condensation buildup, which can happen even in a rainstorm. Quickly bring your essential gear inside.
Tips for Staying Dry During Setup
* Teamwork: If you’re camping with others, assign roles! One person can hold poles, another can stake, and another can manage the flysheet. More hands make for faster, drier work.
* Wear Rain Gear: Don’t try to set up a tent in the rain without proper waterproof clothing, including a hat to keep rain out of your eyes.
* Have Your Door Ready: Orient your tent so the main door is facing away from the prevailing wind and rain.
* “Tent Sandwich” Technique: For tents that require the inner to go up first, and you don’t have a flysheet-first option, spread the flysheet flat on the ground. Then, pitch the inner tent on top of the flysheet, attached via poles. Once the inner tent is secured, lift the whole assembly and stake it down. This minimizes exposure.
* Consider a “Car Setup”: If you’re car camping and the rain is heavy, you can sometimes use your car as a temporary shelter. Park your car so its side shields you from the rain, and set up your tent in its lee.
Troubleshooting Common Rain Setup Problems
* **Water Inside Despite Efforts:** If a little water still gets in, don’t panic. Use your quick-dry towels to mop it up immediately. Bring any wet items inside waterproof bags.
* **Tent Poles Won’t Stay Put:** Wet ground can be challenging. Ensure your stakes are driven in as far as they will go and at an angle away from the tent. If you have rocks, use them to weigh down the guylines.
* **Windy Conditions:** Wind is your enemy during rain setup. Stake down one corner firmly before you start unpacking the rest of the tent. Work with the wind, not against it. If it’s extremely windy, consider a more robust tent like those discussed in our guide to the best pop up tent for wind.
After Setup: Staying Comfortable
Once the tent is up, your work isn’t quite done.
- Shake Off Water: Before bringing any gear inside, give your outer clothing a good shake to remove as much surface water as possible.
- Designated Wet Zone: If your tent has an awning or vestibule, use it as a “wet zone” for muddy boots and rain gear.
- Dry Out Gear: Hang up wet clothes inside the tent (if ventilation allows) or in the vestibule to dry. Use your trash bags to separate wet from dry items.
- Warmth: If it’s cold, consider using a small tent heater designed for camping, like those mentioned in our reviews of the best pop up tent heater, to help dry the air and warm the space.
The Crucial Post-Trip Step: Drying Your Tent
This is non-negotiable. As soon as you get home, set up your tent again, ideally in a dry, well-ventilated area (like a garage or backyard on a dry day). Let it air out completely until it is bone dry. This prevents mold and mildew, which can permanently damage your tent and make it smell awful. Failing to dry your tent thoroughly can ruin it for future trips.
Conclusion
Setting up a tent in the rain might not be the highlight of your camping trip, but it doesn’t have to be a miserable experience. By preparing thoroughly, choosing your site wisely, and employing a systematic, efficient setup process, you can keep your shelter dry and your spirits high. Remember, a little bit of planning and the right techniques go a long way in transforming a potentially soggy ordeal into just another part of a memorable outdoor adventure. So, embrace the rain, be prepared, and happy camping!