
Don’t let a tear in your tent ruin your camping trip! This guide provides clear, step-by-step instructions on how to repair various types of tent damage, from small rips to larger holes. With simple tools and techniques, you’ll extend the life of your tent and save money on replacements. Get ready to confidently patch up your shelter and get back to enjoying the great outdoors!
Going on a camping trip is an incredible way to connect with nature and escape the hustle and bustle of everyday life. Whether you’re embarking on an adventurous backpacking journey or enjoying a relaxed family campout, your tent is your home away from home. But what happens when your trusty shelter suffers a tear? A ripped tent can be a major disappointment, potentially leading to leaks, drafts, and a less-than-comfortable experience.
Don’t worry! This comprehensive guide will walk you through everything you need to know about how to repair a tear in a tent. We’ll cover different types of damage, the tools and materials you’ll need, and step-by-step instructions for various repair methods. By the end of this guide, you’ll be equipped with the skills to fix most common tent tears and keep your shelter in top condition for many adventures to come.
Key Takeaways
- Assess the Damage: Before starting any repair, carefully inspect the tear to determine its size, location, and the type of fabric. This helps in choosing the right repair method and materials.
- Gather Your Supplies: Ensure you have all necessary items, including a tent repair kit, patch material (fabric or tape), adhesive, scissors, and rubbing alcohol for cleaning.
- Clean the Area: Thoroughly clean the area around the tear with rubbing alcohol to remove dirt, oils, and any residue. This ensures the adhesive or patch will bond effectively.
- Choose the Right Repair Method: Different tears require different approaches. Small punctures might be fixed with tape, while larger rips may need a sewn patch for maximum durability.
- Apply Patches Carefully: If using a patch, ensure it extends well beyond the edges of the tear. Smooth out any wrinkles or bubbles to create a strong, waterproof seal.
- Consider Seam Sealing: For tears along seams, reapply seam sealer after the patch has set to maintain the tent’s waterproof integrity.
- Test Your Repair: Once the repair is complete and dry, gently test its strength and check for any gaps or leaks, especially in wet conditions.
Why Repair Your Tent?
Before we dive into the “how-to,” let’s quickly touch upon why repairing a tent tear is so important:
- Preserve Functionality: A tear compromises your tent’s ability to protect you from the elements. Proper repair restores its waterproof and windproof capabilities.
- Extend Lifespan: Tents are an investment. Repairing damage prevents small issues from becoming major problems, significantly extending the life of your tent.
- Save Money: Replacing a tent can be costly. A simple repair is often a much more economical solution.
- Environmental Responsibility: Repairing instead of replacing reduces waste and your environmental footprint.
Assessing the Damage
The first crucial step in any repair is to thoroughly assess the damage. Different types of tears require different approaches.
Types of Tent Tears
- Punctures: These are small holes, often caused by sharp objects like twigs, rocks, or even insects.
- Rips: These are longer tears, which can occur from snagging the fabric on branches or from stress on the tent seams.
- Seam Separation: The stitching along seams can sometimes unravel or break, creating a gap.
- Abrasion Damage: Areas where the fabric has rubbed against a rough surface can become thin and eventually tear.
Factors to Consider
When assessing, also think about:
- Location of the Tear: Is it on the main tent body, the rainfly, the floor, or a seam? Tears on the floor or rainfly might need extra attention for waterproofing.
- Size of the Tear: A small pinhole is much easier to fix than a tear several inches long.
- Fabric Type: Most tents are made from nylon or polyester. The repair method might vary slightly depending on the fabric.
Gathering Your Repair Supplies
Having the right tools and materials readily available will make the repair process smooth and efficient. You can often find these items in a dedicated tent repair kit, or you can purchase them separately.
Essential Supplies
- Tent Repair Kit: Many kits include fabric patches, adhesive, seam sealer, and sometimes even a needle and thread.
- Fabric Patches: These can be self-adhesive tapes (like Tenacious Tape or Gear Aid patches) or separate fabric pieces that you’ll adhere or sew. It’s good to have patches that match your tent’s color if possible, but functional repairs are more important than aesthetics.
- Fabric Adhesive/Glue: A strong, flexible, and waterproof fabric glue specifically designed for outdoor gear is ideal. Look for brands like Gear Aid Seam Grip or Aquaseal.
- Rubbing Alcohol (Isopropyl Alcohol): For cleaning the repair area.
- Scissors or a Craft Knife: For cutting patches to size.
- Rubbing Alcohol Wipes: For easy cleaning.
- A Flat, Hard Surface: To work on, especially for applying patches smoothly.
- Optional: Needle and Strong Thread: For sewing repairs, especially on seams.
Repairing Small Punctures and Rips
For small holes or short rips, a quick and effective repair can be made using adhesive patches or tape.
Method 1: Using Adhesive Repair Tape (e.g., Tenacious Tape)
This is often the easiest and quickest method for many types of damage.
Step 1: Clean the Area
Using rubbing alcohol and a clean cloth or wipe, thoroughly clean the area around the tear. Ensure it’s free of dirt, dust, and any oily residue. Let it dry completely.
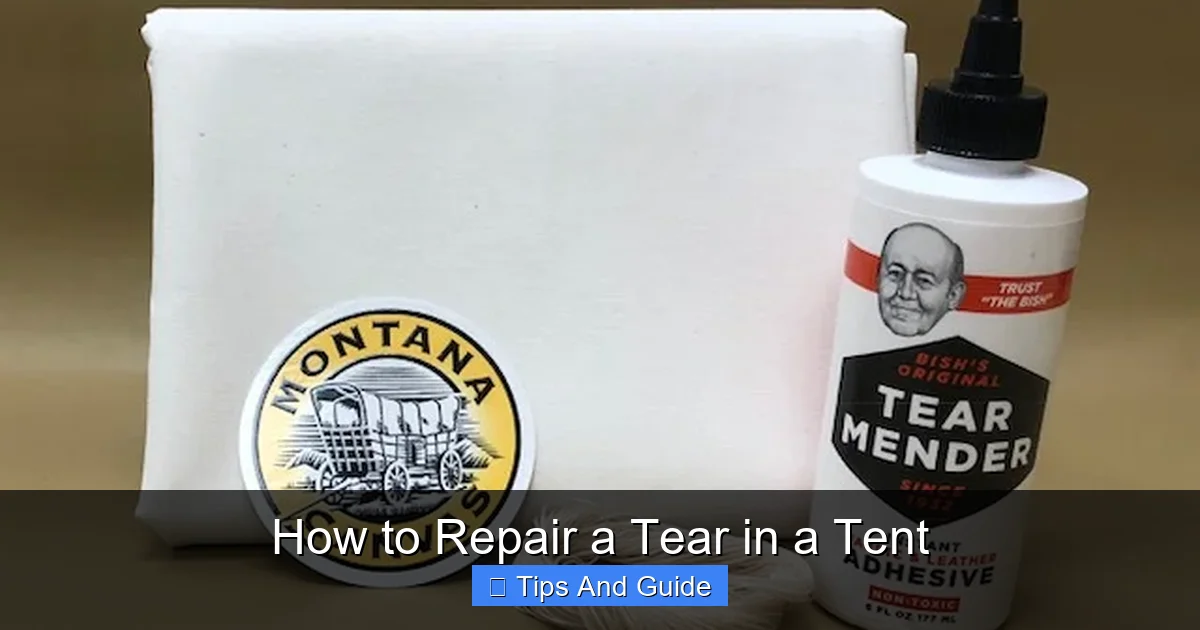
Visual guide about How to Repair a Tear in a Tent
Image source: montanacanvas.com
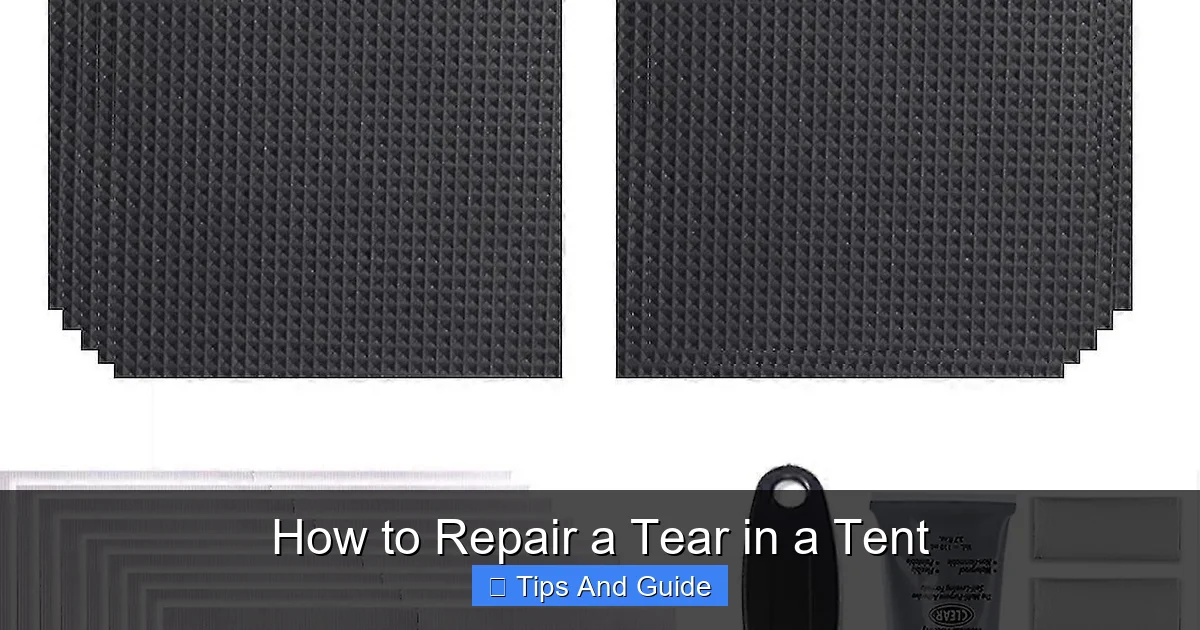
Visual guide about How to Repair a Tear in a Tent
Image source: img.fruugo.com
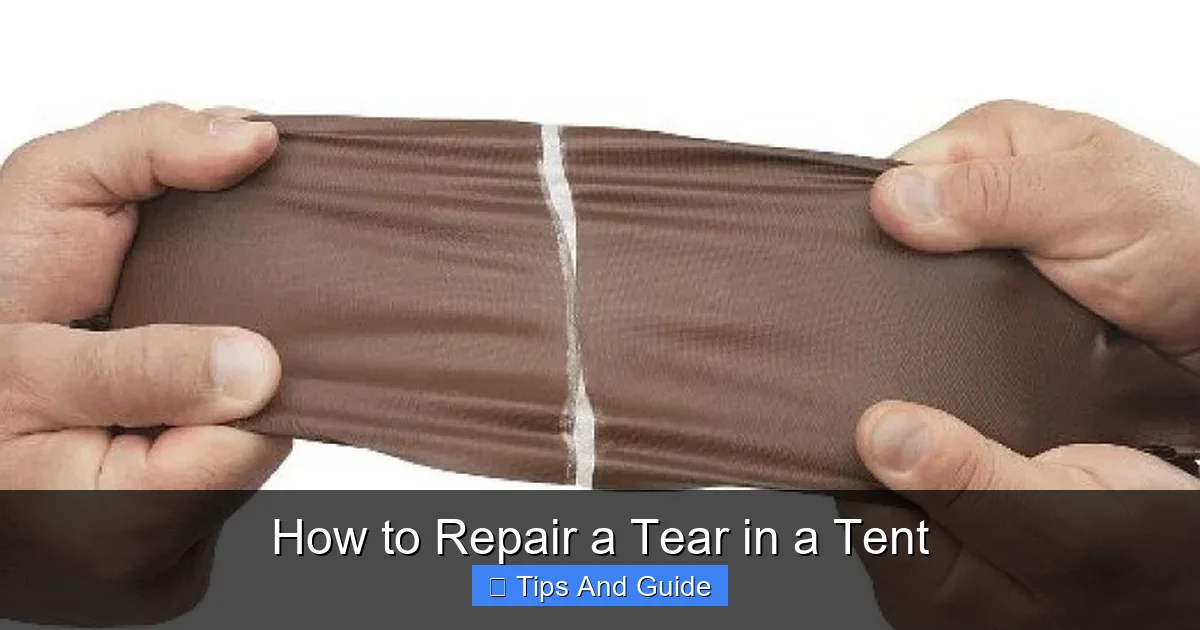
Visual guide about How to Repair a Tear in a Tent
Image source: belltent.com.au
Step 2: Cut the Patch
Cut a piece of repair tape that is large enough to extend at least 1 inch (2.5 cm) beyond all edges of the tear. Rounding the corners of the patch can help prevent it from peeling up over time.
Step 3: Apply the Patch
Peel the backing off the repair tape. Carefully center the patch over the tear and press it down firmly. Start from the center and work your way outwards, smoothing out any wrinkles or air bubbles.
Step 4: Apply Pressure and Let it Cure
Apply firm pressure to the patch for a minute or two. For best results, allow the patch to cure for at least a few hours, or preferably 24 hours, before exposing the tent to moisture or significant stress. Many people find it helpful to place a heavy book or weight on top of the patch while it cures if possible.
Method 2: Using Fabric Patches and Fabric Glue
This method offers a more permanent and often more waterproof repair.
Step 1: Clean the Area
As with the tape method, clean the area around the tear thoroughly with rubbing alcohol and let it dry.
Step 2: Prepare the Patch
Cut a piece of repair fabric (often included in repair kits or from an old piece of similar tent material) so that it extends about 1 inch (2.5 cm) beyond the tear in all directions. Round the corners.
Step 3: Apply Glue to the Patch
Apply a thin, even layer of fabric glue to the wrong side (the side that will be against the tent) of the patch. Make sure to cover the entire area that will contact the tent, extending to the edges.
Step 4: Position and Press the Patch
Carefully position the glued patch over the tear. Press it down firmly, starting from the center and working outwards to eliminate any air bubbles or wrinkles. Ensure the glue makes good contact with the tent fabric.
Step 5: Apply Pressure and Cure
Place a heavy object on top of the patch or apply firm pressure manually for several minutes. Allow the glue to cure completely according to the manufacturer’s instructions, which is typically 12-24 hours. This is crucial for a strong, waterproof bond.
Repairing Larger Tears and Seams
Larger tears or tears along seams require a bit more attention to ensure durability and waterproofing.
Method 3: Sewing and Patching a Larger Tear
For rips that are too large for simple tape, sewing can provide a stronger repair.
Step 1: Clean and Prepare
Clean the area as usual. For a large rip, you might want to temporarily hold the torn edges together with a few small dabs of fabric glue or even safety pins, ensuring the edges align as they should.
Step 2: Cut and Prepare Patches
Cut two fabric patches. One should be slightly larger than the tear and will be placed on the inside of the tent. The second patch should be a bit smaller and will be placed on the outside. This double-patch method provides extra strength.
Step 3: Sew the Tear (Optional but Recommended for Strength)
Using a strong, waterproof thread and a sturdy needle, carefully sew the edges of the tear together. Use a strong stitch like a backstitch or a whipstitch, ensuring the stitches are close together and go through both layers of fabric. If you’re not comfortable sewing, you can skip this step, but it adds significant strength.
Step 4: Glue the Inner Patch
Apply fabric glue to the wrong side of the larger patch. Place this patch on the inside of the tent, covering the sewn tear and extending beyond its edges. Press firmly and smooth out any wrinkles.
Step 5: Glue the Outer Patch
Apply glue to the wrong side of the smaller patch. Place this patch on the outside of the tent, directly over the inner patch and the tear. Press firmly.
Step 6: Cure and Seal
Allow the glue to cure fully (24 hours is recommended). Once cured, if the tear was on the rainfly or near a seam where waterproofing is critical, you might want to apply seam sealer around the edges of the patches for extra protection. If the original seam itself has failed, you’ll need to re-stitch it and then apply seam sealer.
Method 4: Repairing Seam Separation
When the stitching on a seam comes undone, it creates a gap that needs to be resealed.
Step 1: Clean the Area
Clean the seam area thoroughly with rubbing alcohol.
Step 2: Re-stitch the Seam (If Necessary)
If the stitching is completely gone or very loose, you’ll need to re-stitch the seam. Use a strong, waterproof thread and a sewing machine if available, or a strong hand-stitch like a backstitch. Ensure the stitches are tight and close together.
Step 3: Apply Seam Sealer
Once any new stitching is dry, apply a generous and even bead of seam sealer along the repaired seam. Use a brush or applicator to spread it thinly and ensure it penetrates the stitching and fabric. Work it into any small gaps.
Step 4: Let it Cure
Allow the seam sealer to cure completely according to the product’s instructions. This usually takes at least 12-24 hours. The seam will be waterproof and secure once cured.
Tips for Success and Troubleshooting
Here are some extra tips and answers to common issues you might encounter:
- Work in a Clean Environment: Dirt and dust are the enemies of good adhesion. Work on a clean surface, and ensure your hands are clean.
- Be Patient: Rushing the process, especially the curing time, can lead to a repair that fails prematurely.
- Test Waterproofing: After a repair, especially on the rainfly or floor, you might want to test its waterproofness by gently spraying it with a hose before your next trip.
- Dealing with Sticky Residue: If you’re removing an old patch or tape, Goo Gone or a similar adhesive remover can help, but be sure to clean the area thoroughly with alcohol afterward.
- What if the Fabric is Degraded? If the tent fabric itself is old, brittle, or has significantly degraded (e.g., it feels like plastic wrap and cracks easily), repairs might be temporary. In such cases, a new tent might be the best long-term solution. You can find great options, from the best pop-up tent on the market to more specialized models.
- Ventilation is Key: When using glues or sealers, work in a well-ventilated area to avoid inhaling fumes.
Conclusion
A tear in your tent doesn’t have to be the end of your camping adventures. With the right knowledge and a few simple supplies, you can effectively repair most common types of damage, extending the life of your shelter and saving you money. Remember to always assess the damage carefully, use appropriate materials, and be patient with the curing process. By following these steps, you can confidently tackle tent repairs and ensure your gear is always ready for the great outdoors. So, next time you discover a rip, don’t despair – grab your repair kit and get patching! Happy camping!