
Dealing with mold on your camping tent can be disheartening, but this comprehensive guide will walk you through the process of removing it effectively. You’ll learn about the right cleaning solutions, the best techniques for different tent materials, and crucial tips for preventing mold from returning. Get ready to restore your tent to its former glory for your next outdoor adventure.
Are you ready for your next camping trip, only to discover unwelcome fuzzy patches on your tent? Mold on a camping tent can be a real bummer, turning a potential adventure into a damp, musty disappointment. But don’t worry! Removing mold from your camping tent is a manageable task that, with the right approach, will have your tent looking and smelling fresh again. This guide will provide you with everything you need to know, from identifying the mold to deep cleaning and preventing its return.
Camping adventures are all about enjoying the great outdoors. The last thing you want is to set up your shelter only to be greeted by the sight and smell of mold. Mold thrives in damp, dark environments, making tents a prime target, especially after being packed away wet or stored in humid conditions. The good news is that with a little effort and the right techniques, you can effectively tackle this problem and ensure your tent is ready for many more trips to come.
In this guide, we’ll cover:
- Identifying mold and its potential causes.
- The essential supplies you’ll need for cleaning.
- Step-by-step instructions for safely removing mold.
- Tips for drying and storing your tent to prevent future growth.
- Troubleshooting common issues.
Let’s dive into how to rescue your beloved camping tent from the clutches of mold!
Key Takeaways
- Identify the Mold and Tent Material: Different mold types and tent fabrics require specific cleaning approaches to avoid damage.
- Gather Your Supplies: Ensure you have the necessary cleaning agents, brushes, water, and protective gear before you start.
- Proper Cleaning Process: Follow a methodical step-by-step process, including pre-treatment, scrubbing, rinsing, and drying.
- Use Appropriate Cleaning Solutions: Mild solutions like diluted vinegar or specialized tent cleaners are recommended over harsh chemicals.
- Thorough Drying is Crucial: Incomplete drying is a primary cause of recurring mold; ensure your tent is completely dry, inside and out.
- Prevent Future Mold Growth: Proper storage, ventilation, and prompt cleaning after use are key to keeping mold at bay.
- Know When to Seek Professional Help: For severe or stubborn mold infestations, consider professional cleaning services.
Understanding Mold on Your Tent
Before you start scrubbing, it’s helpful to understand what you’re dealing with. Mold is a type of fungus that grows in the form of multicellular filaments called hyphae. It typically appears as black, green, white, or even pinkish spots or patches. The primary culprits for mold growth on tents are moisture and a lack of ventilation.
Why Does Mold Grow on Tents?
- Moisture: This is the biggest factor. Tents can get wet from rain, dew, condensation, or being packed away while still damp. If the moisture isn’t allowed to evaporate, mold spores have the perfect environment to flourish.
- Lack of Ventilation: Storing a tent in a sealed bag or container without airflow traps moisture. Similarly, not airing out a tent after use can lead to mold.
- Dirt and Debris: Organic matter like leaves, dirt, and even bird droppings can provide a food source for mold.
- Warm, Humid Environments: Mold loves warmth and humidity, making damp basements, garages, or sheds ideal breeding grounds if a tent is stored improperly.
Tent Material and Mold
Most camping tents are made from synthetic fabrics like nylon or polyester, often with a waterproof coating. While these materials are durable, the coatings can sometimes be affected by harsh cleaning chemicals. Canvas tents, while less common now, are also susceptible to mold and mildew, and require slightly different care. Always check the manufacturer’s care instructions for your specific tent.
Gathering Your Cleaning Supplies
Having the right tools and cleaning agents is crucial for an effective and safe mold removal process. Here’s what you’ll likely need:
Essential Cleaning Agents:
- White Vinegar: A natural, effective, and relatively mild disinfectant and mold killer. Mix with water.
- Mild Soap: A gentle dish soap or a specialized tent cleaner. Avoid harsh detergents that can strip waterproof coatings.
- Lemon Juice (optional): Can be used as a natural bleaching agent for light mold spots.
- Rubbing Alcohol (isopropyl alcohol): For very stubborn spots, diluted rubbing alcohol can be effective, but test in an inconspicuous area first.
- Water: Plenty of clean water for rinsing.
Tools and Gear:
- Soft-bristled brushes: A scrub brush or an old toothbrush for working on stubborn spots. Avoid stiff brushes that can damage the fabric.
- Sponges: For general cleaning and wiping.
- Buckets: For mixing cleaning solutions and for rinsing.
- Clean cloths or towels: For wiping and drying.
- Protective gloves: To protect your hands from cleaning solutions and mold.
- Mask (optional but recommended): If you are sensitive to mold or cleaning fumes.
- Hose or spray bottle: For applying cleaning solutions and rinsing.
- A large, flat outdoor space: To lay out and clean your tent.
Step-by-Step Mold Removal Process
Now that you’re prepared, let’s get to the actual cleaning. The key is to be thorough and gentle.
Step 1: Set Up Your Workspace
Find a well-ventilated outdoor area where you can spread out your tent. A sunny day is ideal, as sunlight can help kill mold spores and dry the tent. Lay down a tarp or a ground cloth to keep your tent clean while you work.
Step 2: Initial Inspection and Dry Brushing
First, inspect your tent carefully for all moldy areas. Then, while the tent is completely dry, use a soft-bristled brush to gently brush away any loose mold or dirt. This will prevent spreading mold spores further when you introduce moisture. Brush the affected areas outdoors so the spores don’t contaminate your living space.
Step 3: Choose and Prepare Your Cleaning Solution
For most common mold issues, a 1:1 solution of white vinegar and water is a great starting point. Mix it in a bucket or spray bottle. If you’re using a commercial tent cleaner, follow the product’s instructions carefully.
Option A: Vinegar Solution (Recommended for most cases)
Mix equal parts white vinegar and water. This solution is effective at killing mold and mildew without damaging most tent fabrics.
Visual guide about How to Remove Mold from Camping Tent
Image source: i0.wp.com
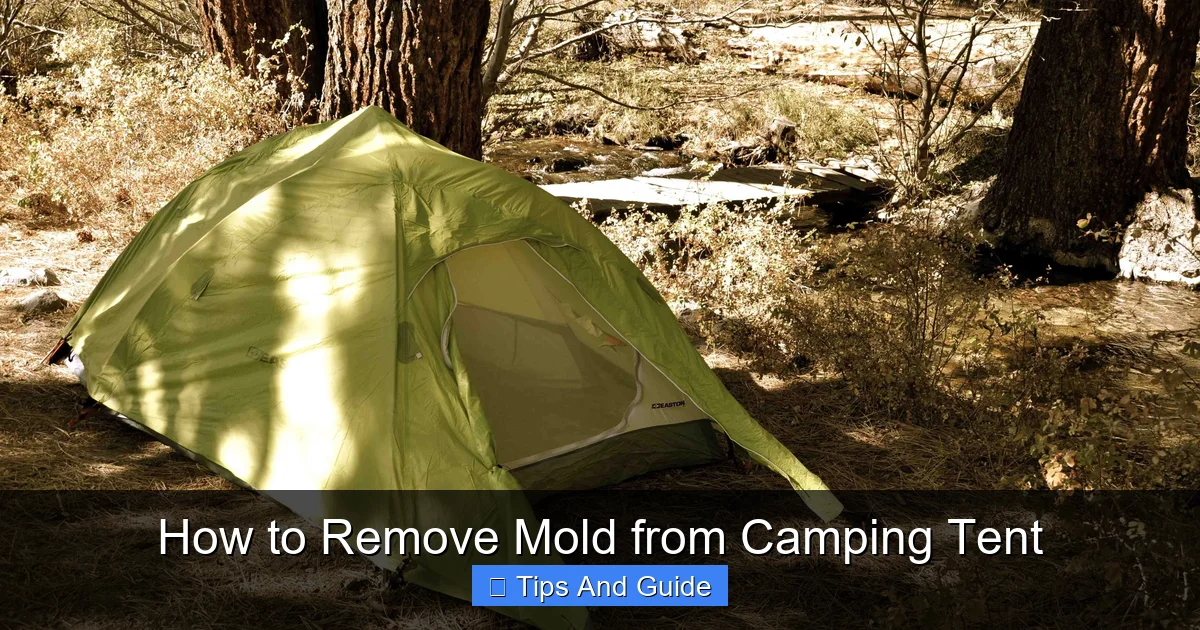
Visual guide about How to Remove Mold from Camping Tent
Image source: i.pinimg.com
Option B: Mild Soap Solution
If the mold is light, a solution of mild dish soap and water can be sufficient. Use just a few drops of soap in a bucket of water.
Option C: Specialized Tent Cleaner
If you have a high-end tent or are unsure about DIY solutions, a purpose-made tent cleaner is a safe bet. Always follow the manufacturer’s directions.
Step 4: Apply the Cleaning Solution
Using a sponge or a spray bottle, apply your chosen cleaning solution directly to the moldy areas. Don’t drench the entire tent unless it’s heavily affected. Let the solution sit for about 10-15 minutes to allow it to work on the mold. For stubborn spots, you can gently scrub with a soft brush after applying the solution.
Step 5: Scrub the Mold Away
Gently scrub the treated areas with your soft-bristled brush or sponge. Work in small sections. You should see the mold begin to lift. For tougher spots, you might need to apply a bit more pressure or a second application of the solution. Be careful not to scrub too aggressively, as this can damage the tent fabric or its coatings.
Step 6: Rinse Thoroughly
This is a critical step. Using a hose on a gentle setting or by wiping with damp cloths, rinse away all traces of the cleaning solution and loosened mold. Make sure no cleaning residue is left behind, as this can attract dirt and moisture, leading to future problems. Rinse multiple times if necessary.
Step 7: Treat Stubborn Stains (If Necessary)
If some faint stains remain after cleaning, you can try a few methods:
- Lemon Juice: Apply a bit of fresh lemon juice to the stain and let it sit in the sun for a few hours. The natural bleaching properties of lemon combined with sunlight can fade light stains. Rinse thoroughly afterward.
- Diluted Rubbing Alcohol: For very persistent dark stains, you can try a solution of 1 part rubbing alcohol to 4 parts water. Apply with a cloth, blot gently, and rinse very well. Always test this in an inconspicuous area first, as alcohol can sometimes affect fabric dyes or coatings.
Remember, the goal is to remove the mold, not necessarily to make the fabric look brand new if there are permanent discolorations.
Drying Your Tent: The Most Important Step
This is where many people go wrong, leading to recurring mold. Your tent MUST be bone dry before you store it.
Step 8: Air Dry Completely
Hang your tent or lay it out flat in a well-ventilated area, preferably in direct sunlight. Ensure all surfaces, including the inside, outside, seams, and zippers, are exposed to air. It may take several hours, or even a full day or two, depending on the weather.
Step 9: Inspect Again and Ensure Dryness
Once you think it’s dry, give it another thorough inspection. Feel the fabric, especially in seams and corners. If there’s any hint of dampness, keep drying. You can even use a fan to circulate air around the tent to speed up the process. If you’re drying it indoors, ensure the room is well-ventilated and use fans.
Preventing Mold and Mildew in the Future
The best way to deal with mold is to prevent it from forming in the first place. Here are some proactive measures:
1. Always Dry Your Tent After Use
This is the golden rule. Whether it rained, there was heavy dew, or condensation built up inside, always dry your tent completely before packing it away. If you can’t dry it immediately after a trip, set it up in your garage or backyard as soon as possible.
2. Air Out Your Tent Regularly
Even if you haven’t used your tent recently, it’s a good idea to unpack it every few months and air it out for a day. This helps prevent moisture buildup and allows you to inspect for any issues.
3. Proper Storage is Key
Store your tent loosely in a breathable bag or pillowcase rather than tightly packed in its original stuff sack, especially if you live in a humid climate. Store it in a cool, dry, and well-ventilated place. Avoid damp basements or garages. If possible, store it on a shelf rather than on the floor.
4. Clean Spills and Debris Promptly
Wipe up any spills inside the tent and brush away dirt, leaves, or other debris as soon as you notice them. These can all contribute to mold growth.
5. Ventilate During Use
When camping, open tent vents and doors whenever possible, especially during periods of high humidity or condensation, to allow for airflow. This can help reduce moisture buildup inside your shelter.
6. Consider a Tent Footprint or Tarp
Using a footprint or tarp under your tent protects the tent floor from abrasion and moisture. This can help keep the tent cleaner and drier. If you’re looking for a comfortable base for your tent, check out our guide on the best camping mat for tent options.
7. Be Mindful of Your Campsite Selection
When camping, choose a site that isn’t overly shaded or prone to collecting standing water. Good drainage and airflow around your tent can make a big difference. If you’re planning a trip, explore options like the best campgrounds for tent camping to find ideal locations.
Troubleshooting Common Issues
Sometimes, mold removal isn’t as straightforward as you’d hope. Here are some common problems and solutions.
Problem: The Mold Stain Won’t Go Away
Solution: Faint stains may be permanent discoloration from the mold. Focus on ensuring the mold itself is killed and removed. If the stain is very noticeable and bothersome, you might consider using a fabric-safe dye or repair kit, but this is usually unnecessary for functionality.

Visual guide about How to Remove Mold from Camping Tent
Image source: i.etsystatic.com
Problem: The Tent Fabric Feels Weak or Damaged
Solution: If the mold has been present for a long time or was very severe, it might have started to break down the fabric fibers. If the fabric feels brittle or tears easily, the tent might be at the end of its lifespan. Gentle cleaning is always best to avoid further damage.
Problem: The Smell Lingers Even After Cleaning
Solution: This often means not all the mold or moisture has been eliminated. Ensure the tent is completely dry and has been aired out thoroughly. You can also try placing baking soda sachets inside the tent during storage to absorb odors. For persistent odors, a specialized tent deodorizer might help.
Problem: Mold Appears on Waterproof Coatings (e.g., PU coating)
Solution: These coatings can be sensitive. Stick to very mild solutions like diluted vinegar or specialized tent cleaners. Avoid abrasive scrubbing. Ensure thorough rinsing.
When to Consider Professional Help
If you have a very expensive tent, a severe mold infestation that you can’t manage, or if you’re simply not comfortable tackling the job yourself, consider a professional tent cleaning service. They have the specialized equipment and knowledge to clean and restore tents safely.
Conclusion
Dealing with mold on your camping tent might seem daunting, but it’s a solvable problem. By following these steps, you can effectively remove mold and restore your tent to its pristine condition. Remember that prevention is always better than a cure. Consistent drying, proper storage, and regular airing out will be your best allies in keeping your tent mold-free for years to come. A clean and well-maintained tent means more comfortable and enjoyable camping trips. So, take the time to care for your gear, and it will take care of you on your adventures. Happy camping!