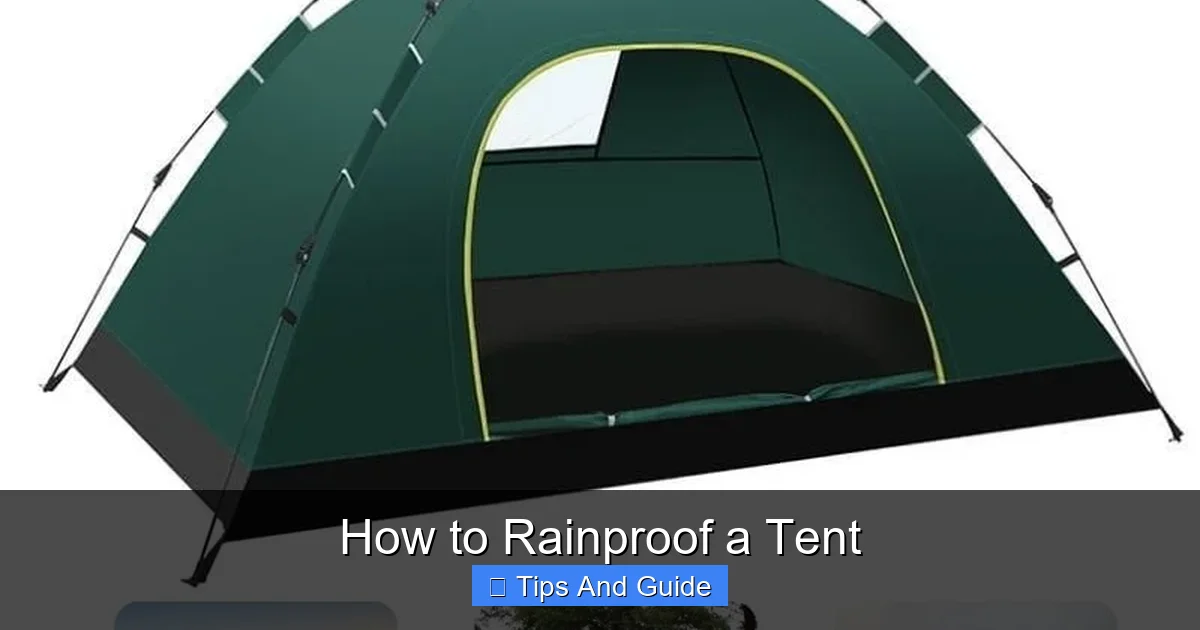
How to Rainproof a Tent
Don’t let rain ruin your camping trip! This guide teaches you how to effectively rainproof your tent, ensuring a dry and comfortable experience. We’ll cover choosing the right waterproofing treatments, preparing your tent, applying them correctly, and essential maintenance. With these steps, you can significantly improve your tent’s ability to withstand the elements.
Going camping is an adventure, but it’s not so much fun when you’re stuck in a soggy tent! Rain can quickly turn a dream trip into a damp disaster. Fortunately, you can take steps to make sure your tent is as rainproof as possible. This guide will walk you through everything you need to know, from understanding your tent to applying waterproofing and keeping it in top shape. Get ready to stay dry and enjoy your outdoor adventures, no matter the weather!
- Understand Your Tent’s Material: Different tent fabrics require different waterproofing approaches. Knowing whether your tent is made of nylon, polyester, or canvas is the first step.
- Choose the Right Waterproofing Product: Select sprays, washes, or seam sealers specifically designed for outdoor fabrics. Products vary in their effectiveness and application method.
- Proper Tent Preparation is Crucial: A clean and dry tent is essential for any waterproofing treatment to adhere effectively. This involves washing and ensuring it’s completely dry before treatment.
- Apply Waterproofing Evenly: Consistent application across the entire tent surface, paying close attention to seams and stress points, is key to preventing leaks.
- Don’t Forget the Seams: Seam sealing is a vital step, as seams are common entry points for water. Use a dedicated seam sealer for maximum protection.
- Regular Reapplication and Maintenance: Waterproofing isn’t a one-time fix. Periodic reapplication and proper care will extend your tent’s waterproof life.
- Ventilation is Still Important: While waterproofing, remember that maintaining some airflow can help reduce condensation inside your tent.
Why Is Rainproofing Your Tent Important?
A properly rainproofed tent is your primary shelter against the elements. It keeps you dry, warm, and protected from wind. Over time, even the best tents can lose their waterproofing capabilities due to wear and tear, UV exposure, and improper care. Reapplying waterproofing treatment is a cost-effective way to extend the life of your tent and ensure your comfort on camping trips. It’s about more than just comfort; it’s about safety and enjoying your time outdoors without the constant worry of leaks. If you’re looking for the best pop up tent for rain, checking its existing waterproof rating is a good starting point, but applying additional treatments can offer an extra layer of security.
Understanding Your Tent’s Material
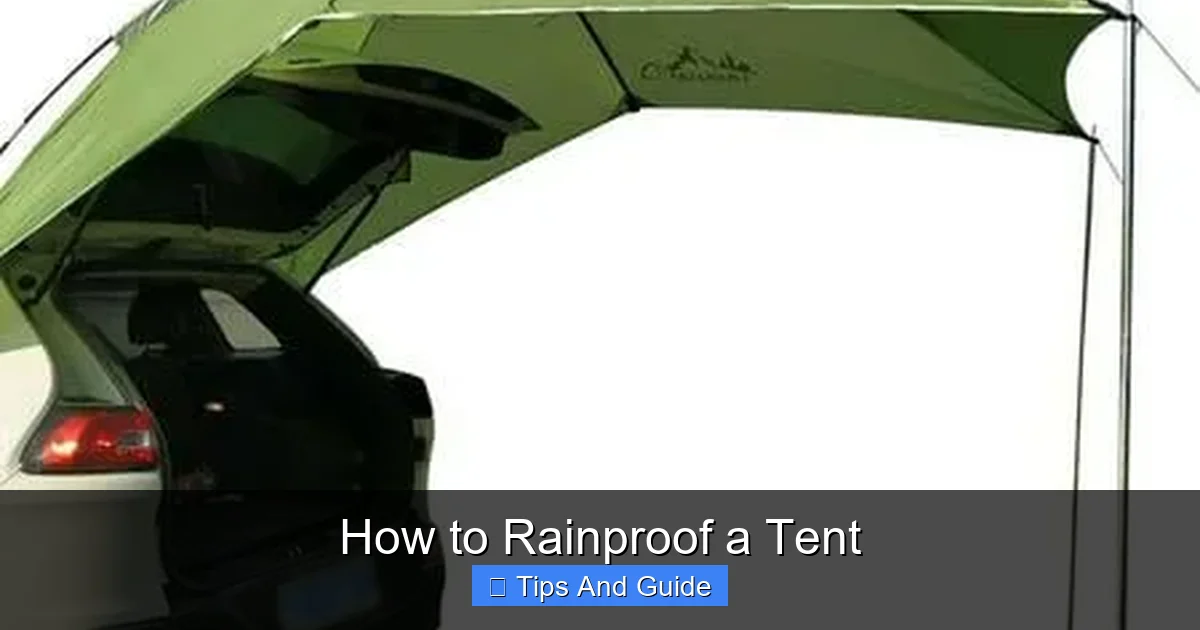
Visual guide about How to Rainproof a Tent
Image source: i.pinimg.com
Before you grab any waterproofing product, it’s essential to know what your tent is made of. Most modern tents are made from nylon or polyester, while older or more specialized tents might use canvas.
Nylon and Polyester Tents
These synthetic materials are lightweight, durable, and dry quickly. They often come with a factory-applied DWR (Durable Water Repellent) coating and a PU (Polyurethane) or silicone coating on the inside to make them waterproof. Over time, these coatings wear off.
Canvas Tents
Canvas is a natural fiber that is inherently water-resistant. However, it can absorb water if not properly treated. Canvas tents often require different types of waterproofing treatments than synthetic tents.
Choosing the Right Waterproofing Product
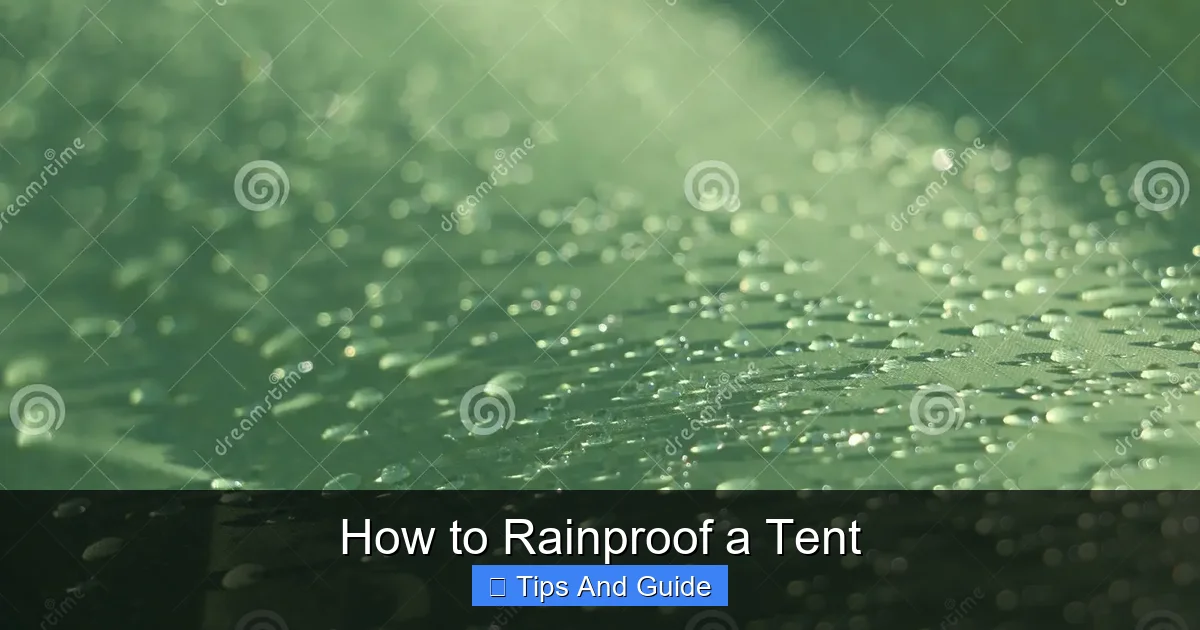
Visual guide about How to Rainproof a Tent
Image source: thumbs.dreamstime.com
There’s a wide range of waterproofing products available. It’s important to choose one that’s suitable for your tent’s material and the type of protection you need.
Waterproofing Sprays
These are the most common and easiest to apply. They create a DWR finish on the outside of the tent fabric, causing water to bead up and roll off. Brands like Nikwax, Granger’s, and Scotchgard offer popular waterproofing sprays.
Waterproof Washes
Some products are designed to be used in a washing machine. You wash your tent with the product, and it impregnates the fabric with waterproofing agents. These can be very effective for a thorough re-waterproofing.
Seam Sealers
Seams are often the weakest point for water entry. Seam sealers are liquid or tape-based products applied directly to the seams to create a waterproof barrier.
Canvas Waterproofing Treatments
For canvas tents, you might find specialized waxes or liquid treatments designed to penetrate the fabric and provide a robust water-resistant barrier without making the canvas stiff.
Step-by-Step Guide to Rainproofing Your Tent
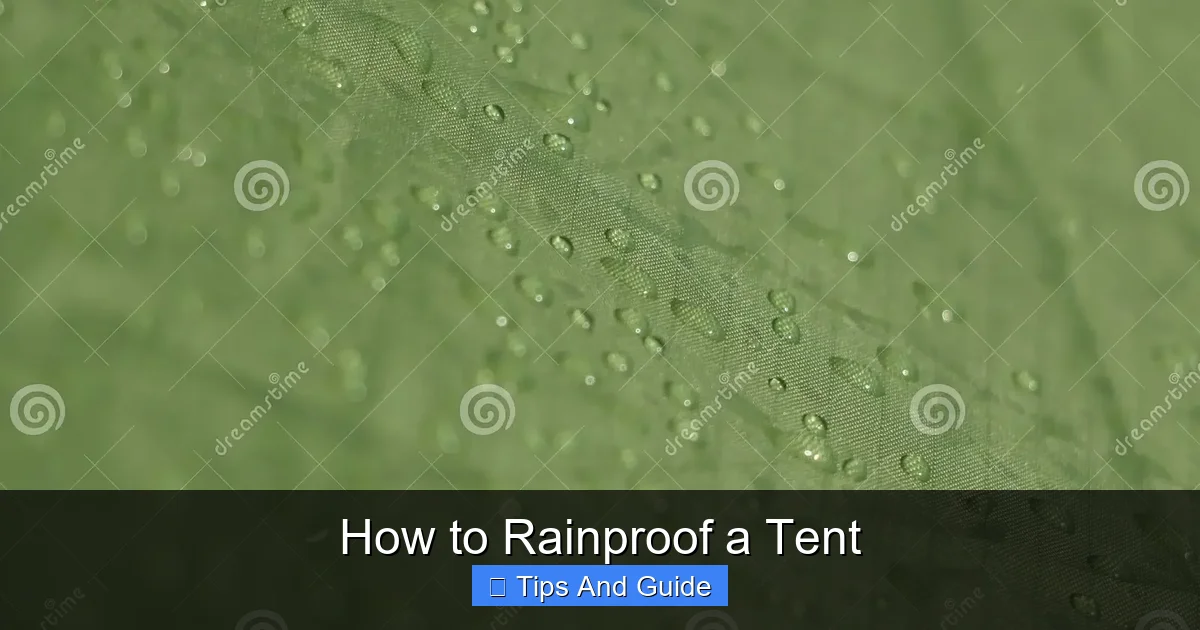
Visual guide about How to Rainproof a Tent
Image source: thumbs.dreamstime.com
Now, let’s get down to business. Follow these steps to effectively rainproof your tent.
Step 1: Prepare Your Tent
This is a crucial first step that many people skip. A clean tent will allow the waterproofing treatment to adhere properly and work effectively.
Clean Your Tent Thoroughly
Empty the Tent Completely
Remove all gear, sleeping bags, and anything else inside your tent.
Shake Out Debris
Turn the tent inside out and shake it vigorously to remove dirt, leaves, and any other loose debris.
Spot Clean Stains
For stubborn stains or mud, use a mild soap and water solution with a soft brush or sponge. Rinse thoroughly to remove all soap residue. Avoid harsh detergents, as they can strip away existing waterproofing.
Wash Your Tent (If Necessary)
Check Manufacturer’s Instructions
Always refer to your tent’s care label. Some tents can be machine washed, while others should only be hand-washed.
Use Mild Detergent or a Tent Wash
If machine washing, use a front-loading machine on a gentle cycle with cool water. Use a specialized tent wash or a very mild, non-detergent soap.
Rinse Multiple Times
Ensure all soap is completely rinsed out. Leftover soap can attract dirt and compromise waterproofing.
Dry Your Tent Completely
Air Dry in a Shaded Area
Hang your tent in a well-ventilated area, away from direct sunlight, which can degrade fabric. Allow it to air dry completely. This can take several hours or even overnight, depending on humidity. Make sure every inch of the tent, including seams and pockets, is bone dry.
Step 2: Apply Waterproofing Treatment
Once your tent is clean and completely dry, it’s time to apply the waterproofing.
Choose Your Application Method
Spraying
This is the most common method for DWR treatments. Ensure you are in a well-ventilated area, preferably outdoors.
Washing
If you opted for a wash-in treatment, follow the product instructions carefully for your washing machine.
Brush/Wipe On
Some canvas treatments may require brushing or wiping onto the fabric.
Even Application is Key
Work in Sections
Tackle one panel or section of the tent at a time.
Spray Evenly from a Consistent Distance
Hold the spray can about 6-8 inches away from the fabric. Apply a light, even coat. Don’t oversaturate any one area. You should see the fabric darken slightly as it absorbs the treatment.
Pay Attention to Stress Points
Focus on areas that experience the most stress, like the bottom of the tent, seams, and around poles and guy-out points. These are often the first places to start leaking.
Treat the Flysheet and Tent Body
Flysheet First
The flysheet is your primary barrier against rain, so ensure it gets ample treatment.
Tent Body (If Applicable)
Some tents have waterproof floors and lower walls. Treat these as well if they are made of the same material as the flysheet and seem to be losing their water repellency.
Step 3: Seal the Seams
Seams are critical points where water can seep through. Seam sealing is an essential step for comprehensive rainproofing.
Inspect All Seams
Look for any gaps, frayed threads, or areas where the factory sealant might be peeling.
Apply Seam Sealer
Use a Dedicated Seam Sealer
Choose a product specifically designed for tent seams. There are liquid sealers that you brush on and seam-sealing tapes.
Apply Carefully and Evenly
For liquid sealers, apply a thin, even bead along the entire length of the seam. Work it into the stitching with a small brush or applicator.
Allow to Dry Completely
Let the seam sealer cure fully according to the product’s instructions. This can take several hours. Avoid touching or stretching the seams while they are drying.
Step 4: Reapplication and Maintenance
Waterproofing treatments don’t last forever. Regular maintenance will keep your tent in prime condition for years to come.
Check for Water Beading
Periodically, especially before a trip, splash some water onto your tent. If it beads up and rolls off, the DWR is still working. If the water soaks in and darkens the fabric, it’s time to reapply.
Reapply as Needed
The frequency of reapplication depends on how often you use your tent and the conditions it’s exposed to. Typically, every 1-2 years or after a particularly heavy season of use is a good guideline.
Proper Storage is Key
Store Your Tent Dry
Never store a damp tent. Always ensure it’s completely dry before packing it away. This prevents mildew and degradation of the fabric and coatings.
Loosely Packed
Store your tent loosely in a breathable bag, not crammed tightly into its stuff sack. This allows air circulation and prevents creases from becoming permanent.
Avoid Direct Sunlight
Store your tent in a cool, dark place, away from direct sunlight, which can break down the fabric and coatings over time.
Practical Tips for Maximum Rain Protection
Beyond the application of waterproofing treatments, several other practices can enhance your tent’s rain resistance.
Pitch Your Tent Correctly
Site Selection
Choose a well-drained spot for your tent. Avoid depressions where water might collect. Look for slightly elevated ground.
Storm Flap Orientation
If your tent has a storm flap over the zipper, ensure it’s correctly positioned to prevent water from running down the zipper.
Proper Pegging and Guy Lines
Securely peg all points of your tent and use guy lines. This keeps the tent taut, preventing sagging where water can pool. Taut fabric sheds water more effectively. Consider the strength of your tent pegs, especially in windy or wet conditions.
Use a Footprint or Groundsheet
A footprint (a custom-fit ground tarp) or a separate groundsheet placed under your tent will protect the tent floor from abrasion and an additional barrier against ground moisture. Make sure the footprint is slightly smaller than your tent floor so it doesn’t collect rainwater and channel it under your tent.
Manage Condensation
Even a perfectly waterproof tent can suffer from condensation. This happens when warm, moist air inside the tent meets the cooler fabric.
Ventilation
Always use your tent’s vents. Open them fully if it’s not raining heavily. This allows moist air to escape.
Avoid Breathing Directly on Tent Walls
Try not to touch the inside of the tent walls, especially when sleeping, as this can transfer moisture.
Keep Gear Dry Inside
Don’t store wet gear inside your tent. If possible, keep rain jackets and boots in the vestibule.
Consider a Tent Awning or Tarp
For extra protection, especially in prolonged or heavy rain, consider setting up a tarp or awning over your tent entrance or a main living area. This provides an additional layer of defense and a dry space to move around. This is especially useful if you have a larger tent, like a **best camping canopy tent**, where you might want an extra sheltered zone.
Test Your Tent Before Your Trip
Before heading out on a trip, especially after re-waterproofing, set up your tent in your backyard or a park. You can even gently spray it with a hose to check for any leaks you might have missed.
Troubleshooting Common Rainproofing Issues
Sometimes, even with the best efforts, you might encounter problems.
Water Pooling on the Flysheet
This usually indicates that the fabric is not taut enough. Re-peg your tent and tighten the guy lines. Ensure there are no major sags.
Water Seeping Through the Floor
The tent floor may have lost its waterproofing. You can reapply a waterproofing treatment to the outside of the tent floor, or use a seam sealer if you suspect leaks around the seams. Ensure you’re using a groundsheet to protect the floor.
Drips from Seams
Your seam sealer may not have been applied correctly or has worn off. Reapply seam sealer to the affected seams.
Mildew or Mold Spots
These are often caused by storing the tent while damp. Clean the affected areas with a mild bleach solution (be cautious, as bleach can damage some fabrics) or a specialized mildew remover, and ensure the tent is completely dry before storage. Always prioritize drying your tent properly after every use.
Conclusion
Keeping your tent rainproof is an essential part of preparing for any camping trip. By understanding your tent’s material, choosing the right products, and following a diligent application and maintenance process, you can ensure your shelter remains a dry and comfortable haven, no matter what the weather throws at you. A little effort in rainproofing can make a world of difference to your camping experience. So, next time you pack your gear, make sure your tent is ready to face the rain head-on!