
Setting up a tent might seem daunting, but it’s a straightforward process with our step-by-step guide. We’ll walk you through everything from choosing the right spot to securing your shelter. Follow these simple instructions to ensure your tent is properly pitched for a comfortable and safe outdoor experience.
Welcome, outdoor adventurer! So, you’re ready to embrace the great outdoors and spend a night under the stars. That’s fantastic! One of the most fundamental skills for any camper is knowing how to put up a tent. It might seem a little intimidating at first, especially if you’re new to camping, but don’t worry. This comprehensive guide will break down the process into simple, manageable steps. By the end of this guide, you’ll be a tent-pitching pro, ready for any camping trip, whether it’s a weekend getaway in the mountains or a family camping adventure.
We’ll cover everything from selecting the perfect campsite to ensuring your tent is securely set up, even in challenging weather. We’ll also share some practical tips to make the process smoother and quicker. So, let’s get started on your journey to mastering how to put up a tent!
Key Takeaways
- Understand Your Tent: Before you start, familiarize yourself with your specific tent model. Different tents have unique features and pole configurations.
- Choose the Right Spot: Select a flat, clear area away from hazards like dead branches, ant hills, and water runoff paths.
- Lay Out Components: Unpack all tent parts and identify the tent body, poles, rainfly, stakes, and any guy lines.
- Assemble Poles and Insert: Connect the tent poles and thread them through the designated sleeves or attach them to clips on the tent body.
- Raise the Tent: Lift the tent structure by pulling the poles upwards, creating the basic shape of your shelter.
- Attach the Rainfly: Drape the rainfly over the tent body, aligning it correctly for maximum protection.
- Stake and Secure: Use stakes to firmly anchor the tent and rainfly to the ground, and utilize guy lines for added stability, especially in windy conditions.
Step 1: Preparation is Key – Before You Even Get to the Campsite
The first steps to successfully putting up a tent actually happen before you even arrive at your chosen camping spot. This preparation can save you a lot of time and frustration when you’re out in the field.
Unpack and Inspect at Home
Before your first camping trip with a new tent, or even after a long period of storage, it’s a smart idea to set it up in your backyard or a large indoor space. This allows you to:
- Familiarize Yourself: Understand how your specific tent works. Every tent is a little different. You’ll see how the poles connect, where the sleeves or clips are, and how the rainfly attaches.
- Check for Damage: Look for any tears, broken poles, missing parts, or damaged zippers. It’s much better to discover a problem at home than when you’re miles from anywhere.
- Practice: The more you practice, the faster and more confident you’ll become. Your first few setups might take a while, but with practice, you’ll be able to pitch your tent in minutes.
Gather Your Gear
Ensure you have all the necessary components for your tent. This typically includes:
- Tent body
- Tent poles
- Rainfly (the waterproof outer cover)
- Stakes (for securing the tent to the ground)
- Guy lines (ropes for extra stability)
- Tent bag or stuff sack
Some tents also come with a footprint or ground tarp. This extra layer goes under your tent to protect the bottom from abrasion and moisture.
Step 2: Selecting the Perfect Campsite
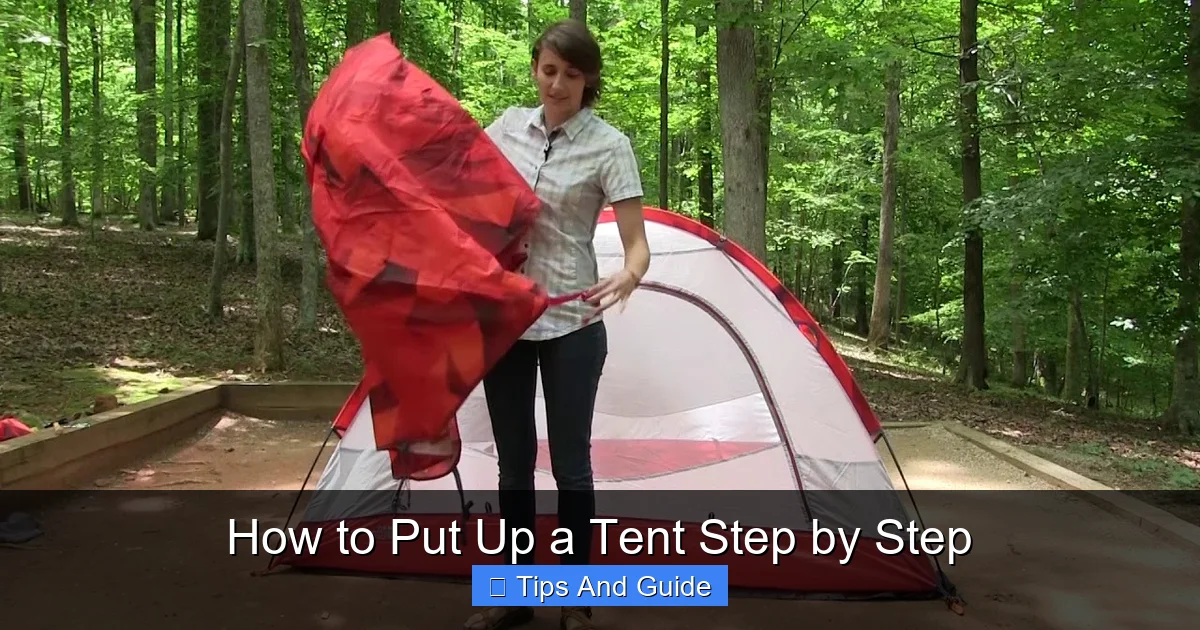
Visual guide about How to Put Up a Tent Step by Step
Image source: i.ytimg.com
Location, location, location! Choosing the right spot for your tent is crucial for a comfortable and safe camping experience.
Look for Flat and Level Ground
This is perhaps the most important factor. Sleeping on a slope is uncomfortable and can lead to you rolling out of your sleeping bag.
- Test the Spot: Walk around the area you’re considering. Does it feel mostly flat? Are there any significant dips or rises?
- Avoid Low-Lying Areas: These spots are more prone to collecting water if it rains.
Clear the Area
Before you lay down your tent, take a few minutes to clear the ground of any debris.
- Remove Rocks and Sticks: These can be uncomfortable to sleep on and can potentially puncture your tent floor.
- Check for Ant Hills and Pests: You don’t want to set up camp on top of an ant colony or a patch of poison ivy.
- Beware of Overhead Hazards: Look up! Avoid pitching your tent directly under dead trees or large branches that could fall. This is often referred to as “widowmakers” in the camping world and is a serious safety concern.
Consider Drainage
If there’s a chance of rain, think about how water will flow.
- Slight Higher Ground: If possible, choose a spot that’s slightly elevated compared to the surrounding terrain.
- Natural Channels: Observe the ground for any natural channels or depressions where water might collect. Avoid these.
Think About Wind and Sun
While not always possible, try to find a spot that offers some natural protection.
- Windbreaks: A cluster of trees or a large rock can offer a natural windbreak. However, be cautious about pitching too close to trees that could be a hazard.
- Morning Sun: If you dislike waking up very early to a hot tent, consider pitching so the morning sun doesn’t directly hit your tent’s main entrance.
Step 3: Laying Out Your Tent Components
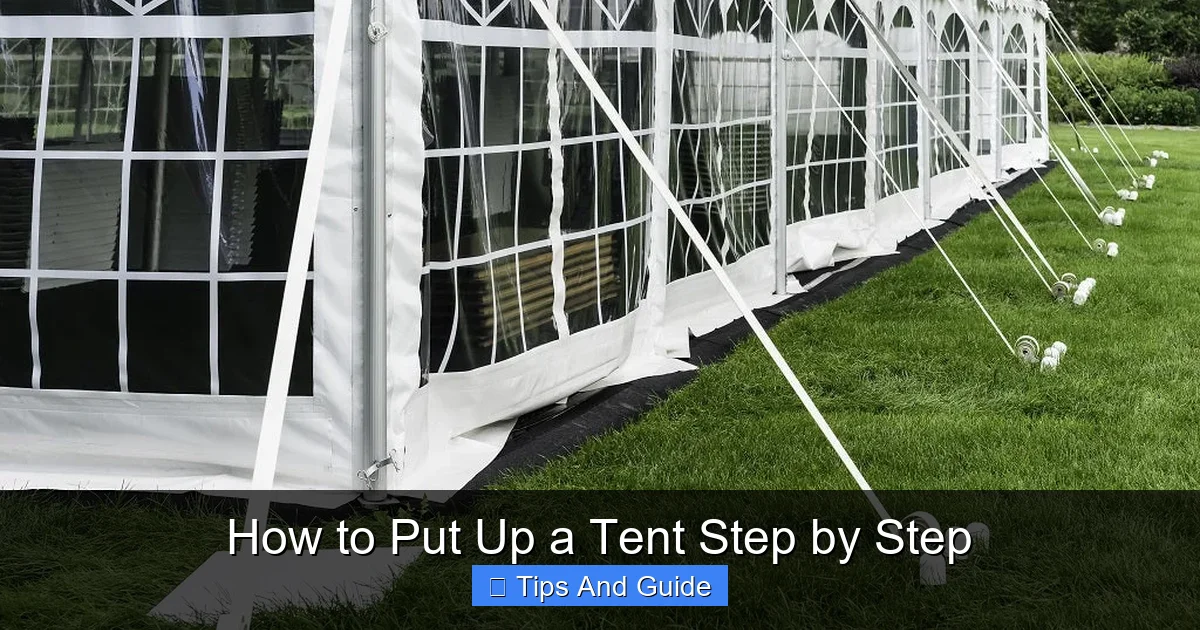
Visual guide about How to Put Up a Tent Step by Step
Image source: cdn.shopify.com
Once you’ve found your ideal spot, it’s time to get organized. Laying everything out clearly will make the setup process much smoother.
Unpack Everything
Take all the pieces out of their bags and lay them on the ground in an organized manner.
- Tent Body: Lay the main tent fabric flat on the ground. Make sure the floor is facing down.
- Poles: Connect the sections of your tent poles. They usually have elastic cords inside that snap them together.
- Rainfly: Have it ready to go.
- Stakes and Guy Lines: Keep these together so they’re easy to find.
Position the Tent Body
Orient the tent body so that the door is facing the direction you want. If you have a rainfly with multiple doors, consider which way you want access. For example, if you’re at a campsite with a view, you might want the primary door facing that way.
Step 4: Assembling the Poles and Connecting Them to the Tent
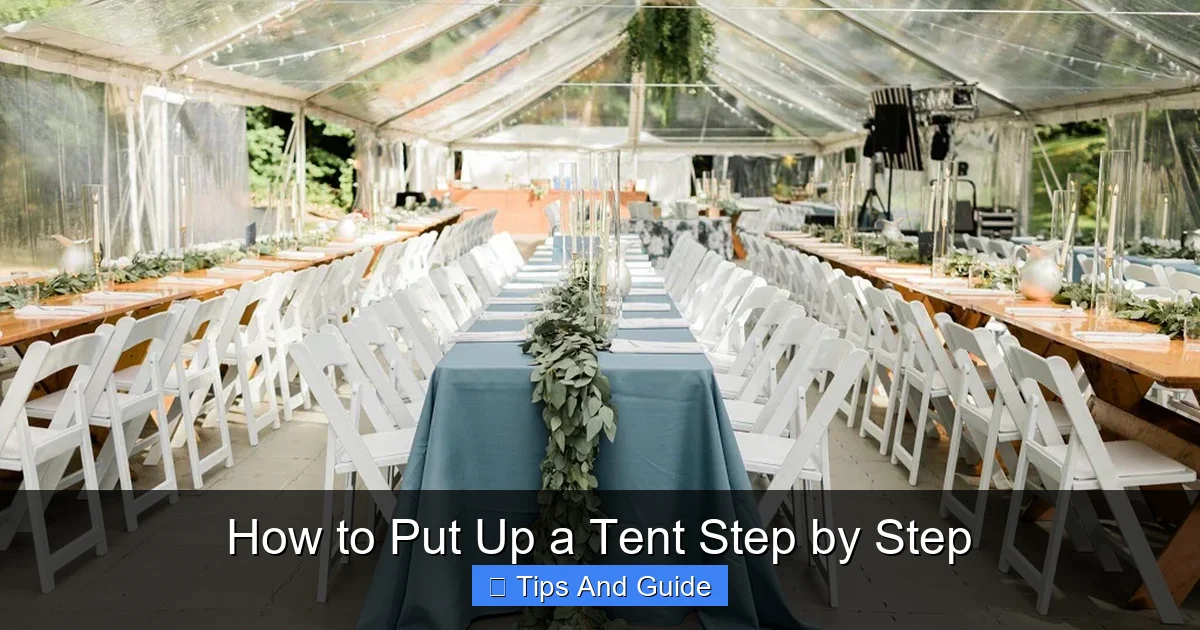
Visual guide about How to Put Up a Tent Step by Step
Image source: cdn.shopify.com
This is where your tent starts to take shape. The method for connecting poles can vary greatly between tent designs.
Understand Your Tent’s Pole System
There are two main ways poles are integrated into tent design:
- Sleeves: These are fabric channels sewn onto the tent body that the poles slide through.
- Clips: Many modern tents use clips that attach to the poles after the poles are laid out on either side of the tent.
Slide or Clip the Poles
If your tent has sleeves:
- Insert Carefully: Gently slide each pole through its designated sleeve. Be careful not to force it, which could snag or tear the fabric.
- Cross Over: For dome tents, you’ll typically have two main poles that cross over the top. Ensure they go through the correct sleeves.
If your tent has clips:
- Lay Poles Flat: Place the assembled poles on the ground, extending across the tent’s footprint.
- Attach Clips: Then, go around and attach all the clips from the tent body to the poles. This method often makes tent setup faster and is great for tents designed for quick setup, like many of the best pop-up tent on the market.
Step 5: Raising the Tent
With the poles in place, it’s time to lift your shelter into its standing position.
Lift and Secure
This step usually involves bending the poles into an arc and securing their ends into grommets or pockets at the corners of the tent.
- Insert Pole Ends: For tents with grommets, carefully insert the ends of the poles into the metal rings at the corners of the tent floor. You might need to bend the pole slightly to get it in.
- Attach Clips: If your tent uses clips, once the poles are in place, you’ll attach these clips to the poles. This starts to tension the fabric.
- Work Systematically: For larger tents, you might need to work on opposite corners or sides to evenly tension the fabric.
At this point, your tent should be standing on its own, even if it’s not fully tensioned yet.
Step 6: Attaching the Rainfly
The rainfly is your tent’s shield against the elements. Properly attaching it is crucial for staying dry and comfortable.
Identify the Correct Orientation
Rainflies are designed to fit over the tent in a specific way.
- Door Alignment: The door(s) on the rainfly should line up with the door(s) on the tent body.
- Vents: If your rainfly has vents, these should align with any vents on the tent body.
Drape and Secure
- Lay it Over: Carefully drape the rainfly over the tent body. Ensure it covers the entire tent without bunching up.
- Secure at Corners: Most rainflies have buckles, Velcro straps, or ties that connect to the tent poles or loops at the corners of the tent. Secure these first.
- Fasten Doors: Some rainflies have zippers or Velcro to secure the rainfly’s doors to the tent body’s doors.
Make sure the rainfly is taut and not sagging, as this can cause water to pool. If you’re looking for tents that offer excellent protection, you might want to research the best pop-up tent waterproof options available.
Step 7: Staking Down Your Tent and Using Guy Lines
This is a critical step for stability and security. Properly staked tents can withstand significant wind.
Stake the Tent Corners
- Insert Stakes: Drive stakes into the ground at an angle, away from the tent. This angle provides better holding power.
- Attach to Loops: Connect the stake to the loops at the base of the tent.
If the ground is hard, you might need to use a rock or a sturdy stick to hammer the stakes in.
Utilize Guy Lines for Stability
Guy lines are essential for windy conditions or for maximizing the tension of your rainfly.
- Find Anchor Points: Guy lines attach to loops on the rainfly, usually near the corners or along the seams.
- Extend and Stake: Extend the guy lines outwards from the tent and stake them securely into the ground.
- Tensioners: Most guy lines have tensioners (often plastic adjusters) that allow you to tighten the line. Adjust these until the rainfly is taut and has no slack. This creates a much stronger structure.
For families or group outings, considering a best pop-up tent for family camping can ensure everyone has enough space and comfort.
Troubleshooting Common Tent Setup Issues
Even with the best intentions, things can sometimes go wrong. Here are a few common issues and how to solve them.
Tent Poles Won’t Slide Easily
- Problem: The poles are snagging in the sleeves.
- Solution: Don’t force them! Gently twist the pole as you slide it. Check if there’s a seam or a piece of fabric bunched up. Sometimes a light dusting of talcum powder can help reduce friction in the sleeves.
Rainfly Sagging or Not Fitting Properly
- Problem: The rainfly is loose or not covering the tent well.
- Solution: Double-check that you have the correct orientation. Ensure all buckles or Velcro straps are securely fastened at the corners. If you have guy lines, use them to pull the rainfly taut.
Stakes Won’t Go Into the Ground
- Problem: The ground is too hard or rocky.
- Solution: Try using a different spot if possible. If not, you can place a small rock on top of the stake and hammer it down with another rock or a sturdy stick. Alternatively, look for slightly softer ground around your designated spot. For very tough ground, some campers carry a small, lightweight mallet.
Tent is Wobbly in the Wind
- Problem: The tent feels unstable.
- Solution: This is where guy lines are crucial. Ensure all guy lines are properly attached and tensioned. If you have extra stakes, consider adding more anchor points for your guy lines. A good tent that can handle wind is essential, so looking into the best pop-up tent for wind is a smart move if this is a common concern.
Step 8: Final Touches and Enjoying Your Campsite
You’ve done it! Your tent is up and ready. Now for the finishing touches.
Ventilation
Open any vents on the rainfly or tent body. This helps with air circulation and reduces condensation inside the tent, especially important when considering a best pop-up tent heater for cooler nights.
Interior Organization
Unpack your sleeping bags, sleeping pads, and any other gear you’ll need inside the tent. Many tents have internal pockets for organizing smaller items.
Set Up Camp Chair and Relax
You’ve earned it! Take a moment to appreciate your accomplishment and enjoy the peace and quiet of nature.
Conclusion
Putting up a tent is a skill that improves with practice. By following these step-by-step instructions, understanding your tent’s specific design, and choosing a good campsite, you can confidently set up your shelter for a comfortable and enjoyable outdoor adventure. Remember to practice at home, pay attention to the details during setup, and always secure your tent properly. Happy camping!