
Setting up a camping tent might seem daunting, but it’s a straightforward process with the right guidance. This guide will walk you through each step, from choosing the perfect spot to securing your tent. Mastering tent setup ensures a comfortable and enjoyable outdoor adventure. Follow these instructions to quickly and easily erect your shelter.
Welcome, outdoor enthusiasts! So, you’ve got a brand new camping tent, and you’re ready to explore the great outdoors. That’s fantastic! But before you can relax under the stars, there’s one crucial step: setting up your tent. It might seem a little intimidating at first, especially if you’re new to camping. Don’t worry, though! Putting up a camping tent is a skill that anyone can learn. This guide is designed to take the mystery out of it. We’ll walk you through each step, from finding the perfect spot to making sure your tent is secure and ready for anything nature throws your way. By the end of this guide, you’ll be a tent-pitching pro, able to set up your shelter quickly and confidently. Let’s get started on your adventure!
Key Takeaways
- Choose Your Campsite Wisely: Select a flat, well-drained area away from potential hazards like dead trees or water sources.
- Inspect All Parts: Before you begin, lay out and check all tent components, including poles, stakes, and the rainfly.
- Assemble Poles Correctly: Connect tent poles according to the manufacturer’s instructions, usually by inserting the shock-corded sections.
- Lay Out the Tent Body: Spread the tent body flat on the ground, ensuring the door is facing your desired direction.
- Insert Poles and Raise Tent: Fit the poles into the tent’s grommets or sleeves and carefully lift the tent structure.
- Attach the Rainfly: Drape the rainfly over the tent, aligning its corners and securing it to the tent poles or body.
- Stake Out and Secure: Use stakes to anchor the tent and guylines for stability, especially in windy conditions.
Preparation is Key
Before you even touch your tent, there are a few things you should do to make the setup process smoother. This preparation saves time and avoids frustration when you’re at the campsite.
1. Choose the Right Campsite
This is arguably the most important step. A good campsite makes for a comfortable night’s sleep and a safer experience.
- Look for Flat Ground: Try to find a spot that is as level as possible. Sleeping on a slope can be uncomfortable, and if it rains, water might pool around your tent.
- Consider Drainage: Avoid low-lying areas where water might collect if it rains. Look for slightly elevated spots.
- Check for Hazards: Steer clear of areas with dead trees or branches (“widowmakers”) that could fall. Also, avoid setting up too close to water sources like rivers or lakes, as they can attract insects and potentially flood.
- Think About Sun and Wind: If you’re camping in a hot climate, some shade can be a lifesaver. Conversely, in colder weather, a sunny spot might be beneficial. Consider prevailing wind directions and set up your tent’s door away from it if possible.
- Respect Nature: Choose a spot that has minimal impact on the environment. Avoid disturbing vegetation or wildlife.
2. Unpack and Inspect Your Tent
Once you’ve found your ideal spot, it’s time to unpack. Lay everything out so you can see all the components. This is also your chance to check for any damage or missing parts.
- Tent Body: This is the main part of your tent. Unfold it and spread it out.
- Rainfly: This is the waterproof outer layer that protects you from rain and dew.
- Poles: These are usually made of aluminum or fiberglass and are often shock-corded for easy assembly.
- Stakes: These are used to secure your tent to the ground.
- Guylines: These are ropes used to further stabilize the tent, especially in windy conditions.
- Footprint or Ground Tarp (Optional but Recommended): This goes under your tent to protect the floor from abrasion and moisture.
If anything seems off, like a broken pole or a ripped seam, now is the time to address it. Hopefully, you’ve packed a repair kit just in case.
Step-by-Step Tent Setup
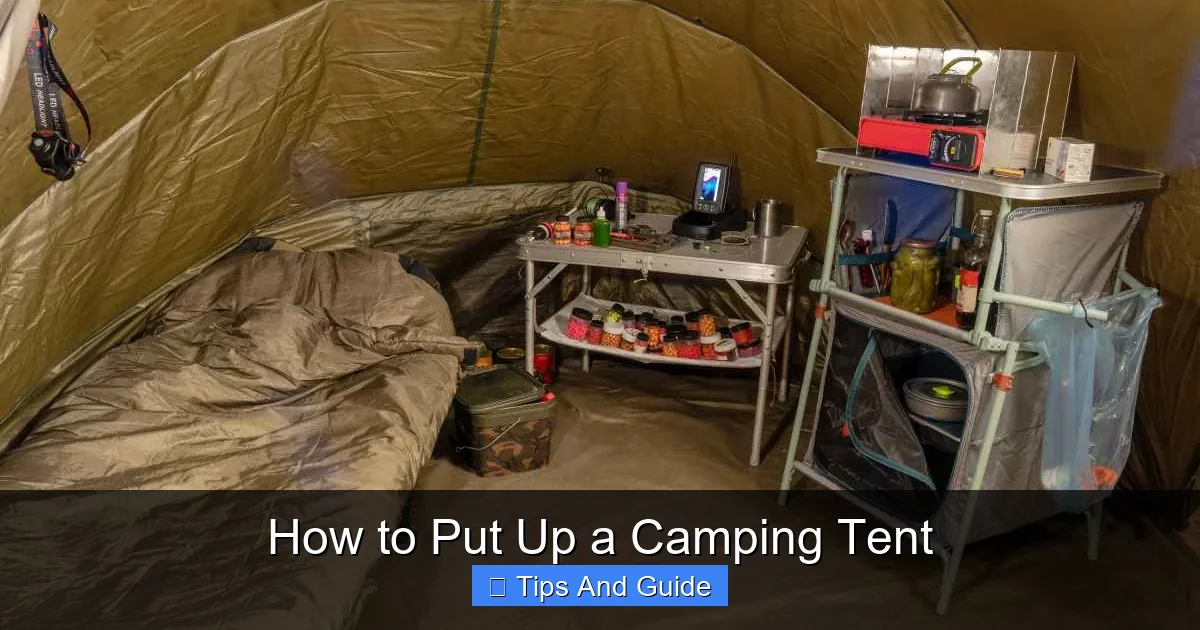
Visual guide about How to Put Up a Camping Tent
Image source: beyondthetent.com
Now for the main event! Follow these steps carefully, and you’ll have your tent up in no time.
Step 1: Lay Out the Tent Body
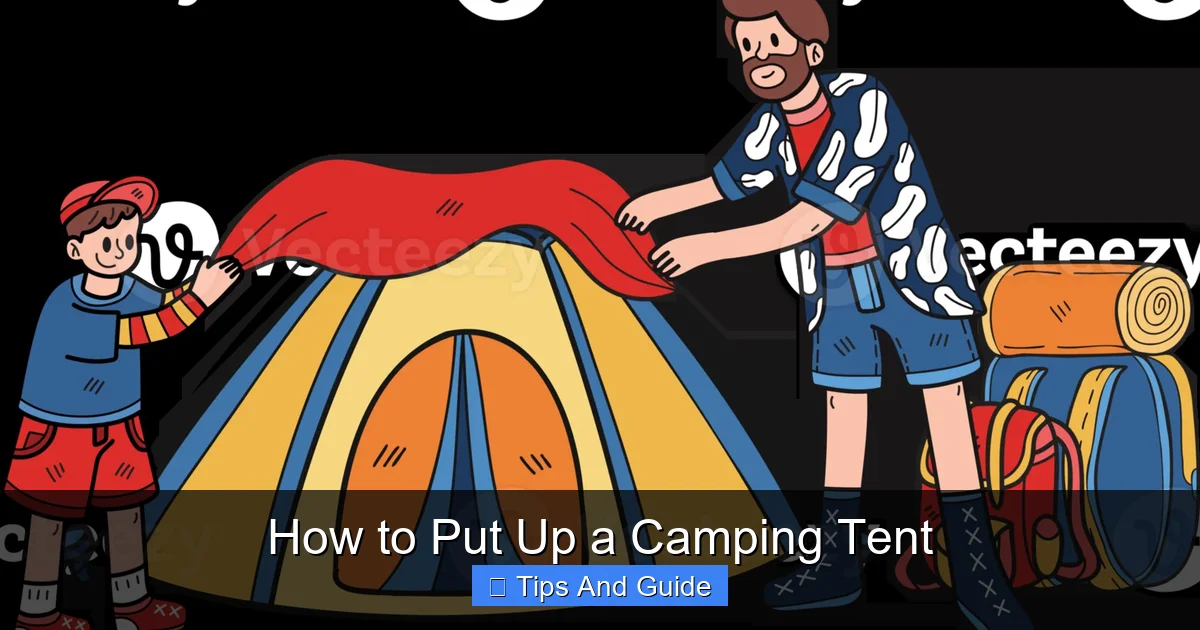
Visual guide about How to Put Up a Camping Tent
Image source: static.vecteezy.com
Start by spreading the tent body flat on your chosen campsite. Make sure the floor is facing down. Orient the tent so that the door is facing the direction you want it to be. This might be towards a path, a scenic view, or away from the wind. If you’re using a footprint or ground tarp, lay it down first, then place the tent body on top of it. The footprint helps protect your tent’s floor from punctures and moisture.
Step 2: Assemble the Tent Poles
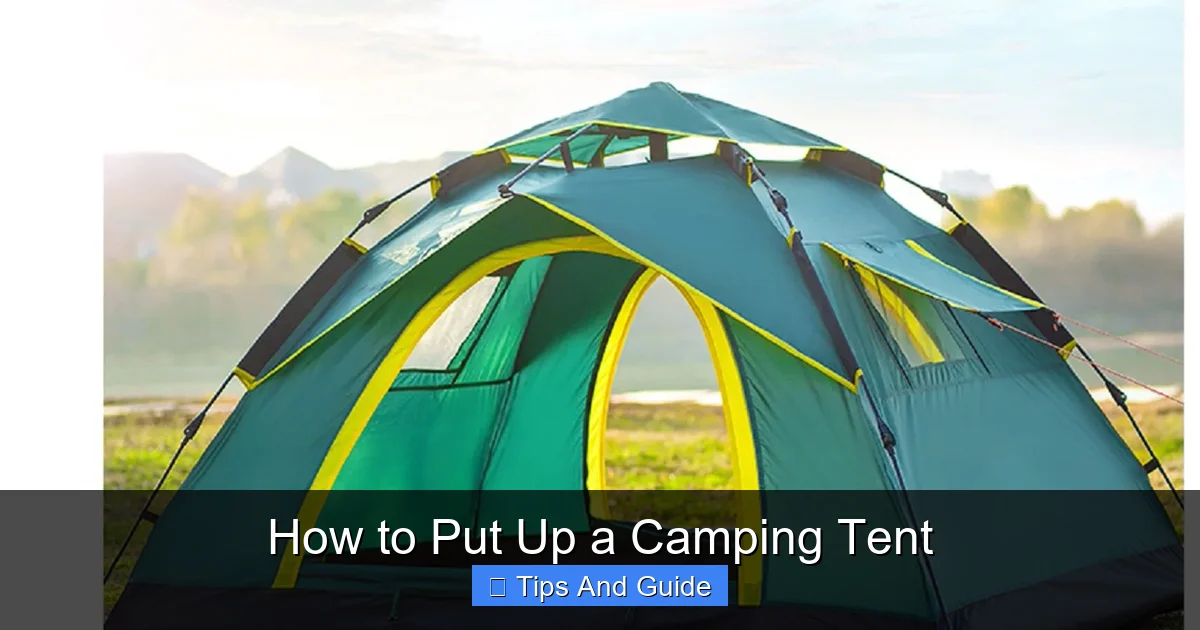
Visual guide about How to Put Up a Camping Tent
Image source: i5.walmartimages.com
Your tent poles are usually connected by elastic cords. They come in sections. Simply pull each section of the pole and let them snap together. Most modern tents have color-coded poles and corresponding grommets or sleeves on the tent. Match the colors to make sure you’re using the right poles in the right places. For example, if you have red-tipped poles, they will likely go into the red-marked grommets or sleeves.
Step 3: Insert Poles into the Tent
This is where the tent starts to take shape.
3.1. Inserting Poles into Sleeves
Some tents have fabric sleeves sewn onto the tent body. You’ll need to carefully slide the poles through these sleeves. This can sometimes be a bit tricky, especially on larger tents.
- Be Gentle: Don’t force the poles. If you encounter resistance, check if the pole is snagged or if you’re trying to push it through the wrong sleeve.
- Work Together: If you have a helper, one person can hold the pole while the other guides it through.
- Push, Don’t Pull: Generally, it’s easier to push the pole from one end.
3.2. Inserting Poles into Grommets
Other tents use clips or grommets. In this system, you’ll insert the end of the pole into a grommet (a reinforced hole) located at the corner or edge of the tent. Then, you’ll attach clips along the length of the pole to the tent fabric. This system often allows for quicker setup.
Step 4: Raise the Tent Structure
Once the poles are in place, you’ll start to see your tent taking shape.
- Connect the Ends: If your poles are separate and not yet fully inserted, connect the ends into the corresponding grommets or tensioners.
- Lift and Secure: Gently lift the poles upwards, allowing the tent fabric to stretch and form the tent’s shape. The poles create the frame.
- Attach Tent to Poles: If your tent uses clips, attach them now. If it uses sleeves, ensure the poles are fully threaded through. You might need to bend the poles to fit them into the grommets at the opposing ends. This creates tension and gives the tent its structure.
This is often the point where you might need an extra pair of hands to help hold things steady while you bend the poles into place.
Step 5: Attach the Rainfly
The rainfly is your primary protection against the elements.
5.1. Orienting the Rainfly
Drape the rainfly over the erected tent body. Make sure you have it oriented correctly. Most rainflies have a specific “front” and “back” that correspond to the tent’s doors. Look for logos or door openings on the rainfly and align them with the tent’s doors.
5.2. Securing the Rainfly
Once the rainfly is in place, secure it.
- Buckles or Straps: Many tents have buckles or straps at the corners of the rainfly that connect to corresponding buckles or grommets on the tent body or poles. Fasten these securely.
- Velcro Tabs: Some rainflies have Velcro tabs that wrap around the tent poles for extra support and to prevent flapping in the wind.
Ensure the rainfly is taut and not sagging, as this can allow water to collect.
Step 6: Stake Out the Tent
Now it’s time to anchor your tent firmly to the ground. This is crucial for stability, especially if the weather might turn.
- Tent Corners: Start by staking down the main corners of the tent body. Insert a stake through the loop at each corner and drive it into the ground at about a 45-degree angle, pointing away from the tent. This angle provides the best holding power.
- Rainfly Attachment Points: Stake out the loops at the base of the rainfly as well.
- Guylines: If your tent came with guylines, now is the time to deploy them. Attach the guylines to the designated loops on the rainfly. Extend them outwards and stake them down in a way that pulls the rainfly taut and adds stability to the tent structure.
Ensure all stakes are driven firmly into the ground. If the ground is rocky, you might need a rock to help hammer them in. If the ground is very soft, you might need larger stakes or to tie your guylines to a sturdy object like a tree or rock.
Step 7: Final Adjustments and Interior Setup
With the tent structure secure, take a moment to make any final adjustments.
- Tension: Check that all parts of the tent, including the rainfly, are taut. Adjust stakes and guylines as needed.
- Ventilation: Open any vents on the tent body or rainfly to ensure good airflow, which helps prevent condensation inside the tent.
- Interior Comfort: Now you can bring in your sleeping bags, sleeping pads, and other gear. It’s a good idea to check out our guide on the best camping bed for tent to maximize your comfort. You might also want to consider lighting; good camping lights for tent can make a big difference.
Tips for Different Tent Types
While this guide covers the general process, some tent types have specific nuances.
Pop-Up Tents
Pop-up tents, like many best pop up tents for camping, are designed for incredibly fast setup. They often spring into shape once released from their packaging. The setup is usually minimal, mainly involving staking them down. However, folding them back up can be the trickier part, requiring a specific technique to get them back into their compact carrying case. Always refer to the manufacturer’s instructions for folding these.
Dome Tents
Dome tents are very common and generally follow the pole-and-sleeve or pole-and-clip system described above. Their arching poles create a strong, stable structure.
Tunnel Tents
Tunnel tents rely on a series of flexible poles that create an arched tunnel shape. They are known for their wind resistance. Setup often involves threading poles through long sleeves.
Cabin Tents
Cabin tents are larger and often have vertical walls, providing more headroom. They can have more poles and a more complex setup process. Some may even resemble small rooms. For larger families, you might be looking at a best pop up family camping tent, which can have more elaborate structures.
Troubleshooting Common Tent Setup Issues
Even with the best intentions, you might run into a few hiccups. Here’s how to deal with them:
Problem: Poles won’t fit into sleeves or grommets.
Solution: Check that you have the correct pole for the sleeve/grommet. Ensure the pole is straight and not bent. Sometimes, a bit of wiggling is all that’s needed. Make sure you’re not trying to push the pole from the wrong end.
Problem: Tent fabric is sagging.
Solution: Adjust the stakes and guylines. Ensure the poles are properly seated and creating tension. If the ground is soft, try adding more stakes or tying guylines to secure points.
Problem: Rainfly is difficult to put on or doesn’t align correctly.
Solution: Double-check that you have the rainfly oriented correctly. Ensure all buckles or straps are attached and tightened. If it’s windy, having a helper makes this much easier.
Problem: Stakes won’t go into the ground.
Solution: If the ground is hard or rocky, use a rock or a sturdy stick to help hammer the stakes in. If it’s too hard, consider relocating the stake slightly to find softer ground. For very soft ground, use larger stakes or tie guylines to trees or heavy rocks.
Problem: Condensation inside the tent.
Solution: This is usually due to poor ventilation. Open vents on the rainfly and tent body. Avoid touching the tent walls, as this transfers body heat and moisture. Ensure your rainfly is taut so that air can circulate.
Conclusion
Putting up a camping tent is a fundamental skill for any camper. By following these steps, choosing your campsite wisely, and taking a moment to inspect your gear, you can confidently set up your shelter. Remember to practice at home before your first trip if you’re feeling unsure. A well-pitched tent provides a safe, dry, and comfortable home base for all your outdoor adventures. So, get out there, enjoy the process, and make the most of your time in nature! Happy camping!