
Adding a tarp over your tent provides crucial extra protection against the elements. This guide will walk you through the process step-by-step, from choosing the right tarp to securing it effectively. Learn how to create a more comfortable and dry camping experience by properly rigging a tarp over your tent.
Going camping is an incredible way to connect with nature and escape the everyday hustle. But no matter how well-made your tent is, sometimes the weather can be a bit unforgiving. Whether it’s a sudden downpour, a scorching sun, or gusty winds, having an extra layer of protection can make a world of difference in your camping comfort. That’s where putting a tarp over your tent comes in handy.
In this comprehensive guide, you’ll learn everything you need to know to effectively put a tarp over your tent. We’ll cover how to select the right tarp, the different ways to pitch it for various weather conditions, and how to secure it properly. By the end, you’ll be confident in your ability to create a more durable and comfortable camping shelter, ensuring your adventures are less about battling the elements and more about enjoying the great outdoors.
- Choose the Right Tarp Size: Select a tarp that is significantly larger than your tent’s footprint to ensure full coverage and overhang.
- Consider the Weather Conditions: The way you pitch your tarp will depend on whether you’re protecting against sun, rain, or wind.
- Secure Attachment Points Are Key: Use strong stakes, sturdy rope, and natural anchors like trees to firmly attach your tarp.
- Create a Steep Pitch for Rain: Angle your tarp to allow water to run off quickly and prevent pooling, keeping your tent dry.
- Allow for Ventilation: Ensure there’s airflow between the tarp and your tent to prevent condensation buildup.
- Regularly Check Tension: Periodically inspect and retighten guy lines, especially in windy conditions.
Why Put a Tarp Over Your Tent?
Before we dive into the “how,” let’s quickly touch upon the “why.” Adding a tarp over your tent offers several key benefits:
- Enhanced Waterproofing: While most modern tents are waterproof, an extra tarp acts as a secondary barrier against heavy or prolonged rain, significantly reducing the chance of leaks.
- Sun Protection: A tarp can create a cooler microclimate by blocking direct sunlight, making your tent a more pleasant place to be during hot days.
- Wind Protection: Strategically pitched, a tarp can act as a windbreak, deflecting strong gusts and preventing them from battering your tent.
- Extended Tent Lifespan: By shielding your tent from harsh UV rays and abrasive elements, a tarp can help prolong its overall life.
- Extra Living Space: A well-pitched tarp can create a covered area outside your tent, perfect for storing gear, cooking, or just relaxing without being directly exposed to the elements.
Choosing the Right Tarp
The success of your tarp setup begins with selecting the right tarp. Here’s what to consider:
Tarp Material
Tarps come in various materials, each with its pros and cons:
- Polyethylene (Poly): These are the most common and budget-friendly option. They are durable, waterproof, and readily available in many sizes and colors. However, they can be heavier and less breathable than other options.
- Silnylon/Silpoly: Made from nylon or polyester coated with silicone, these tarps are lightweight, highly waterproof, and pack down small. They are excellent for backpacking but can be more expensive.
- Canvas: While traditional and offering good breathability, canvas tarps are heavy, prone to mildew if not dried properly, and less waterproof than synthetic options. They are generally not recommended for this specific application.
For putting a tarp over a tent, a **polyethylene** or **silnylon/silpoly** tarp is usually your best bet due to their waterproof properties and reasonable weight.
Tarp Size
This is crucial! Your tarp should be significantly larger than your tent’s footprint. A good rule of thumb is to choose a tarp that extends at least 1-2 feet beyond each edge of your tent. This overhang is essential for directing water away from your tent and providing adequate coverage.
For example, if you have a 2-person tent (roughly 5×7 feet), a 7×9 foot or even an 8×10 foot tarp would be ideal. Always err on the side of larger.
Tarp Grommets and Loops
Ensure the tarp has reinforced grommets (metal eyelets) or strong webbing loops around its edges and corners. These are essential for tying down the tarp securely with ropes or guy lines.
Preparing Your Campsite
Before you even unfurl your tarp, a little campsite preparation goes a long way.
Choose Your Spot Wisely
When selecting your tent site, look for relatively level ground. Avoid low-lying areas where water might collect if it rains heavily. Also, consider natural features like trees that can be used as anchor points for your tarp.
Clear the Ground
Clear the area where your tent will be pitched of any sharp rocks, sticks, or debris that could puncture your tent or tarp.
Set Up Your Tent First
In most cases, it’s easier to set up your tent first. This gives you a central point to work from when pitching the tarp. Make sure your tent is pitched tautly and securely. If you’re using a footprint or ground cloth, set that down first under your tent. For ultimate comfort, consider a good camping mattress for your tent. You can find excellent options for a best camping mattress for tent.
How to Pitch a Tarp Over Your Tent: Step-by-Step
The method for pitching your tarp will depend on the prevailing weather conditions. We’ll cover the most common scenarios.
Scenario 1: Protection Against Rain
This is the most common reason for using a tarp over a tent. The goal here is to create a steep pitch that sheds water effectively.
Step 1: Position the Tarp
Drape the tarp loosely over your tent. Ensure it extends well beyond all sides of the tent. If using trees for support, position the tarp so that the center high point will be between two trees.
Step 2: Identify High and Low Points
You’ll want to create a high point or ridge to facilitate water runoff.
Using Poles or Sticks
If you don’t have trees nearby, you can use adjustable tarp poles, sturdy branches, or even trekking poles to create height.
Place the pole(s) under the center of the tarp to create a raised ridge. The height of these poles will determine the steepness of your tarp’s pitch.
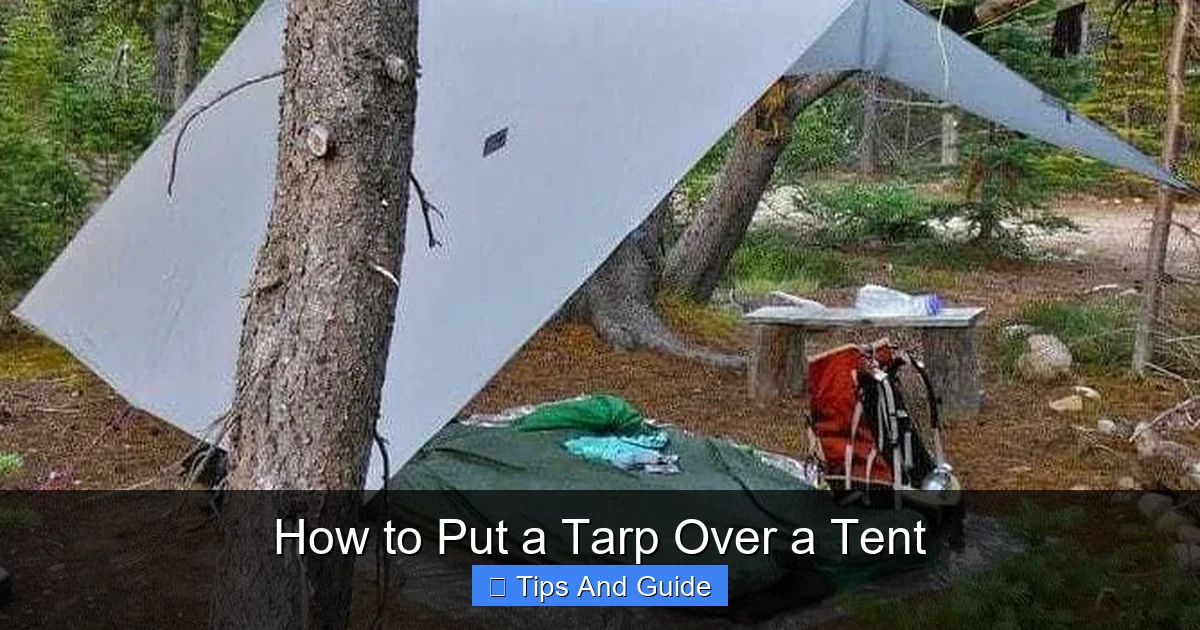
Visual guide about How to Put a Tarp Over a Tent
Image source: tryoutnature.com
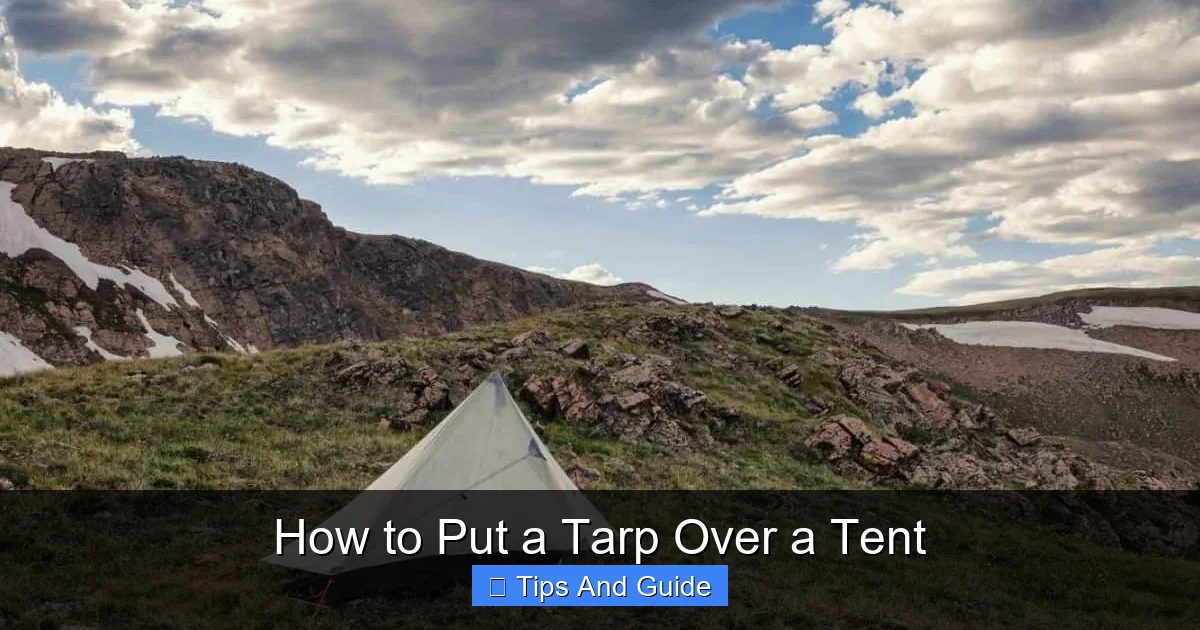
Visual guide about How to Put a Tarp Over a Tent
Image source: myopencountry.com
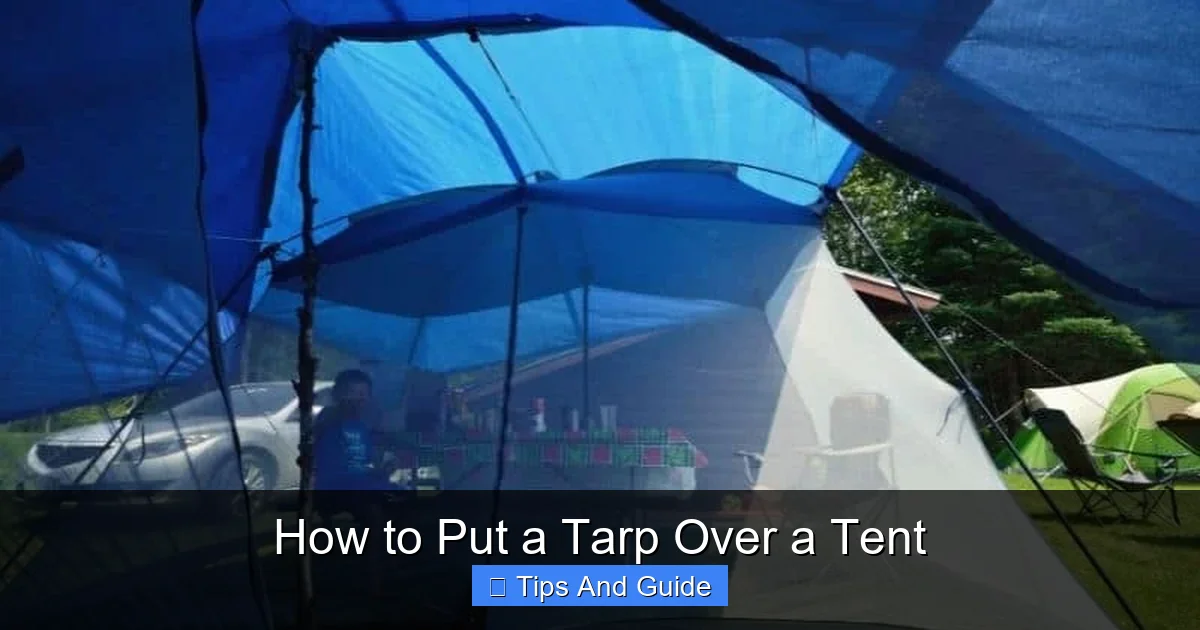
Visual guide about How to Put a Tarp Over a Tent
Image source: myopencountry.com
Using Trees
If you have trees, tie a rope (guy line) around a tree at the desired height and then run that rope over the tarp’s center. You can then pull the tarp taut using this rope. Alternatively, tie a shorter rope to the center grommet/loop of the tarp and tie the other end around a tree trunk.
Step 3: Secure the Corners and Edges
This is where proper tension and staking are critical.
Anchor the Corners
Take the four main corners of the tarp and pull them out away from the tent. Stake them firmly into the ground at an angle that creates tension across the tarp.
Create a Steep Angle
Ensure the tarp slopes downwards away from the tent on all sides. The steeper the angle, the faster water will run off. Aim for a pitch that is at least 30-45 degrees.
Use Guy Lines for Additional Support
If your tarp has additional grommets or loops along its sides, use them to attach guy lines. Run these lines out away from the tent and secure them with stakes. This adds stability and helps maintain the shape of the tarp.
Check for Pooling
Walk around your tent and visually inspect the tarp. Make sure there are no areas where water can pool. If you see a sag, adjust the tension on the guy lines or the support poles/ropes to create a steeper angle.
Step 4: Ensure Ventilation
It’s essential to allow for airflow between the tarp and your tent to prevent condensation.
Leave a gap of at least 6-12 inches between the top of your tent and the underside of the tarp. You can achieve this by not pulling the tarp completely taut against the tent or by using extra rope to create more space. Proper ventilation is key, especially if you are using a best camping heater for tent to stay warm.
Scenario 2: Protection Against Sun and Light Rain (Shade Setup)**
For hot, sunny days, or when you expect light showers, you can create a more open, airy setup that still provides protection.
Step 1: Identify Your Anchor Points
Look for trees, sturdy branches, or use your tent poles if they are strong enough. You’ll need at least two anchor points that are higher than your tent.
Step 2: Create a Sloping Roof
Drape the tarp over your tent, or create a freestanding structure that shades the tent.
Using Two Poles/Trees
If using two poles or trees, tie ropes to the top of each pole or tree. Run these ropes over the edges of the tarp, pulling it taut to create a sloped roof.
The A-Frame or Lean-To Style
You can pitch the tarp in an A-frame style, with a central ridge supported by poles or a rope between two trees, allowing the sides to slope down. A lean-to style involves pitching one side higher than the other, creating a slanted cover.
Step 3: Secure the Tarp
Stake out the corners and sides of the tarp to create tension. In this setup, you’ll often leave more space between the tarp and the tent for airflow.
Step 4: Consider Wind Direction
If wind is a factor, try to position the tarp so that it acts as a windbreak for your tent. A lower, more streamlined pitch is better for windy conditions.
Scenario 3: Protection Against Wind
For strong winds, you want a low, taut, and aerodynamic setup.
Step 1: Low Profile Pitch
Avoid creating tall structures. Pitch the tarp as close to the ground as possible.
Step 2: Use All Stake Points
Utilize every grommet and loop on the tarp. Stake them out firmly at sharp angles to the ground.
Step 3: Guy Lines are Essential
Run guy lines from all available attachment points and stake them out at a distance from the tent. This provides maximum stability.
Step 4: Angle Against the Wind
Position the tarp so that its lowest and most solid side faces directly into the prevailing wind. This will deflect the wind’s force away from your tent.
Step 5: Reinforce Your Tent Stakes
Ensure your tent stakes are driven deep into the ground and consider using rock anchors or deadman anchors in soft soil for extra security. Many pop-up tents can be vulnerable in high winds, so extra protection is wise. If you’re looking for a tent that can handle the elements, check out our guide on the best pop up tent for wind.
Practical Tips and Tricks
* Practice at Home: Before your trip, practice pitching your tarp over your tent in your backyard. This will familiarize you with the process and help you identify any potential issues.
* Use Quality Rope/Guy Lines: Invest in strong, UV-resistant rope or paracord. The thickness and strength of your rope are critical for secure anchoring.
* Tarp Poles are Handy: Adjustable tarp poles are versatile and can be used for various pitching configurations.
* Reflective Guy Lines: Using reflective guy lines can help prevent tripping hazards at night, especially when paired with good best camping lights for tent.
* Tarp Bags: Keep your tarp clean and dry by storing it in a waterproof stuff sack.
* Bring Extra Stakes: Always pack a few extra stakes, especially for windy conditions or soft ground.
* Consider a Tarp Footprint: If you plan to use your tarp as a ground cloth *under* your tent, make sure it doesn’t extend beyond the tent’s edges, as this can collect water and funnel it into your tent. However, for protection *over* your tent, a larger size is essential.
Troubleshooting Common Issues
* Water Pooling: If you notice water collecting on the tarp, it means the pitch is too flat. Adjust your poles or guy lines to create a steeper angle.
* Tarp Sagging in Wind: This indicates the tension isn’t sufficient. Retighten all guy lines and stakes. Ensure your stakes are driven deep.
* Condensation Buildup: This is often due to poor ventilation. Increase the gap between the tarp and the tent, or ensure more airflow around the setup.
* Tarp Rubbing on Tent: In windy conditions, the tarp might flap against the tent. Adjust the guy lines to create more space.
Conclusion
Adding a tarp over your tent is a simple yet incredibly effective way to enhance your camping experience. By understanding the basic principles of pitching your tarp for different weather conditions – focusing on shedding water, providing shade, or deflecting wind – you can significantly improve your comfort and protection in the outdoors. Remember to choose the right size tarp, use sturdy anchor points, and always prioritize ventilation. With a little practice, you’ll be a pro at setting up your tarp, ensuring your camping trips are memorable for all the right reasons. Happy camping!