
Printing your own tent cards is an excellent way to add a professional touch to events, promotions, or information display. This comprehensive guide walks you through everything you need to know, from designing your tent cards to choosing the right paper and achieving a flawless print. Follow these steps for impressive results.
Printing tent cards yourself can be a cost-effective and rewarding way to create custom signage. Whether you need them for a conference, a wedding, a restaurant table, or a trade show booth, well-designed and printed tent cards make a big impression. This guide will take you through the entire process, from the initial design concept to the final folded product. Let’s dive in!
Key Takeaways
- Understand the Purpose: Before you start, know why you need tent cards. This will influence your design and content.
- Design Matters: Create a clear, visually appealing design that reflects your brand or message. Use high-resolution images and readable fonts.
- Choose the Right Paper: Cardstock is essential for durability and a professional feel. Consider weight and finish.
- Master Your Printer Settings: Correct printer settings are crucial for color accuracy and proper paper handling.
- Consider Professional Printing: For high-volume or complex designs, professional printing can offer superior quality and convenience.
- Folding and Finishing: Proper scoring and folding ensure your tent cards stand up correctly and look polished.
Why Print Your Own Tent Cards?
Tent cards, also known as tabletop displays or easel cards, are versatile. They stand on their own, making them perfect for displaying information at eye level without needing a separate stand. Printing your own gives you complete control over the design, quantity, and timing. You can experiment with different looks and materials. This is especially useful for small businesses or individuals who need a small batch for a specific event. If you’re planning an event, consider how these might complement your overall setup, perhaps even alongside essentials like a camping light for tent if you’re thinking outdoors.
Step 1: Planning and Design
Visual guide about How to Print Tent Cards
Image source: printhubdigital.in
The first and perhaps most crucial step is to plan your tent card. What information do you need to convey? Who is your audience? What is the overall aesthetic you are aiming for?
Define Your Content
- Key Message: What is the main thing you want people to know or do? Keep it concise.
- Branding: Include your logo, brand colors, and fonts if applicable.
- Contact Information: Website, social media handles, phone number.
- Call to Action: “Visit our booth,” “Order now,” “Learn more.”
- Visuals: High-quality images or graphics can make your tent card stand out.
Choose Your Size and Orientation
Standard tent card sizes include:
- A4 folded into thirds: Creates a long, narrow tent card.
- A5 folded into thirds: A smaller, more compact version.
- Letter size (8.5×11 inches) folded into thirds: Similar to A4.
- Custom sizes: You can design to any dimensions you need.
Most tent cards are designed to be viewed from the front, so consider if you need content on both sides or just one.
Design Software and Tools
You have several options for designing your tent cards:
- Professional Design Software: Adobe Illustrator or InDesign offer the most control and features for creating print-ready files.
- User-Friendly Design Tools: Canva, VistaCreate, and similar online platforms are excellent for beginners. They offer templates and easy drag-and-drop functionality.
- Word Processors/Spreadsheets: For very simple designs, you can use Microsoft Word or Google Docs, but be mindful of print limitations.
Design Best Practices
- Readability: Use fonts that are easy to read from a distance. Avoid overly decorative fonts for large blocks of text.
- Contrast: Ensure good contrast between text and background colors.
- White Space: Don’t overcrowd your design. Plenty of white space makes your card look cleaner and more professional.
- Bleed: If your design extends to the edge of the card, set up a bleed. This is an extra margin of color or imagery that is trimmed off after printing. It prevents white edges if the cut isn’t perfectly precise. A bleed of 0.125 inches (3mm) is standard.
- Resolution: Use high-resolution images (at least 300 DPI) to avoid pixelation when printed.
- Color Mode: Design in CMYK color mode for printing, not RGB, which is for screens.
Step 2: Preparing Your File for Printing
Visual guide about How to Print Tent Cards
Image source: ezprint.com.au
Once your design is complete, you need to prepare it for printing to ensure the best possible outcome.
Understand Printing Margins
In addition to the bleed, consider safe margins within your design. This is the area where you should keep all important text and graphics to avoid them being cut off during the trimming process. A safe margin of about 0.125 to 0.25 inches (3-6mm) from the trim edge is recommended.
File Format
The best file format for printing is usually:
- PDF: Portable Document Format is the industry standard. It preserves fonts, images, and layout. Make sure to save your PDF with “crop marks and bleed” if your software offers the option.
- High-Resolution JPEG or TIFF: These can also be used, but PDF is generally preferred for its ability to embed fonts and maintain vector quality.
Color Conversion
Double-check that your design is in CMYK color mode. If you designed in RGB, conversion might be necessary. Be aware that some colors may shift slightly when converting from RGB to CMYK.
Review and Proofread
Before you hit print, review your design carefully. Check for:
- Typos and grammatical errors.
- Incorrect information.
- Alignment issues.
- Color consistency.
- Ensure all elements are within safe margins.
If possible, have someone else proofread your design as well. A fresh pair of eyes can often spot mistakes you might have missed.
Step 3: Choosing Your Paper
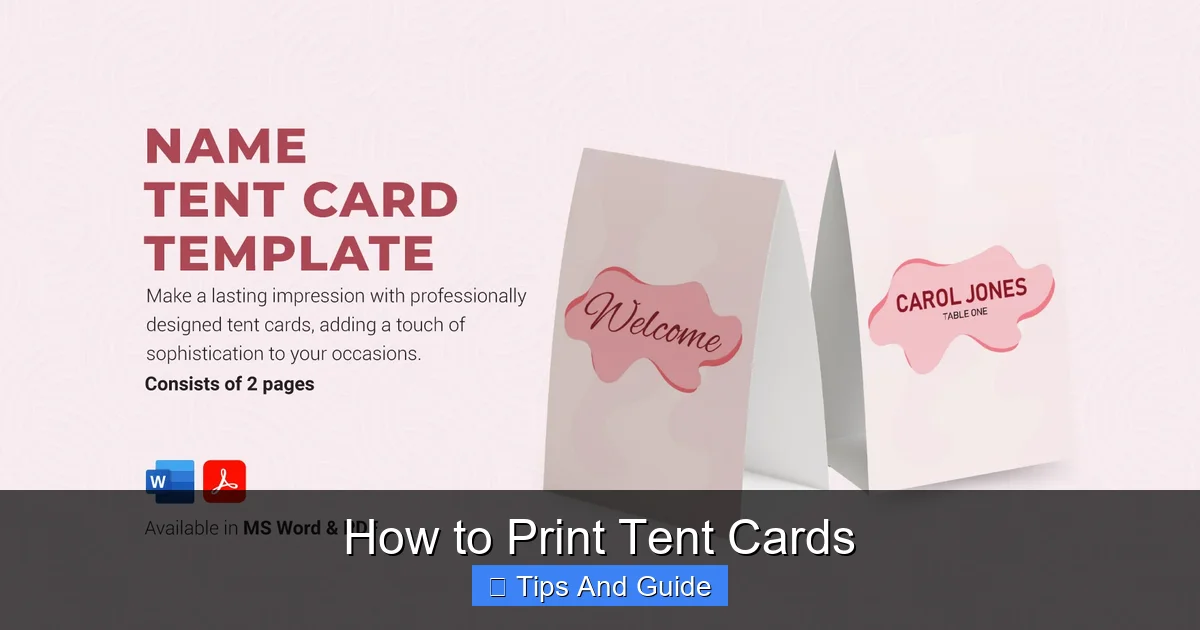
Visual guide about How to Print Tent Cards
Image source: images.template.net
The paper you choose significantly impacts the look and feel of your tent cards.
Cardstock is Key
Tent cards need to be sturdy enough to stand on their own. This means you should always use cardstock, not regular printer paper.
- Weight: Paper weight is measured in pounds (lb) or grams per square meter (gsm). For tent cards, aim for a cardstock between 80lb and 100lb cover (around 216gsm to 271gsm). This provides a good balance of rigidity and printability. Lighter cardstock might bend easily, while heavier stock can be difficult for some home printers to handle.
Paper Finishes
Consider the finish of the cardstock:
- Uncoated/Matte: This is a common choice. It offers a natural, elegant look and is easy to write on. It also reduces glare.
- Satin/Silk: Offers a smooth, semi-gloss finish. It’s a good middle ground between matte and glossy.
- Glossy: Provides a shiny, vibrant finish, making colors pop. However, it can be prone to fingerprints and glare.
For most tent cards, an uncoated or satin finish works best as it’s less prone to smudging and glare, especially in restaurant or event settings.
Step 4: Printing Your Tent Cards
This is where your design comes to life. You can either print at home or use a professional printing service.
Printing at Home
This is ideal for small quantities and when you need them quickly.
Printer Setup
- Printer Type: An inkjet printer is generally better for cardstock than a laser printer, especially if you are printing on heavier stock or have designs with large ink coverage.
- Paper Type Setting: In your printer’s driver settings, select the correct paper type (e.g., “Cardstock,” “Heavyweight,” or “Photo Paper”). This adjusts ink density and roller tension.
- Print Quality: Choose the highest print quality setting your printer offers.
- Color Settings: Ensure your printer’s color management settings are set to “Let the printer manage colors” or “Application manages colors” if you have managed your CMYK conversion within your design software. Sometimes, disabling color management in the printer driver and letting your design software handle it can yield better results.
Loading the Paper
- Feed Tray: Load your cardstock into the printer’s manual feed tray or the most accessible paper input path. Avoid using the automatic document feeder for cardstock.
- Orientation: Make sure you load the paper in the correct orientation (portrait or landscape) and that the side you want to print on is facing the correct direction (usually up for inkjet). Check your printer manual if unsure.
- Test Print: Always do a test print on a single sheet before printing your entire batch. Print a page with a small amount of color and text to check for alignment and color accuracy.
Printing the Design
- Print Layout: Your design software or print settings might allow you to print multiple tent cards on a single sheet. For example, if you’re printing standard 4×6 inch tent cards, you might be able to fit two on an 8.5×11 inch sheet. Ensure your layout accounts for the score line and bleed.
- Print Both Sides (If Applicable): If your tent card design requires printing on both sides, make sure your printer has an automatic duplexing feature or carefully follow the manual duplexing instructions for your specific printer model. A test print is crucial here to ensure the back aligns correctly with the front.
Using a Professional Printing Service
For larger quantities, more complex designs, or a guarantee of professional quality, a print shop is your best bet.
Choosing a Printer
- Local Print Shops: Good for quick turnarounds and personal service.
- Online Printers: Offer competitive pricing and a wide range of options. Examples include Vistaprint, Moo, or even larger retailers with print services.
What to Provide
- Print-Ready Files: Submit your design as a high-resolution PDF with bleed and crop marks.
- Paper Stock: Specify the type and weight of cardstock you want.
- Quantity: Order the exact number you need, plus a few extras for potential errors.
Turnaround Time
Factor in the printing and shipping time, especially if you have a deadline.
Step 5: Folding and Finishing
This is the final stage that turns your printed sheets into usable tent cards.
Scoring for a Clean Fold
Cardstock is thick, and folding it without scoring can result in a cracked or uneven fold.
- What is Scoring? Scoring is creating an indentation along the fold line to make it easier to bend the paper cleanly.
- How to Score:
- At Home:
- Scoring Tool: Use a dedicated scoring tool or a blunt edge like the back of a butter knife or a bone folder against a ruler.
- Creasing Machine: For frequent use, a manual creasing machine is a good investment.
- Paper Cutter with Scoring Wheel: Some paper cutters have this feature.
The process involves running the scoring tool along the fold line with gentle but firm pressure.
- Professional Printing: Most professional printers offer scoring as a finishing service. It’s often worth paying for this to ensure a perfect result.
- At Home:
Folding
After scoring, fold the cardstock along the indentation.
- Align Edges: Carefully align the edges of the cardstock to ensure a straight fold.
- Press Firmly: Press down firmly along the scored line to create a crisp fold. You can use your finger, a ruler, or a bone folder to enhance the crease.
Trimming (If Necessary)
If you printed your tent cards at home and didn’t use pre-cut cardstock, or if your design included a bleed, you will need to trim the excess paper.
- Paper Cutter: A guillotine-style paper cutter is best for clean, straight cuts.
- Craft Knife and Ruler: For smaller batches, a sharp craft knife and a metal ruler can also work, but be cautious and ensure a stable cutting surface.
Always cut along the crop marks provided by your design software if you included them.
Troubleshooting Common Issues
Even with careful planning, you might encounter some hiccups.
Problem: Ink Smudging or Streaking
- Cause: Paper type not set correctly, printer ink not dry, wrong paper finish, or printer needing cleaning.
- Solution: Ensure you’ve selected the correct paper type in printer settings. Let ink dry completely. Try a different paper finish. Run a nozzle check and print head cleaning cycle on your printer.
Problem: Colors Look Dull or Different
- Cause: Designing in RGB instead of CMYK, monitor calibration issues, or printer color profiles.
- Solution: Redesign or convert your file to CMYK. Use a professional printer who has calibrated equipment. Understand that screen colors will always look different than printed colors.
Problem: Tent Cards Won’t Stand Up Properly
- Cause: Not scoring, fold not creased properly, or paper is too flimsy.
- Solution: Ensure you score the card before folding. Press the fold firmly. Use heavier cardstock for future prints.
Problem: Printouts Cut Off or Misaligned
- Cause: Incorrect printer margins, paper not loaded straight, or design elements too close to the edge.
- Solution: Check your printer’s default margins and adjust your design if needed. Ensure paper is loaded squarely in the tray. Keep critical design elements within the safe margins.
Conclusion
Printing your own tent cards is a highly achievable project that can significantly enhance your presentation, marketing, or event organization. By following these steps – from meticulous planning and design to choosing the right materials and executing the printing and finishing stages with care – you can create professional-looking tent cards that perfectly meet your needs. Don’t be afraid to experiment with different designs and paper types to find what works best for you. With a little practice, you’ll be printing custom tent cards like a pro!