
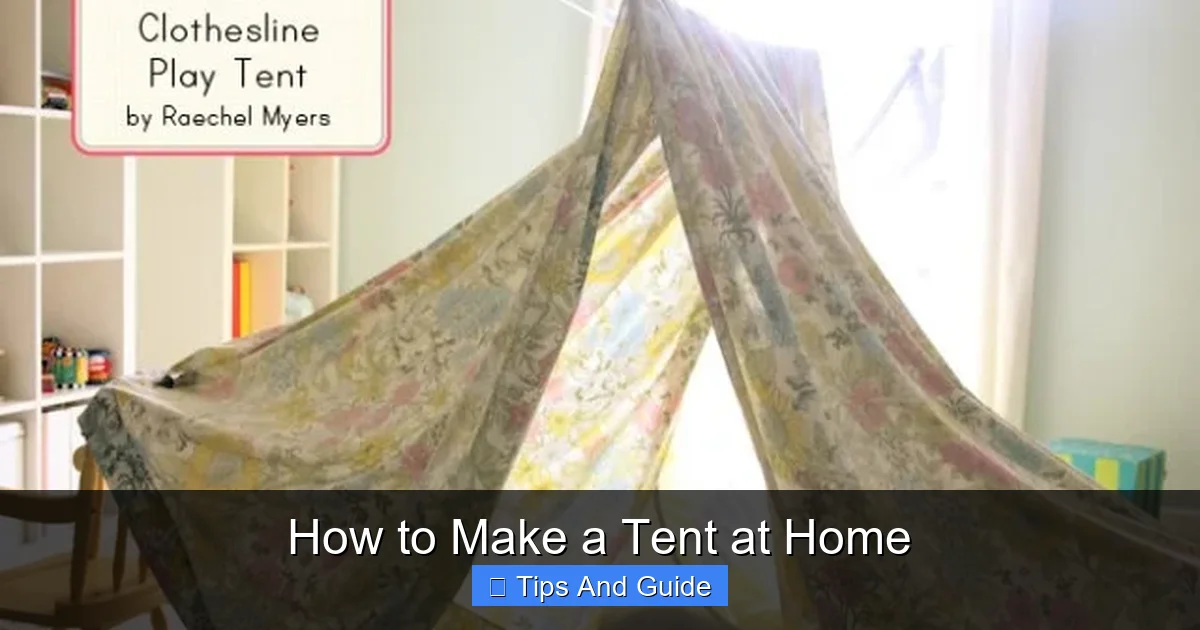
Want to embark on a DIY adventure? This guide teaches you how to make a tent at home using simple materials and techniques. Learn to construct a basic, functional tent for backyard camping, imaginative play, or even as a temporary shelter. With clear instructions and practical tips, you’ll be enjoying your homemade tent in no time.
Have you ever dreamed of camping out under the stars, but don’t have a tent? Or perhaps you’re looking for a fun, creative project for the kids, or a cozy hideaway in your own backyard? Making a tent at home is a surprisingly simple and rewarding endeavor. It doesn’t require specialized skills or expensive gear. With a bit of creativity and some common household items, you can craft a functional and fun tent that’s perfect for indoor forts, backyard adventures, or even as a basic shelter in a pinch.
In this comprehensive guide, we’ll walk you through the process of making a tent at home. We’ll cover everything from choosing your materials to constructing a stable frame and securing your shelter. Whether you’re aiming for a simple blanket fort or a more robust outdoor structure, you’ll learn the fundamental principles to bring your DIY tent vision to life.
Key Takeaways
- Gather Common Household Materials: You can create a tent using readily available items like sheets, blankets, chairs, and string.
- Simple Frame Construction: A basic tent can be made by draping fabric over sturdy furniture or creating a simple pole structure.
- Secure Your Tent: Properly anchoring your tent is crucial for stability, especially if using lighter materials or outdoors.
- Consider Ventilation: Ensure adequate airflow to prevent condensation and make your tent more comfortable.
- Customization is Key: Once the basic structure is in place, you can personalize your tent with decorations and additional features.
- Safety First: Always prioritize safety, especially when building with children, and ensure the tent is stable.
Planning Your Homemade Tent
Before you start gathering materials, take a moment to plan your tent. Consider its purpose, size, and the location where it will be used. This initial planning will help you choose the best materials and construction method.
Determine the Tent’s Purpose
- Indoor Play Tent: This is the most common and easiest type. It’s for children’s imagination and fun. Lighter materials and simpler structures work well here.
- Backyard Camping: For a more realistic camping experience, you might want a slightly larger and sturdier tent. Think about weather protection if it will be outdoors for extended periods.
- Temporary Shelter: If you need a basic shelter for an event or a brief outdoor excursion, focus on quick assembly and durability.
Decide on the Size and Shape
The size of your tent will depend on how many people it needs to accommodate and the space you have available. For indoor tents, common shapes include A-frames, tunnel tents, or simple canopy styles. For backyard camping, you might aim for a more traditional dome or cabin shape, though these require more advanced construction.
Choose Your Location
For indoor tents, a living room, bedroom, or playroom is ideal. Ensure there’s enough space to set up without obstructions. For outdoor tents, pick a level spot, away from potential hazards like falling branches or ant hills. Consider wind direction and sunlight.
Gathering Your Materials
Visual guide about How to Make a Tent at Home
Image source: craftionary.net
The beauty of making a tent at home is its versatility. You can use a wide array of items you likely already have. Here are some common materials to consider:
Essential Structural Components
- Furniture: Chairs (dining chairs, folding chairs), tables, sofas, or even ottomans can serve as the foundational supports for your tent.
- Sticks or Poles: Broom handles, mops, sturdy branches (if building outdoors), PVC pipes, or even dowel rods can be used to create a frame.
- Clips and Ties: Clothespins, binder clips, safety pins, rope, twine, or bungee cords are crucial for securing fabric and joining structural elements.
Covering Materials
- Sheets and Blankets: These are the most common choices for indoor tents. Larger sheets provide more coverage and fewer seams. Quilts and comforters can add extra warmth and structure.
- Tarps: For outdoor use, tarps are excellent for waterproofing and durability. They are lightweight and come in various sizes.
- Shower Curtains: Waterproof and often large, shower curtains can be a good option for a more weather-resistant DIY tent.
Optional Comfort and Decor Items
- Pillows and Cushions: For comfort inside your tent.
- Sleeping Bags or Mats: To make your sleeping area cozy. A comfortable camping mat can make a big difference for backyard adventures.
- String Lights or Lanterns: For ambiance. Consider battery-powered camping lights for safety.
- Decorations: Fairy lights, fabric scraps, drawings, or banners to personalize your space.
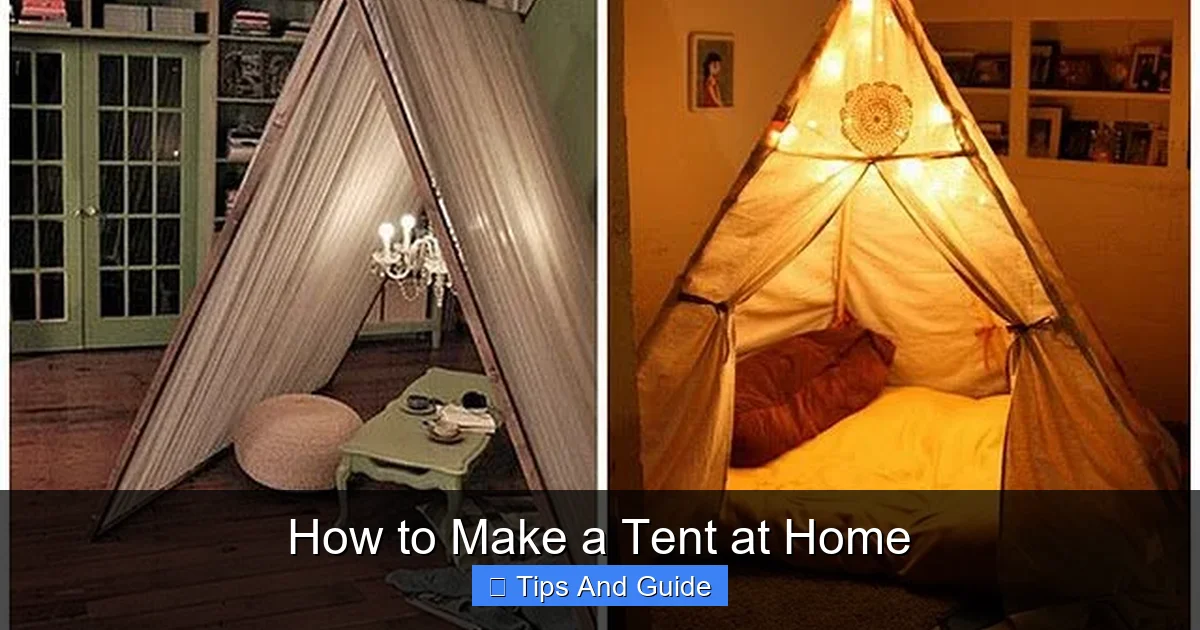
Building Your Homemade Tent: Step-by-Step
Visual guide about How to Make a Tent at Home
Image source: i.pinimg.com
Let’s get to the fun part – building! We’ll cover a few common tent styles.
Method 1: The Simple Chair-Based Tent (Indoor)
This is the quickest and easiest method, perfect for young children or a quick indoor fort.
Step 1: Arrange Your Chairs
- Position your chairs in a square, circle, or rectangle, depending on the size and shape you desire for your tent.
- Ensure the backs of the chairs are facing outwards, as these will be your primary support points.
- Leave enough space between the chairs for an entrance and for people to fit inside comfortably.
Step 2: Drape Your Covering
- Take a large sheet or blanket and drape it over the tops of the chairs.
- Spread the fabric evenly, making sure it covers the space between the chairs and reaches down towards the floor.
- If using multiple sheets, overlap them to prevent gaps.
Step 3: Secure the Fabric
- Use clothespins or binder clips to attach the fabric to the chair backs.
- Pull the fabric taut to create a more defined tent shape.
- You can also tuck the excess fabric under the chair legs or weigh it down with heavy books or pillows to keep it in place.
Step 4: Create an Entrance
- Lift or fold back a section of the fabric to create an opening.
- You can secure this opening with more clips if needed, or let it hang loosely like a curtain.
Step 5: Add Comforts
- Place pillows, cushions, and sleeping bags inside.
- Bring in some battery-powered camping lights for a cozy glow.
Method 2: The A-Frame Tent (Indoor/Outdoor)
This method uses poles or sticks to create a more traditional tent shape.
Step 1: Construct the Frame
- You’ll need two long poles (or sturdy branches/PVC pipes) of equal length.
- Lean the poles against each other at the top, creating an inverted ‘V’ shape.
- Secure the top where the poles meet using strong tape, rope, or bungee cords. If using natural branches, you might be able to lash them together securely.
- For added stability, you can tie a horizontal pole or stick across the bottom of the ‘V’ on each side.
- Alternatively, you can use a pre-existing structure like a clothesline or a sturdy table leg as one of your supports.
Step 2: Drape the Covering
- Take a large sheet, tarp, or blanket and drape it over the frame.
- Ensure the fabric covers both sides of the A-frame, reaching down to the ground.
- If using a tarp, ensure the waterproof side is facing outwards.
Step 3: Secure the Fabric
- Use clips, stakes (if outdoors), or heavy objects to anchor the fabric to the ground or the base of your frame.
- Wrap the excess fabric around the poles and secure it with clips or ties.
- For outdoor use, using tent stakes hammered into the ground is the most effective way to secure your tent.
Step 4: Create an Entrance
- You can simply leave one end of the tent open, or create a flap by overlapping two pieces of fabric and using clips to hold them together.
Step 5: Enhance Stability (Outdoor Use)
- If using outdoors, consider running guy lines (additional ropes) from the top of the frame or the fabric to stakes in the ground. This will help the tent withstand wind.
- Ensure your structure is stable before allowing anyone inside. For truly sturdy outdoor tents, you might look into buying a reliable pop-up tent. There are many great options, including some pop-up tents on the market that are designed for various conditions.
Method 3: The Canopy-Style Tent (Indoor/Outdoor)
This method uses a central support to create an open-sided or partially enclosed canopy.
Step 1: Set Up Your Support
- This could be a sturdy table, a central pole (like a broom handle stuck firmly in the ground or propped up), or even a tall chair.
- If using a table, drape fabric over its edges.
Step 2: Drape and Secure
- Drape sheets or tarps over your central support, allowing them to hang down.
- Secure the fabric to the support with clips or ties.
- If using a table, you can tuck the fabric underneath to create a skirt.
Step 3: Anchor the Base
- Use weights, rocks, or stakes to secure the bottom edges of the fabric to the ground or floor.
- This method is excellent for creating a shaded area outdoors or a cozy reading nook indoors. You can easily add camping canopy tents to your outdoor gear for similar shade purposes.
Tips for a Better Homemade Tent
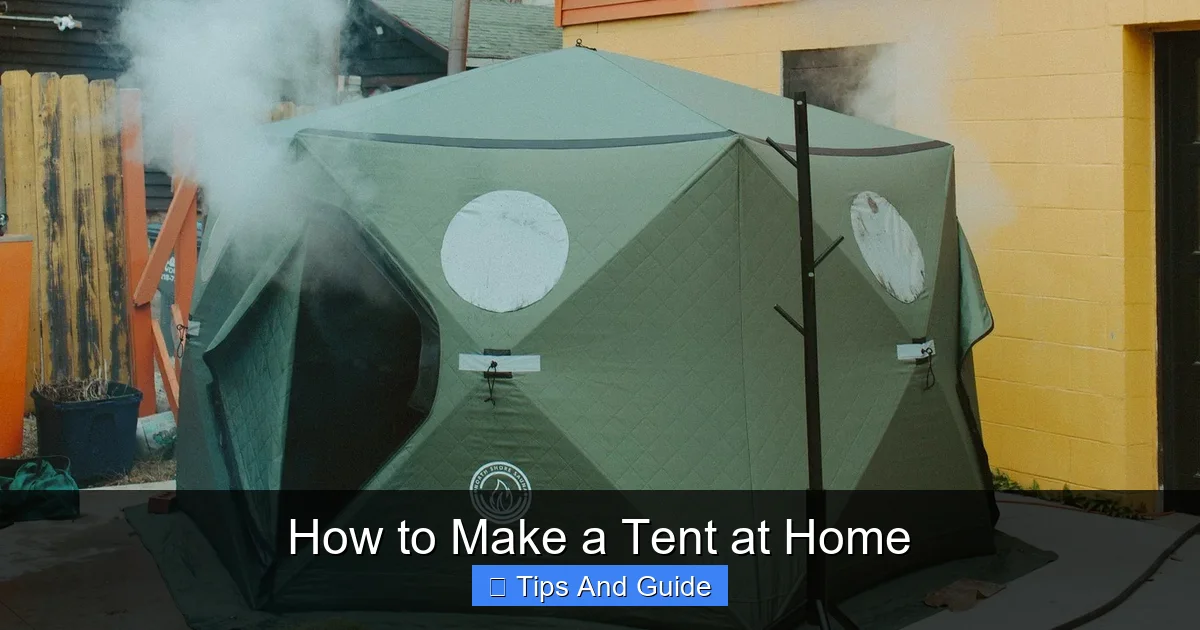
Visual guide about How to Make a Tent at Home
Image source: saunatent.com
* Overlap Fabrics: When using multiple sheets, overlap them generously to prevent light or drafts from entering.
* Tension is Key: Pull your fabric as taut as possible. This makes the tent look neater and feel more stable.
* Consider the Floor: For indoor tents, a rug or blankets on the floor adds comfort. For outdoor tents, a tarp on the ground before setting up the tent can provide an extra layer of protection. You might want to explore options for the best camping bed for a tent if you plan on sleeping in yours.
* Ventilation Matters: Especially for indoor tents, ensure there’s enough airflow. Leave a gap near the entrance or open a window nearby. For more elaborate outdoor tents, you might need to think about ventilation strategies.
* Test It Out: Before letting kids loose inside or relying on it for outdoor use, gently test the stability of your tent.
Troubleshooting Common Issues
* **Tent Collapsing:** This usually means your supports aren’t strong enough or the fabric isn’t secured properly. Add more support, use stronger clips, or anchor the base more firmly.
* **Gaps and Drafts:** Overlap your fabrics more, and use extra clips to close any openings. For outdoor tents, consider using a waterproof sealant on seams if you’ve sewn them.
* **Fabric Slipping:** Ensure your clips are strong enough and that you’re pulling the fabric taut. Sometimes, tying the fabric directly to the supports can help.
* **Wobbly Frame:** For A-frame tents, adding a crossbar at the bottom of the ‘V’ or using guy lines (if outdoors) will significantly improve stability.
Conclusion
Making a tent at home is a fantastic way to spark creativity, enjoy imaginative play, and even get a taste of the outdoors without leaving your yard. With just a few everyday items, you can construct a cozy haven for adventures. Whether it’s a simple sheet fort for a rainy afternoon or a more elaborate structure for backyard camping, the process is accessible and enjoyable for all ages.
Remember, the most important aspect of making a homemade tent is to have fun and let your imagination guide you. So, gather your materials, get building, and enjoy your unique, handcrafted tent! Happy camping!