
Learn how to make professional-looking name tents easily at home! This guide covers everything from choosing materials to adding your personal touch. You’ll discover simple techniques that require minimal supplies. Get ready to impress with custom name tents perfect for any occasion, from conferences to classroom settings.
Creating name tents might seem like a small detail, but they play a big role in making events feel organized and welcoming. Whether you’re hosting a conference, a workshop, a dinner party, or even setting up a home office, a well-made name tent clearly identifies who sits where. They add a touch of professionalism and thoughtfulness.
This guide will walk you through everything you need to know to make your own name tents. We’ll cover the materials, the steps, and some fun ways to customize them. By the end, you’ll be a name tent pro!
- Material Selection: Choose cardstock or heavy paper for durable and professional-looking name tents.
- Accurate Measurement: Precise folding is key to achieving symmetrical and stable name tents.
- Clear and Readable Text: Ensure names are large and easy to read from a distance.
- Personalization Options: Decorate your name tents with colors, logos, or borders to match the event’s theme.
- Stability and Placement: Fold correctly to create a self-standing tent that won’t tip over.
- Cost-Effectiveness: Making your own name tents is an affordable alternative to purchasing pre-made ones.
Why Make Your Own Name Tents?
Before we dive into the “how-to,” let’s quickly touch on why making your own name tents is a great idea.
- Cost Savings: Buying pre-made name tents can add up, especially for larger events. DIY is much more budget-friendly.
- Customization: You have complete control over the design, size, color, and any branding you want to add.
- On-Demand Creation: Need more? You can whip up extras whenever you need them.
- Personal Touch: Handmade items often feel more special and show extra care.
Materials You’ll Need
Gathering the right materials is the first step to success. Don’t worry, you probably have most of these already!
Essential Supplies
- Paper or Cardstock: This is your main material. For sturdy name tents, opt for cardstock or heavy-weight paper (around 65lb to 110lb cover weight is ideal). The color is up to you! White, cream, or colors that match your event theme work well.
- Ruler: For accurate measuring and scoring.
- Scoring Tool: This helps create a clean, crisp fold line. You can use a bone folder, the dull side of a butter knife, a credit card edge, or even a pen you don’t mind using for scoring.
- Cutting Tool: Scissors or a craft knife (like an X-Acto knife) for precise cutting. If using a craft knife, you’ll also need a cutting mat.
- Writing Utensils: Pens, markers, or even a printer. Choose something that writes clearly on your chosen paper.
- (Optional) Printer: If you want perfectly uniform names, printing them is the way to go.
Optional Decorative Supplies
- Stickers: For quick embellishments.
- Stamps: To add patterns or designs.
- Washi Tape: For borders and decorative accents.
- Colored Pencils or Crayons: For hand-drawn elements.
- Hole Punch: If you plan to attach ribbons or other hanging elements (less common for standard name tents).
- Glue Stick or Double-Sided Tape: If you’re adding layered elements.
Step-by-Step Guide to Making a Standard Name Tent
This is the most common type of name tent, a simple triangle that stands on its own. It’s perfect for meetings, classrooms, and formal dinners.
Step 1: Prepare Your Paper
First, decide on the size of your finished name tent. A common and practical size is about 3.5 inches wide by 2 inches tall when folded. This means you’ll start with a rectangular piece of paper that is twice the desired width and the same height.
Determining Paper Dimensions
If you want your finished name tent to be 3.5 inches wide and 2 inches tall:
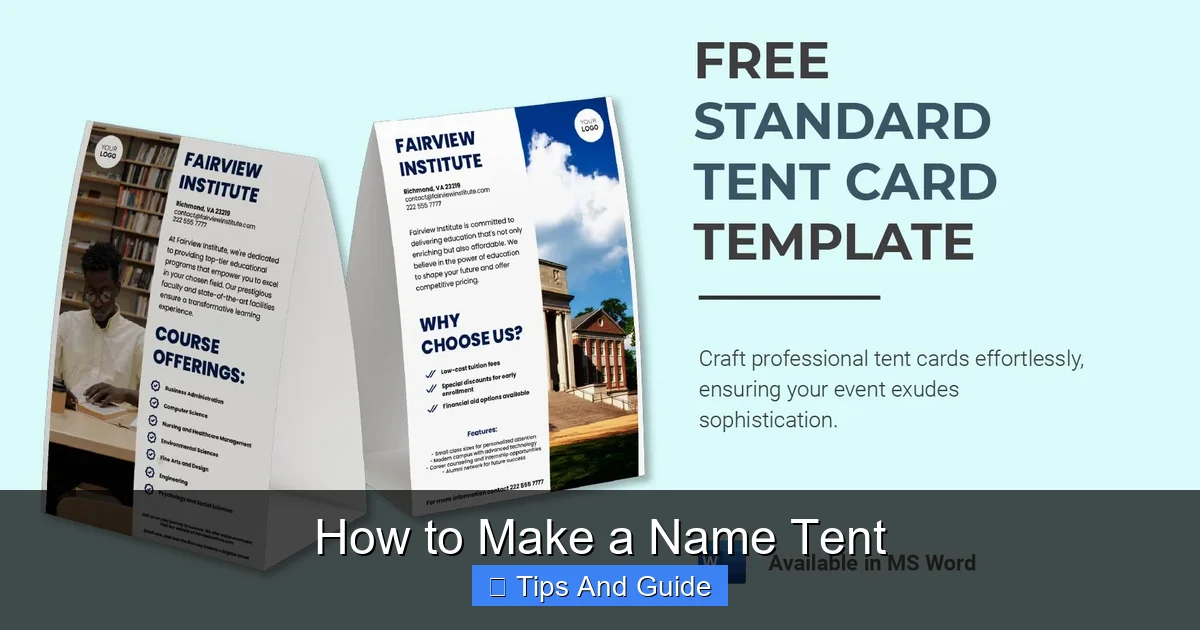
Visual guide about How to Make a Name Tent
Image source: images.template.net
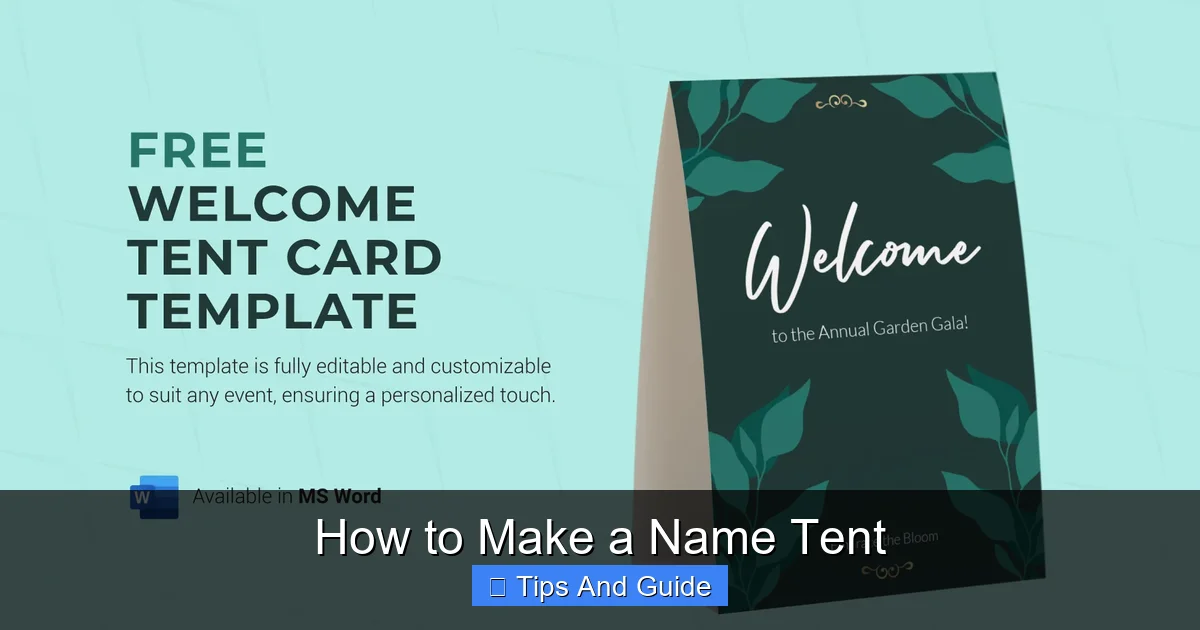
Visual guide about How to Make a Name Tent
Image source: images.template.net
- Width: 3.5 inches (finished width) x 2 = 7 inches.
- Height: 2 inches (finished height).
So, you’ll cut a piece of cardstock that is 7 inches wide by 2 inches tall. If you’re using standard letter-sized paper (8.5 x 11 inches), you can cut multiple name tents from one sheet. For example, you could cut strips that are 2 inches high and 7 inches long.
Step 2: Measure and Mark for Folding
Accurate folding is crucial for a neat name tent. You need to mark the center line where the tent will fold.
Marking the Center Fold
Take your 7-inch by 2-inch strip of cardstock. You need to find the exact middle of the 7-inch side. Measure 3.5 inches from one edge and make a light pencil mark. Do this at the top and bottom edges of your strip.
Step 3: Score the Fold Line
Scoring is like creating a guide for your fold. It makes the paper bend cleanly, preventing cracking and ensuring a professional look.
Creating a Crisp Fold
Using your ruler as a guide, place your scoring tool along the pencil mark you made at 3.5 inches. Apply gentle but firm pressure and draw a line down the entire 2-inch height of the cardstock. You’re not cutting the paper, just pressing into it to create an indentation.
Step 4: Fold the Name Tent
Now it’s time to bring your name tent to life with a fold!
The Main Fold
Carefully fold the cardstock along the scored line. The scored line should be on the outside of the fold. Gently crease the fold to make it sharp. You should now have a piece that is 3.5 inches wide and 2 inches tall, with two layers of paper.
Step 5: Add the Name and Information
This is where your name tent gets its purpose!
Writing or Printing the Name
By Hand: Use a good quality pen or marker. Write the person’s name clearly. You can add their title or company name below it if needed. Practice on a scrap piece of paper first to get the spacing and size right.
By Printer: If you’re printing, set up your document in a word processor or design software. Create a text box that fits within the 3.5-inch width and 2-inch height of your folded tent. Type the name and any other desired text. Make sure the font is large and easy to read. Print your text onto the cardstock before folding it, or print it onto a separate, lighter paper and glue it onto the cardstock.
Tip: For events where attendees might have similar names, consider adding a small table number or unique identifier.
Step 6: Ensure Stability
A good name tent stands up straight without wobbling. The way you folded it should naturally create this stability.
Checking the Base
Place your folded name tent on a flat surface. It should stand upright on its own, forming an upside-down ‘V’ shape. If it leans too much, you might need to adjust the fold slightly or ensure your scoring was effective.
Customizing Your Name Tents
Now for the fun part! You can make your name tents unique and match them to your event’s style.
Adding Color and Design
- Colored Cardstock: Start with cardstock in your event’s color scheme.
- Borders: Use a ruler and a contrasting pen or marker to draw a border around the edges of the visible panels.
- Stickers and Stamps: Add small decorative stickers or use stamps for patterns.
- Logos: For corporate events, print or draw small logos on the side panels.
- Washi Tape: Apply decorative washi tape along the edges for a quick and stylish upgrade.
- Hand-Drawn Elements: If you’re artistic, you can draw small graphics or patterns.
For Specific Events
- Weddings: Use elegant fonts, metallic pens, or subtle floral designs.
- Conferences: Incorporate company logos and use professional fonts.
- Parties: Go bold with bright colors, fun fonts, and playful decorations.
- Classrooms: Use colorful markers and perhaps small drawings related to the subject matter.
For larger events, especially if you’re using a tent for shade or shelter, like a camping canopy tent, you might consider incorporating branding that is visible from a distance.
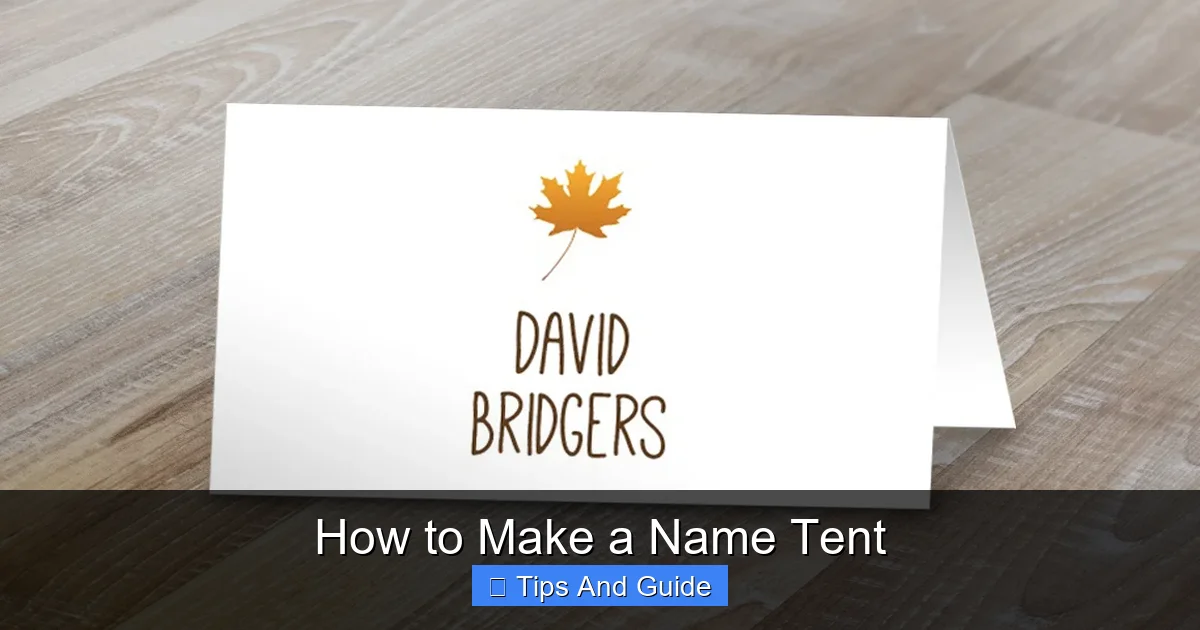
Visual guide about How to Make a Name Tent
Image source: d3ui957tjb5bqd.cloudfront.net
Making Larger or Different Shaped Name Tents
The basic principle of folding a rectangle in half applies to any size.
Bigger Tents for Bigger Impact
If you need larger name tents, simply scale up your initial rectangle. For example, to create a tent that is 5 inches wide and 3 inches tall when folded, you would start with a piece of cardstock that is 10 inches wide and 3 inches tall. Remember to score at the 5-inch mark.
Shaped Name Tents (More Advanced)
For a more complex shape, you’ll need a template. You can find free printable templates online for various shapes, or design your own using graphic design software. These usually involve more complex cutting and folding, often requiring a few more steps and careful attention to detail. However, for most practical purposes, the standard folded rectangle is sufficient and highly effective.
Troubleshooting Common Name Tent Issues
Even with the best intentions, a few hiccups can occur. Here’s how to fix them.
My Name Tent Won’t Stand Up
Cause: The fold isn’t sharp enough, or the paper is too flimsy. The score line might not have been deep enough.
Solution: Re-crease the fold with more pressure. If using lighter paper, try scoring a little deeper. For future tents, use heavier cardstock.
The Folded Edge Looks Cracked
Cause: The paper is too thick for the fold, or you didn’t score it properly. You might be creasing it too sharply without a guide.
Solution: Make sure to score the line first. If the paper is very thick, try a stronger scoring tool or score twice. Gentle folding along the score line is key.
The Text is Smudged or Unreadable
Cause: Using the wrong pen for the paper, or the ink hasn’t dried completely. Font is too small.
Solution: Test your pen on a scrap piece of the same cardstock. Allow ink to dry fully before handling. For printing, ensure your printer settings are appropriate for cardstock and use a clear, bold font.
My Tent is Lopsided
Cause: Uneven cutting or an inaccurate fold line.
Solution: Always measure twice and cut once. Ensure your scoring and folding are done precisely along the marked lines.
Tips for Bulk Name Tent Creation
If you have a large event, efficiency is key.
Streamlining the Process
- Batch Your Tasks: Cut all your paper strips first. Then, score all the lines. Then, fold them all. Finally, write or print all the names. This method is much faster than completing one tent from start to finish before moving to the next.
- Use a Template: If you have a specific size or shape, create a template to ensure consistency.
- Printer Power: For many tents, printing names is faster and more uniform than handwriting. Set up your template once and print as many as you need.
- Get Help: If possible, enlist friends or family to help with cutting, scoring, or writing.
Conclusion
Making name tents is a simple yet effective way to add polish and organization to any gathering. With just a few basic supplies and a little bit of time, you can create professional-looking name tents that impress your guests or colleagues. Whether for a formal business meeting, a casual get-together, or even to label plants in a grow tent, the ability to create custom name tents is a valuable skill. So, gather your materials and start folding – your next event will thank you for it!