
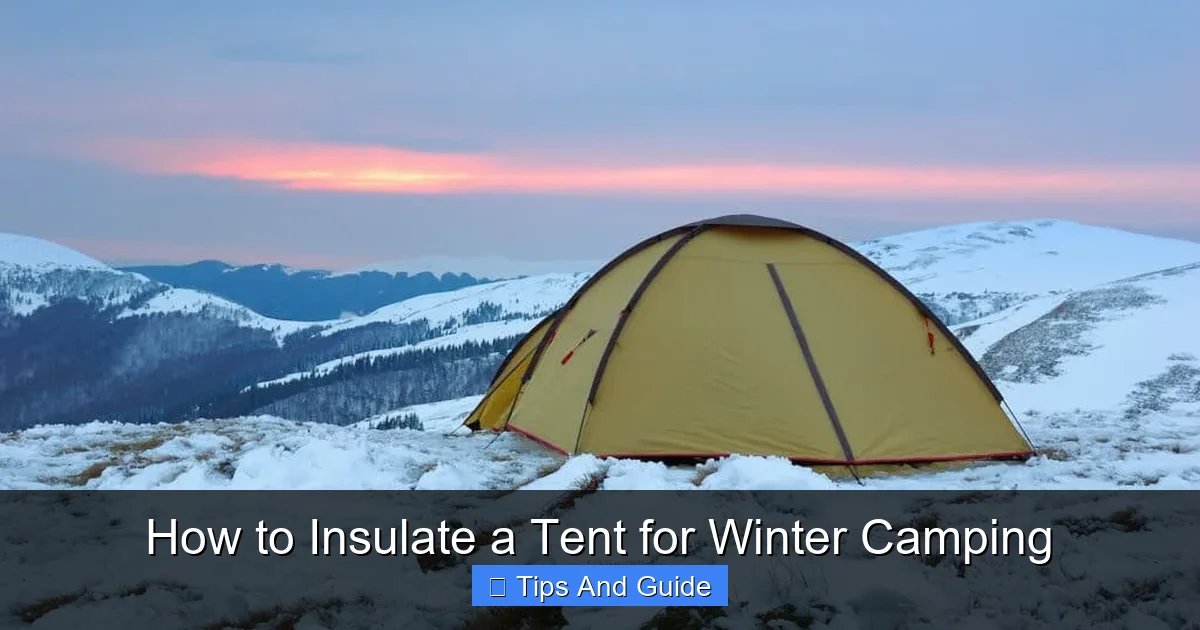
Insulating your tent is crucial for a comfortable winter camping experience. This guide covers essential steps, from choosing the right gear to strategic placement of insulating materials. Learn how to create a warm sanctuary by focusing on your sleeping setup, tent floor, and walls. Proper insulation means less heat loss and a more enjoyable trip.
How to Insulate a Tent for Winter Camping
Winter camping can be an incredibly rewarding experience. The crisp air, the silent beauty of snow-covered landscapes, and the solitude can be truly magical. However, the biggest challenge when venturing out in the cold is staying warm and comfortable inside your tent. Without proper insulation, your cozy shelter can quickly turn into an icebox. This comprehensive guide will walk you through everything you need to know to effectively insulate your tent for winter camping, ensuring a warm and enjoyable adventure.
We’ll cover the fundamental principles of heat loss, how to create a warm sleeping environment, insulate your tent floor and walls, and even touch on ventilation. By the end of this guide, you’ll have the knowledge and confidence to tackle winter camping with a warm and inviting tent.
Key Takeaways
- Understand the Principles of Heat Loss: Winter camping insulation is all about preventing heat from escaping your tent, primarily through conduction, convection, and radiation.
- Prioritize Your Sleeping System: The most critical area to insulate is your sleeping setup, as you lose significant heat to the cold ground.
- Insulate the Tent Floor: Adding layers beneath your tent floor acts as a barrier against cold seeping up from the snow or ground.
- Address Tent Walls and Entry Points: While less critical than the floor, insulating walls and sealing drafts around doors and windows further enhances warmth.
- Utilize Reflective Materials Strategically: Reflective barriers can bounce radiant heat back into your tent, but use them wisely to avoid overheating.
- Ventilation is Still Key: Despite the desire for a sealed tent, proper ventilation is necessary to prevent condensation buildup, which can make you feel colder.
Understanding Heat Loss in Your Tent
Before we dive into insulation techniques, it’s important to understand how your tent loses heat. There are three primary ways:
- Conduction: This is the transfer of heat through direct contact. When your body touches a cold surface (like the tent floor or a cold sleeping bag), heat transfers from your body to that surface.
- Convection: This is heat transfer through the movement of air. Cold air entering your tent and warmer air escaping it leads to heat loss. Drafts are a prime example of convection.
- Radiation: This is heat transfer through electromagnetic waves. Your body emits heat radiation, which can escape through the tent fabric and surrounding environment.
Effective tent insulation aims to minimize all three of these heat loss mechanisms.
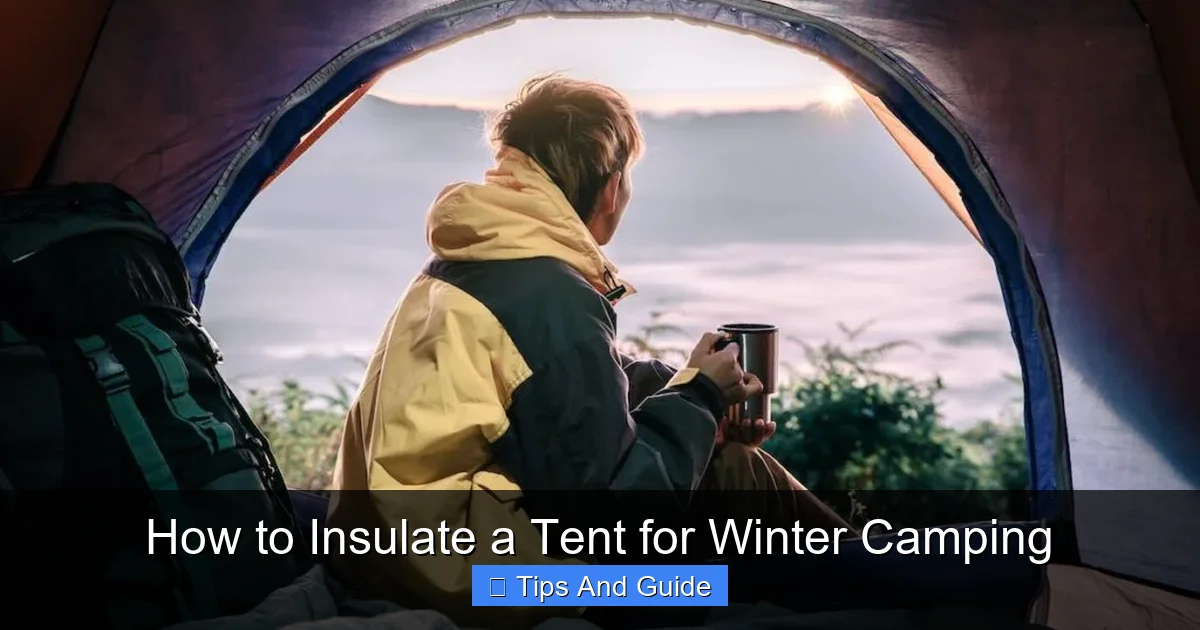
Step 1: Optimize Your Sleeping Setup – Your Personal Heat Source
Visual guide about How to Insulate a Tent for Winter Camping
Image source: couchpotatocamping.com
Your sleeping system is your most important tool for staying warm. Think of yourself as the primary heat source for your tent. Therefore, maximizing your body’s ability to retain heat is paramount.
Choose the Right Sleeping Bag
This is non-negotiable for winter camping. Look for a sleeping bag with a temperature rating significantly lower than the coldest temperatures you expect to encounter. A bag rated for 0°F (-18°C) or below is often a good starting point for most winter conditions. Down fill offers superior warmth-to-weight ratio and compressibility, but synthetic fill performs better when damp.
Invest in a High-Quality Sleeping Pad
This is where many winter campers make a critical mistake. You lose a tremendous amount of heat to the ground or snow through conduction. A standard summer sleeping pad simply won’t cut it. You need a pad with a high R-value. The R-value measures a material’s resistance to heat flow. For winter camping, aim for an R-value of 4 or higher.
- Closed-cell foam pads are durable and reliable, providing a consistent R-value. They can also be used as a backup if your inflatable pad fails.
- Inflatable pads offer more comfort and can have very high R-values. Many winter campers use a combination of a closed-cell foam pad and an inflatable pad for maximum insulation and comfort.
Check out our guide on the best camping mat for tent and best camping pads for tents for detailed recommendations. Your sleeping pad is your first line of defense against a cold tent floor.
Consider a Sleeping Bag Liner
A sleeping bag liner can add several degrees of warmth to your sleeping bag. They come in various materials like fleece or silk, each offering different levels of insulation and breathability. This is an easy and relatively inexpensive way to boost your sleeping system’s performance.
Wear Appropriate Sleepwear
Never sleep in the clothes you wore during the day. These clothes are likely to be damp with sweat and will not provide adequate insulation. Opt for clean, dry base layers made from merino wool or synthetic materials. Avoid cotton, as it holds moisture and loses its insulating properties when wet. A warm hat and socks are also essential for retaining body heat.
Step 2: Insulate the Tent Floor – Create a Barrier from the Ground
Visual guide about How to Insulate a Tent for Winter Camping
Image source: beyondthetent.com
The tent floor is a direct gateway for cold from the ground or snow to seep into your tent. Insulating this area is as important as your sleeping system.
Add Extra Layers Under Your Tent
Before you even pitch your tent, consider adding an extra layer of insulation beneath it. This could be:
- A footprint or ground tarp: Most tents come with a footprint, or you can use a separate tarp. This protects your tent floor from abrasion and adds a small layer of insulation.
- Closed-cell foam pads: Laying down extra closed-cell foam pads under your tent can make a significant difference. You can cut them to fit the footprint of your tent.
- Reflective insulation: Materials like Reflectix can be cut to size and placed under your tent or on top of your sleeping pad for an added radiant barrier.
This layered approach creates a buffer zone between the cold earth and your sleeping area.
Consider an Insulated Tent Footprint
Some manufacturers offer tents with integrated insulated floors or specialized insulated footprints. While this is a more significant investment, it can be an excellent solution for dedicated winter campers.
Step 3: Insulate the Tent Walls and Ceiling
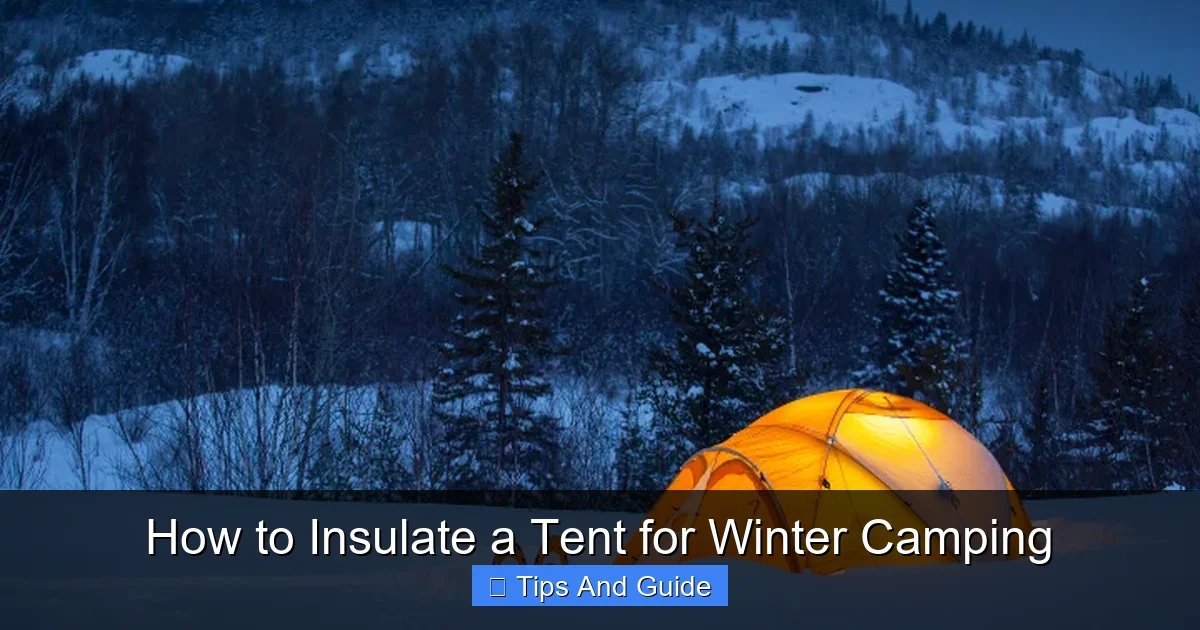
Visual guide about How to Insulate a Tent for Winter Camping
Image source: packyourtent.com
While the floor and your sleeping setup are the top priorities, insulating the tent walls and ceiling can further enhance warmth by reducing convective heat loss and radiant heat escape.
Use Reflective Barriers
Space blankets or Mylar emergency blankets can be very effective. You can hang these inside your tent, facing the reflective side inward, to bounce radiant heat back into the living space. Be cautious not to place them directly against your sleeping bag, as this can trap moisture.
Attach Additional Fabric Layers
Some four-season tents have optional insulating liners or storm covers that can be attached to the inside of the tent walls. These add an extra layer of fabric and a pocket of air, which is an excellent insulator. If your tent doesn’t have these, you might be able to fashion your own using lightweight fleece or ripstop nylon, carefully attaching it with clips or Velcro.
Minimize Condensation
This is a crucial point when talking about insulating tent walls. While adding layers seems like a good idea, excessive insulation without proper ventilation can lead to significant condensation. Moisture inside your tent will make everything damp and feel much colder. You need to balance insulation with airflow.
Step 4: Seal Drafts and Entry Points
Cold air infiltration is a major source of heat loss through convection. Sealing any gaps or openings in your tent will keep the warmth in.
Check Zippers and Seams
Ensure all zippers on your tent doors and windows are fully functional and zip up completely. Inspect seams for any wear and tear that might allow drafts. Small repairs with seam sealer or tape can make a difference.
Use a Draft Collar or Skirt
Some tents are designed with a draft collar or snow skirt around the base. This helps to seal the gap between the tent floor and the ground, preventing cold air from blowing in. If your tent doesn’t have one, you can improvise by packing snow around the outside base of your tent or using extra fabric and rocks to create a seal.
Manage Tent Doors
When entering or exiting your tent, try to do so quickly to minimize the amount of cold air that enters. Consider using a vestibule as an outer layer of defense. Keep the inner tent door zipped up as much as possible.
Step 5: Ventilation – The Unsung Hero of Winter Tent Comfort
It might seem counterintuitive, but proper ventilation is absolutely critical for winter tent camping, even when you’re trying to stay warm. Without it, condensation will build up inside your tent.
Why Ventilation Matters
Your body, and any cooking you might do in your tent (always in a well-ventilated area, away from sleeping quarters!), generates moisture. This moisture will condense on the cold inner surfaces of your tent. In winter, this condensation can freeze, turning your tent into a frosty, uncomfortable space.
How to Ventilate
- Open Vents: Most tents have built-in vents, often at the top of the tent and near the base. Open these up slightly, even when it’s freezing outside.
- Crack a Window (Carefully): If your tent has windows, cracking them open a tiny bit can help with airflow.
- Manage Your Breath: In very cold conditions, your breath can contribute significantly to moisture buildup. Ensure your sleeping bag hood is snug, and consider using a breathable balaclava if needed.
The goal is to allow humid air to escape and be replaced by drier, colder air, preventing frost and ice from forming inside. This might mean a slightly colder tent, but it will be a drier and ultimately more comfortable cold.
Step 6: Consider a Tent Heater (with Extreme Caution)
For those who require additional warmth, a portable tent heater might be an option. However, this comes with significant risks and requires careful consideration.
Types of Heaters
- Propane Heaters: These are common but produce carbon monoxide, a deadly gas. They must *only* be used in extremely well-ventilated areas, and never while sleeping.
- Electric Heaters: These require a reliable power source, which is often not available when camping in remote areas.
- Battery-Powered Heaters: Some newer models are available, but their effectiveness and battery life in extreme cold can be a concern.
For detailed information, explore resources on the best camping heaters for tents. Always prioritize safety and research the specific heater you are considering. Read the manufacturer’s instructions thoroughly and understand the risks. For many, the advanced insulation techniques described above are sufficient without the added risks of a tent heater. If you do opt for a heater, ensure you have a reliable carbon monoxide detector.
Troubleshooting Common Winter Tent Issues
* My tent is frosting up inside: This is a clear sign of insufficient ventilation. Open your tent vents more, even if it feels too cold.
* I’m still cold even with layers: Re-evaluate your sleeping pad. Is it warm enough? A higher R-value pad is often the solution. Also, ensure your sleeping bag is appropriately rated.
* My tent poles are freezing and hard to move: This is normal in very cold conditions. Let them warm up slightly before attempting to adjust them.
* Condensation is turning to ice on my sleeping bag: This is a result of poor ventilation and potentially a sleeping bag that is too close to the tent walls. Ensure your sleeping bag is not touching the tent fabric and open your vents.
Conclusion
Insulating a tent for winter camping is a multi-faceted approach that involves understanding heat loss and implementing strategies to combat it. By focusing on your sleeping system, insulating the tent floor, sealing drafts, and managing ventilation, you can transform your tent into a warm and cozy refuge from the cold. Remember that practice makes perfect, so test your setup in less extreme conditions before embarking on a challenging winter expedition. With the right preparation and techniques, winter camping can be a delightful and comfortable experience.