
Winter camping doesn’t have to be a chilly ordeal. By understanding how to insulate a tent effectively, you can transform your cold-weather shelter into a cozy haven. This guide provides practical strategies, from selecting the right gear to implementing essential insulation techniques, ensuring your winter adventures are comfortable and enjoyable.
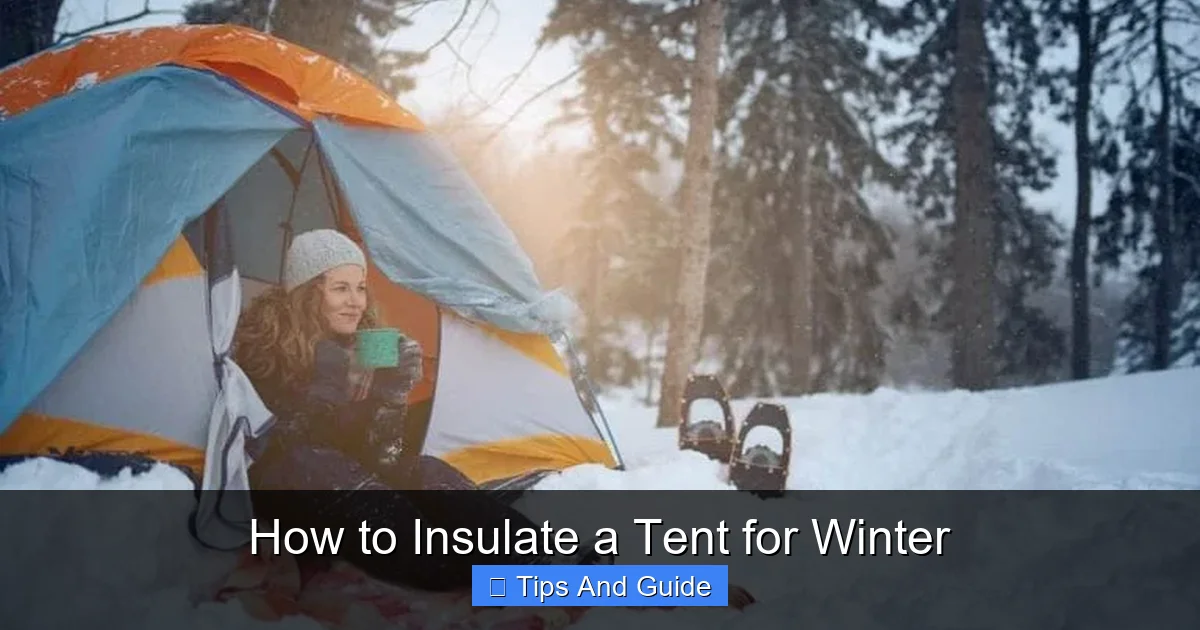
Going camping in the winter can be an incredibly rewarding experience. The crisp air, the quiet beauty of a snow-covered landscape, and the feeling of accomplishment after braving the elements are hard to beat. However, to truly enjoy your winter excursions, you need to be warm and comfortable inside your tent. Many people think that a tent is just a shelter, but with a few clever techniques, you can significantly improve its ability to retain heat, making it a cozy refuge from the cold.
This guide will walk you through everything you need to know about how to insulate a tent for winter. We’ll cover essential concepts, practical tips, and step-by-step instructions to help you create a warm and inviting camping space, no matter how low the temperature drops.
Key Takeaways
- Choose the Right Tent: A four-season tent designed for snow and wind is your best starting point for winter camping.
- Layer Your Floor Insulation: A multi-layer approach to insulating the tent floor, including a closed-cell foam pad and an inflatable sleeping pad, is crucial for preventing heat loss to the frozen ground.
- Address Wall Insulation: Use reflective insulation panels or blankets strategically placed on the tent walls to reflect heat back into the living space.
- Manage Ventilation: Proper ventilation is key to preventing condensation buildup, which can freeze and reduce insulation effectiveness.
- Seal Drafts: Identify and seal any air leaks around zippers, seams, and ventilation points to maintain internal warmth.
- Utilize Body Heat and Warm Gear: A good sleeping bag rated for cold temperatures and maximizing your body’s natural heat are fundamental to staying warm.
Why Insulate Your Tent for Winter?
The primary reason for insulating your tent in winter is to combat heat loss. Your body generates heat, but without proper insulation, most of that heat will escape through the tent fabric and the ground beneath you. The cold ground acts like a giant heat sink, constantly drawing warmth away. Additionally, cold air seeping into the tent will chill you and your gear.
Effective tent insulation works in two main ways:
1. Preventing Heat Loss: This involves creating barriers to stop warm air from escaping and cold air from entering.
2. Trapping Body Heat: This focuses on maximizing the warmth generated by your body and reflecting it back towards you.
Choosing the Right Tent for Winter Camping
Before you even think about adding extra insulation, it’s vital to start with a tent that’s suitable for winter conditions. While you can improve the insulation of many tents, some are inherently better equipped for cold weather.
Four-Season Tents: These are specifically designed to withstand harsh winter weather. They typically have:
Visual guide about How to Insulate a Tent for Winter
Image source: thegeekycamper.com
- Stronger poles to handle snow loads and high winds.
- More robust fabrics that are less likely to become brittle in the cold.
- Fewer mesh panels, reducing drafts.
- Often, a full-coverage rainfly that extends close to the ground to block wind and snow.
If you don’t have a dedicated four-season tent, don’t worry! You can still make your existing tent more comfortable with proper insulation techniques. However, keep in mind that a three-season tent might struggle in extreme conditions. For those looking to upgrade, exploring options like a best pop-up tent for winter might be a good starting point if ease of setup is also a priority, though ensure it has sufficient weatherproofing.
Insulating the Tent Floor: Your First Line of Defense
The ground is your biggest enemy when it comes to staying warm in winter camping. It’s a continuous source of cold that will suck the heat right out of you. Therefore, insulating the tent floor is paramount. A multi-layered approach is best.
Step 1: Create a Ground Barrier
Before you even pitch your tent, consider laying down a protective layer on the snow or frozen ground. This could be a heavy-duty tarp or a ground cloth designed for your tent. This layer helps protect your tent floor from abrasion and can add an initial buffer against the cold.
Visual guide about How to Insulate a Tent for Winter
Image source: thegeekycamper.com
Step 2: Insulate Directly Under the Tent Floor
This is where you build your primary insulation. The goal is to create a barrier between your sleeping area and the frozen ground.
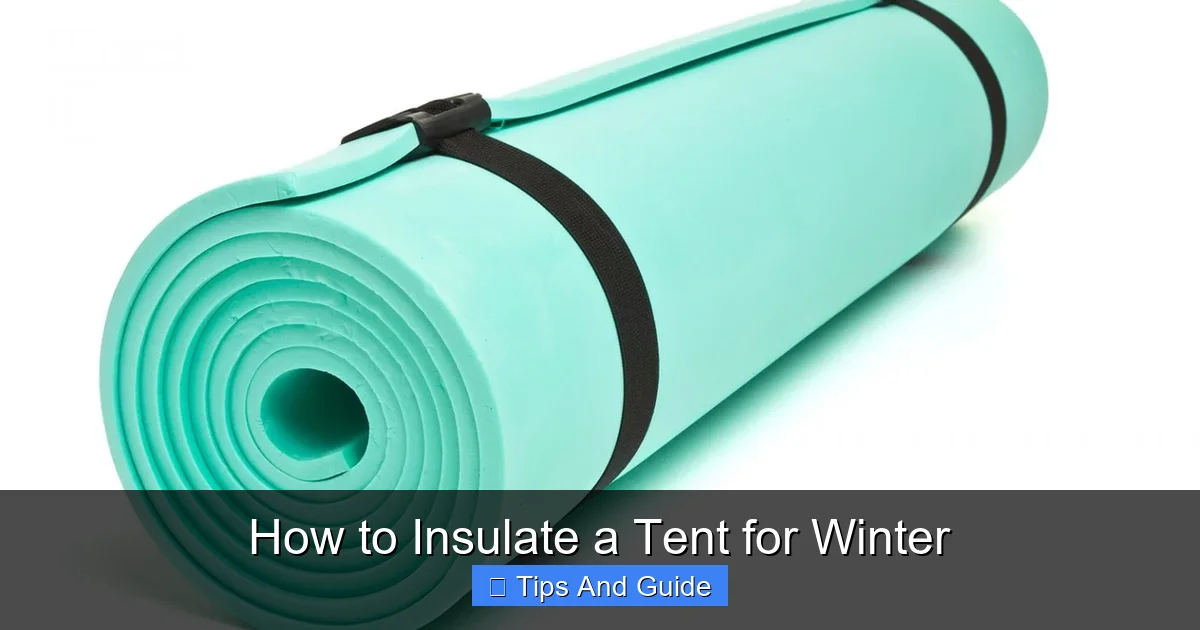
Option A: Closed-Cell Foam Sleeping Pads
- These are excellent insulators. They are dense and don’t deflate, providing a consistent layer of warmth.
- Lay one or two closed-cell foam pads on top of your ground tarp, completely covering the area where your tent will be pitched.
- The R-value (a measure of thermal resistance) of these pads is crucial. Look for pads with an R-value of 4 or higher for winter use.
Option B: Reflective Insulation (DIY or Purchased)
- You can buy rolls of reflective insulation (often used in construction) and cut them to fit your tent floor. These have a foil-like surface that reflects heat.
- Place this insulation directly on your ground tarp.
Step 3: Insulate Under Your Sleeping Pad
Once your tent is pitched and you’ve laid down your floor insulation, it’s time to prepare your sleeping area.
The Double-Pad System:
- Bottom Layer: Use your closed-cell foam pad or reflective insulation as the base layer.
- Top Layer: Place an inflatable sleeping pad on top of the foam pad. For winter, an insulated inflatable pad with a high R-value (5 or more) is ideal. These pads trap air, and if they are insulated, they will be much warmer.
- This combination of a firm, insulating foam pad and a plush, insulating inflatable pad provides superior comfort and warmth. It effectively isolates you from the cold ground.
Practical Tip: Make sure your insulation layers extend beyond the area where you’ll be sleeping. This prevents your feet or arms from accidentally touching the cold tent floor or ground.
Insulating the Tent Walls and Ceiling
While the floor is the most critical area, insulating the walls and ceiling can further enhance your tent’s warmth. This is especially important in tents with large mesh panels or thinner fabrics.
Step 1: Minimize Airflow Through Mesh Panels
Most tents have mesh panels for ventilation. In winter, you’ll want to minimize this to prevent drafts. Many tents come with waterproof panels that zip over the mesh. Ensure you use these.
Visual guide about How to Insulate a Tent for Winter
Image source: thegeekycamper.com
Step 2: Add Reflective Insulation Panels
You can cut reflective insulation to fit the inside of your tent walls. Secure them using duct tape, Velcro, or by tucking them under the edges of your sleeping mat.
- Benefits: These panels reflect your body heat back into the tent, preventing it from being lost through the fabric.
- Placement: Focus on areas where you feel drafts or where the tent fabric is thinnest.
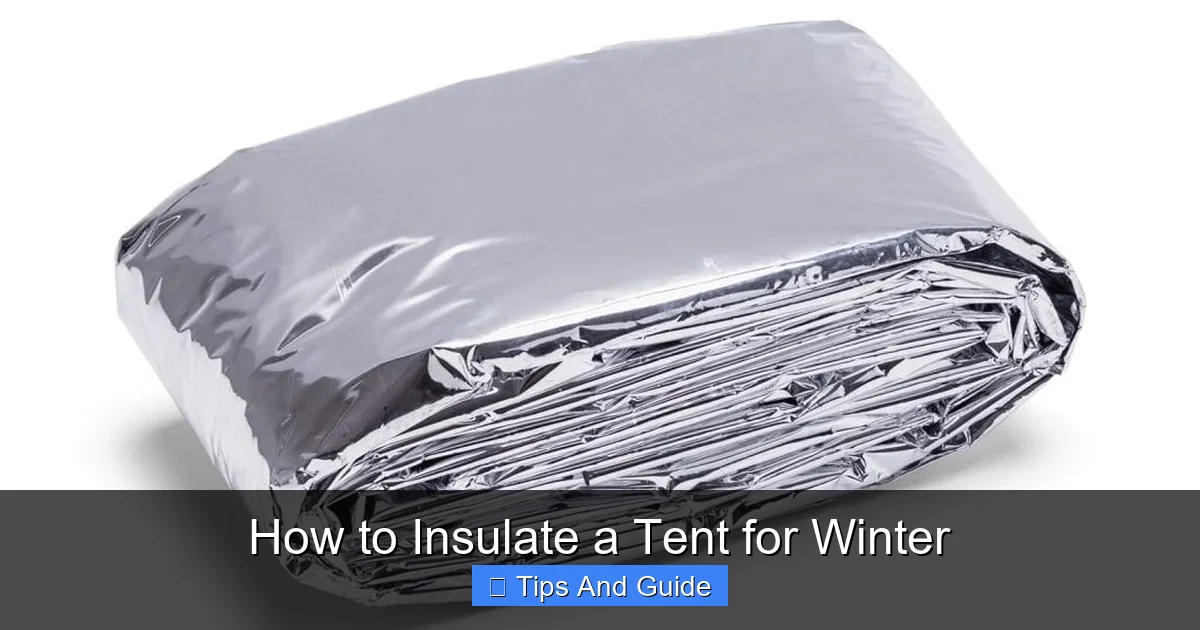
Step 3: Use Reflective Blankets
Space blankets (emergency blankets) are lightweight and inexpensive. You can hang them inside your tent walls. While not as durable as rigid insulation panels, they can provide an extra layer of radiant heat reflection.
- Securing: Use clothespins or small clips to attach them. Be careful not to create gaps that let cold air in.
Step 4: Consider a Tent Footprint (if not already using)
A tent footprint is a ground cloth specifically sized for your tent. While primarily for floor protection, if it’s a thicker material, it can add a small amount of insulation to the very bottom of the tent walls.
Managing Condensation: The Silent Killer of Warmth
One of the biggest challenges in winter tent camping is condensation. Your breath releases moisture, and when this warm, moist air hits the cold inner walls of your tent, it condenses into water droplets. These droplets can then freeze, turning your tent into an icy interior. This not only makes your tent feel colder but can also weigh down the fabric and potentially damage it.
Step 1: Ventilate Strategically
This might seem counterintuitive when you want to stay warm, but ventilation is crucial. You need to allow moist air to escape.
- Ventilation Ports: Most tents have built-in ventilation ports. Open these partially, even in cold weather.
- Chimney Effect: If your tent has vents at different heights, opening a lower vent and a higher vent can create a natural airflow, drawing out moist air.
Step 2: Reduce Moisture Sources
- Breathing: Try not to breathe directly onto the tent walls. Some campers wear a balaclava or scarf inside their tent to help manage this.
- Cooking: Never cook inside your tent unless it’s an emergency and you have ample ventilation and a safe stove. Cooking produces a lot of moisture.
- Wet Gear: Store wet gear in the vestibule or in waterproof bags outside the main sleeping area.
Step 3: Wipe Down Surfaces
If you notice condensation forming, use a small towel or sponge to wipe it down. This prevents it from freezing.
Sealing Drafts and Gaps
Even with the best insulation, drafts can be a major source of heat loss. Cold air seeping in will quickly lower the internal temperature.
Step 1: Inspect Your Tent
Before your trip, inspect your tent for any tears or holes in the fabric, especially around seams and zippers.
Step 2: Seal Zippers and Velcro
- Zipper Drafts: Zippers are notorious for letting in cold air. You can use duct tape to secure zippers closed or to create a barrier over them once they are zipped up.
- Velcro: If your tent has Velcro closures for rainflies or vents, ensure they are fully engaged.
Step 3: Use Tent Stakes to Seal Bottom Edges
If your rainfly doesn’t extend all the way to the ground, or if you notice drafts coming from the bottom edges of the tent, use your tent stakes to pull the fabric down taut and seal any gaps. You can also use rocks or snow to help secure the edges.
Step 4: Consider a Snow Skirt
Some winter tents come with a “snow skirt” – an extra flap of fabric around the base of the tent. This can be buried in snow to create a complete seal against wind and cold.
Maximizing Your Body Heat
Beyond the tent itself, how you manage your own body heat is crucial for winter comfort.
Step 1: Use a High-Quality Sleeping Bag
This is non-negotiable for winter camping. Invest in a sleeping bag with a temperature rating significantly lower than the coldest temperatures you expect. A bag rated for -20°F (-29°C) or lower is often recommended for serious winter use.
- Down vs. Synthetic: Down offers excellent warmth-to-weight ratio but loses insulating power when wet. Synthetic insulation performs better in damp conditions.
Step 2: Wear Appropriate Sleepwear
Avoid cotton. Opt for moisture-wicking base layers made of synthetic materials or merino wool. Wear a warm hat and socks to bed.
Step 3: Stay Hydrated and Fed
Your body needs fuel to generate heat. Eat plenty of calories, especially fatty foods, before bed. Drink water, but not too much right before sleeping to avoid nighttime bathroom trips.
Step 4: Warm Water Bottle Trick
Fill a sturdy, leak-proof water bottle (like a Nalgene) with hot water and place it in your sleeping bag. It acts like a personal hot water bottle, significantly increasing your warmth.
Step 5: Exercise Before Bed
A light bit of exercise, like a few jumping jacks or a brisk walk, can warm you up before you get into your sleeping bag. Just don’t overexert yourself and start sweating.
Troubleshooting Common Winter Tent Insulation Issues
* Problem: My tent is getting frosty inside.
* Solution: Increase ventilation to let moist air escape. Ensure your sleeping gear isn’t touching the tent walls, as this transfers moisture. Wipe down condensation as it forms.
* Problem: I feel cold air drafts even though everything is zipped up.
* **Solution:** Inspect all seams, zippers, and the base of the tent for gaps. Use duct tape or stakes to seal any openings. Check your rainfly’s coverage.
* Problem: My sleeping pad isn’t keeping me warm enough.
* **Solution:** You might need a higher R-value sleeping pad, or consider the double-pad system described earlier. Make sure your sleeping bag is rated for the temperature.
* Problem: My tent feels damp all over.
* **Solution:** This is likely due to condensation and poor ventilation. Open vents more, and try to reduce moisture sources inside the tent. Ensure your tent is properly pitched to allow water runoff.
Conclusion
Insulating a tent for winter camping is a multi-faceted approach that requires attention to detail. By focusing on the ground insulation, addressing wall and ceiling warmth, managing condensation, and sealing drafts, you can create a remarkably comfortable and warm shelter. Remember that starting with a suitable tent, like a capable four-season model, is your first step. Combine these insulation techniques with high-quality sleeping gear and smart personal heat management, and you’ll be well-equipped to enjoy the unique beauty of winter camping. With a little preparation and the knowledge from this guide, your tent will transform from a cold box into a cozy winter retreat.