
Setting up a tent might seem daunting, but with the right guidance, it’s a breeze! This comprehensive how-to will walk you through each step, from choosing the right spot to securing your tent. You’ll learn about different tent types, essential tools, and common pitfalls to avoid, ensuring a comfortable and safe camping experience. Follow these instructions for a worry-free outdoor adventure.
Welcome, outdoor adventurers! So, you’ve got a new tent, or maybe you’re just looking to brush up on your camping skills. Fantastic! Setting up a tent is a fundamental part of enjoying the great outdoors, and knowing how to do it correctly makes all the difference. A well-pitched tent means a comfortable night’s sleep, protection from the elements, and a secure base for all your adventures.
This guide is designed to take the mystery out of tent installation. Whether you’re a seasoned camper or embarking on your very first trip, you’ll find clear, step-by-step instructions here. We’ll cover everything from picking the perfect spot to the final guy line adjustments. By the end of this guide, you’ll be a tent-pitching pro, ready to conquer any campsite.
Let’s get started on your journey to mastering tent installation!
Key Takeaways
- Choose the Right Location: Select a flat, well-drained spot away from hazards like dead trees or flash flood zones.
- Organize Your Tent Components: Lay out all parts before starting to ensure nothing is missing and for easier assembly.
- Lay Down the Footprint (Optional but Recommended): This protects your tent floor and adds an extra layer of waterproofing.
- Assemble the Tent Poles: Connect pole sections carefully to avoid damage and ensure they are fully seated.
- Construct the Tent Body: Attach the tent body to the poles according to your tent’s design (e.g., clips, sleeves).
- Attach the Rainfly: Drape the rainfly over the tent, ensuring correct orientation, and secure it to the poles and tent corners.
- Stake Down Your Tent: Properly stake all guy lines and the tent perimeter for stability against wind and weather.
1. Preparing for Setup: Location, Location, Location!
Before you even unroll your tent, the most crucial step is choosing the right spot. This is where your comfort and safety begin.
1.1 Scout Your Campsite
Take a walk around the area where you plan to set up. Look for a spot that is:
- Flat: A level surface is essential for comfortable sleeping. You don’t want to wake up sliding to one side of your tent!
- Well-Drained: Avoid low-lying areas where water might collect if it rains. Look for slightly elevated ground.
- Sheltered: If possible, find a spot with some natural windbreak, like behind bushes or larger rocks. However, be mindful of overhead hazards.
- Safe: Steer clear of obvious dangers such as dead trees (which can fall), animal trails, or areas prone to flash floods. Also, be aware of insect nests.
- Convenient: Consider proximity to water sources (but not too close to disturb wildlife or ecosystems), restrooms, and your campsite’s common areas.
1.2 Check for Critters and Debris
Once you’ve found a suitable spot, do a quick sweep for any sharp rocks, sticks, pinecones, or animal droppings that could damage your tent floor or make your sleeping area uncomfortable. Clear the area as much as possible.
2. Unpacking and Organizing Your Tent
Visual guide about How to Install Tent
Image source: c8.alamy.com
With your perfect spot chosen, it’s time to unpack. This is a great moment to get familiar with all the components of your tent.
2.1 Lay Everything Out
Carefully remove all items from the tent bag. You should have:
- The tent body (usually the main fabric part)
- The rainfly (the waterproof outer layer)
- Poles (often in a separate bag)
- Stakes (usually in a small bag)
- Guy lines (often attached to the rainfly or a separate spool)
- A footprint or ground tarp (if included or if you brought one)
2.2 Inspect for Damage
Take a moment to visually inspect everything. Are there any tears in the fabric? Are all the pole sections present and intact? Are the zippers working smoothly? It’s much better to discover any issues now rather than when you’re in the middle of setting up in fading light.
3. Laying the Foundation: The Footprint or Ground Tarp
Visual guide about How to Install Tent
Image source: tent.org
While some tents are designed to be used without one, using a footprint or ground tarp is highly recommended. It adds a crucial layer of protection.
3.1 Purpose of a Footprint
A footprint (sometimes called a ground cloth or ground tarp) is a piece of durable material that goes under your tent. Its main jobs are:
- Protecting the Tent Floor: It shields the tent’s floor from abrasion caused by rocks, roots, and rough ground.
- Adding Waterproofing: It provides an extra barrier against ground moisture.
- Keeping it Clean: It makes the tent floor easier to clean when packing up.
3.2 Placement
Lay the footprint flat on your chosen spot. Ensure it is oriented correctly. If your footprint is specifically designed for your tent, it will usually have grommets or tie-out points that align with the tent’s poles or corners. It’s generally recommended that the footprint be slightly smaller than the tent floor, so it doesn’t channel water underneath your tent. If it’s larger, tuck the edges under.
4. Assembling the Tent Poles
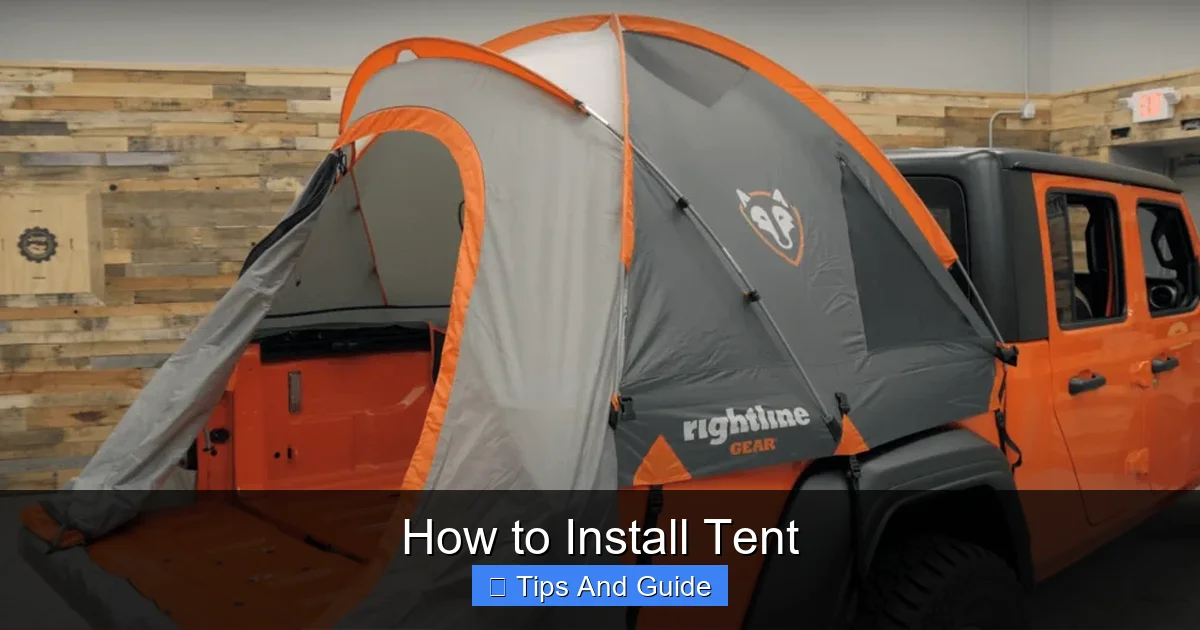
Visual guide about How to Install Tent
Image source: thecarbuzz.com
Tent poles are the skeleton of your tent, providing its structure. Handle them with care.
4.1 Connect the Sections
Most tent poles are made of flexible shock-corded sections. Simply pull each section apart and insert the end of one into the opening of the next. You’ll hear or feel a gentle “click” as they connect.
4.2 Ensure Full Connection
Make sure each pole section is fully seated into the other. A loose connection can cause the pole to bend or break under tension. Some poles have metal ferrules where sections join; ensure these are properly aligned and pushed together firmly.
4.3 Identifying Poles
Some tents have different types or lengths of poles. Your tent’s instructions will usually indicate which pole goes where. Often, they are color-coded to match corresponding sleeves or clips on the tent body.
5. Erecting the Tent Body
This is where your tent starts to take shape. The method for attaching the tent body to the poles varies depending on the tent design.
5.1 Common Attachment Methods
* Sleeves: You thread the poles through fabric sleeves sewn onto the tent body. This provides a very sturdy structure, especially for dome tents.
* Clips: The tent body hangs from the poles using plastic clips. This is often quicker than threading sleeves.
* Grommets and Tabs: The ends of the poles might insert into grommets at the tent corners, and the tent body might attach with Velcro straps or tabs that wrap around the poles.
5.2 Step-by-Step Assembly (General)
Here’s a typical process for a dome tent with clips and grommets:
5.2.1 Insert Pole Ends
Carefully insert the ends of the assembled poles into the corresponding grommets or corner points on the footprint/ground. These points are usually reinforced.
5.2.2 Arch the Poles
Gently bend each pole and guide it through the sleeves or attach the clips onto the poles as you go. Work slowly and deliberately. If you have two main poles crossing, you might need to insert one pole halfway, then the second, and then continue with the first. The goal is to create an arching structure.
5.2.3 Secure the Tent Body
Once the poles are in place, the tent body will stand up. Secure the tent corners to the poles or to the base of the poles using the provided grommets, tabs, or clips. Ensure the fabric is taut but not overstretched.
5.3 Tips for Easier Setup
- Teamwork: Having a second person makes this step much easier. One person can hold poles while the other secures clips or threads sleeves.
- Check Pole Color Coding: If your poles and tent have matching colors, this is your visual guide.
- Gentle Force: Don’t force anything. If it feels like you’re bending a pole excessively or ripping fabric, stop and reassess.
6. Attaching the Rainfly
The rainfly is your tent’s shield against rain and wind. Proper installation is key to staying dry and comfortable.
6.1 Orientation is Key
Most rainflies are designed to fit in only one way. Look for features like:
- Door/Vent Placement: The openings on the rainfly should align with the doors and vents on the tent body.
- Color Coding: Some rainflies have colored tabs or patches that match the tent body.
- Zipper Direction: The zippers on the rainfly should match the zipper direction on your tent doors.
6.2 Draping and Securing
* Drape the rainfly over the erected tent body.
* Align the rainfly’s vestibule doors with your tent’s main doors.
* Secure the rainfly to the tent poles or the tent’s frame using the provided clips, Velcro straps, or ties. These are often located along the edges of the rainfly.
* If your rainfly has grommets at the corners or along the edges, these should align with the poles or specific points on the tent’s base. Insert the pole tips into these grommets if applicable.
6.3 Tensioning the Rainfly
Ensure the rainfly is taut and not sagging. Sagging can cause water to pool and potentially leak into your tent. The fabric should be stretched evenly.
7. Pitching the Tent: Stakes and Guy Lines
Stakes are your tent’s anchors, and guy lines provide crucial stability, especially in windy conditions.
7.1 Staking the Tent Perimeter
* Start by staking down the main corners of your tent.
* Insert stakes into the ground at roughly a 45-degree angle, pointing away from the tent. This angle provides the best holding power.
* Drive the stake firmly into the ground. If the ground is hard, you might need a rock or a mallet. If it’s very soft, you may need to use longer or wider stakes.
7.2 Deploying Guy Lines
Guy lines are ropes that attach to loops on the rainfly and are then staked out away from the tent. They significantly increase your tent’s wind resistance and help keep the rainfly taut.
- Locate Guy Line Points: Identify the loops on your rainfly where the guy lines attach.
- Attach Guy Lines: If they aren’t pre-attached, tie them securely to the loops.
- Stake Out Guy Lines: Extend the guy lines away from the tent and stake them into the ground. Adjust the tension using the tensioners provided on the lines.
7.3 Importance of Tension
Properly tensioned guy lines are essential for a stable tent. They prevent the rainfly from flapping excessively in the wind, which can be noisy and wear down the fabric over time. Also, keeping the rainfly taut prevents condensation from touching the inner tent walls.
8. Final Adjustments and Checks
You’re almost there! A few final touches will ensure your tent is perfectly set up.
8.1 Check for Sagging
Walk around your tent and check the rainfly for any areas that are sagging. Gently pull on the guy lines or adjust the tensioners to make the fabric taut.
8.2 Zippers and Ventilation
Open and close all zippers to ensure they function smoothly. Check that your tent’s vents are positioned as you want them for optimal airflow. Good ventilation helps reduce condensation inside the tent.
8.3 Interior Setup
Now you can bring your gear inside. Consider where you’ll place your sleeping bag, sleeping pad, and other essentials. For optimal comfort, you might want to check out the best camping mattress for tent options or a reliable best camping mat for tent to elevate your sleeping experience.
9. Troubleshooting Common Issues
Even with careful setup, you might encounter a few hiccups. Here’s how to deal with them:
9.1 Tent Won’t Stand Up Properly
* Problem: Poles don’t seem to fit, or the tent is lopsided.
* Solution: Double-check that you’ve used the correct poles for the correct locations. Ensure all pole sections are fully connected. Verify that the tent corners are correctly inserted into the pole ends or grommets.
9.2 Rainfly is Sagging or Not Fitting Tightly
* Problem: The rainfly has loose areas or doesn’t seem to cover the tent body completely.
* Solution: Re-check the orientation of the rainfly. Make sure all clips and straps are secured. Adjust the tension on the guy lines. Ensure the rainfly’s corners are properly attached to the tent poles or base.
9.3 Stakes Won’t Go Into the Ground
* Problem: The ground is too hard or rocky.
* Solution: Try a different spot if possible. If not, use a rock or mallet to drive stakes in. Consider using different types of stakes, like rebar stakes for hard ground. In very soft ground, use wider or longer stakes and consider adding weight (like rocks) around them.
9.4 Condensation Inside the Tent
* Problem: Moisture building up on the inside walls.
* Solution: This is often caused by poor ventilation. Ensure vents are open. Avoid touching the tent walls, as this transfers body heat and moisture. If using a single-wall tent, more condensation is normal. Ensure the rainfly isn’t touching the inner tent.
9.5 Wind Issues
* Problem: Tent feels unstable in the wind.
* Solution: Ensure all stakes are driven at a 45-degree angle. Make sure all guy lines are deployed and tensioned properly. Position your tent so the most aerodynamic side faces the wind. Some tents are designed with wind resistance in mind, like a best pop up tent for wind.
Conclusion
Congratulations! You’ve successfully navigated the steps to installing your tent. Remember, practice makes perfect. The more you set up your tent, the quicker and easier it becomes. Choosing a good location, organizing your gear, and following these steps will ensure you have a secure, comfortable, and dry shelter wherever your adventures take you.
Now that your tent is up, you can relax and enjoy the beauty of the outdoors. Think about setting up your sleeping area with a comfortable best camping bed for tent or adding some ambiance with the best camping lights for tent to enhance your campsite. Happy camping!