
Folding a name tent is a simple skill that adds a professional touch to any event. This guide will walk you through the process, from preparing your paper to achieving a crisp, stable fold. You’ll learn how to create professional-looking name tents for parties, meetings, or classrooms with ease.
Welcome to our comprehensive guide on how to fold a name tent! Whether you’re planning a wedding, hosting a dinner party, organizing a conference, or even setting up a classroom, name tents are a fantastic way to personalize the experience. They help guests find their seats easily, add a touch of elegance, and make everyone feel welcomed. You might have seen them at formal events, or perhaps you’ve considered making your own for a special gathering. The good news is, folding a name tent is surprisingly simple! With a few basic materials and this step-by-step guide, you’ll be creating neat, professional-looking name tents in no time.
This guide will cover everything you need to know. We’ll start with the materials you’ll need, then move on to the precise folding techniques. We’ll also share some practical tips to make your name tents stand out and even touch on troubleshooting common issues. By the end of this article, you’ll have the confidence and skill to fold perfect name tents for any occasion.
Key Takeaways
- Start with the right paper: Use cardstock or sturdy paper for best results; regular paper can be too flimsy.
- Precise folding is key: Accurate measurements and crisp creases ensure your name tent stands upright.
- The “valley fold” is your friend: This technique creates the essential fold that allows the tent to stand.
- Centering is crucial: Ensure the name or message is centered on both visible panels for a balanced look.
- Practice makes perfect: Even simple folds benefit from a little practice to achieve a polished finish.
- Consider your event: The size and style of your name tent can be adapted to suit different occasions.
Understanding the Basics of Name Tents
Before we dive into the folding process, let’s understand what a name tent is. Essentially, it’s a piece of paper or cardstock that is folded in half to create a stable, triangular prism shape when placed on a flat surface. One side of the tent displays a name (or other information, like a table number or a short message), and the other side is often blank or displays the same information for visibility from both directions. The “tent” aspect comes from its ability to stand upright on its own, much like a small tent. This stability is what makes them so functional for seating arrangements.
When you’re planning an event, especially if it involves assigned seating, having well-made name tents can significantly enhance the guest experience. They are more than just a label; they are a small detail that speaks to thoughtfulness and organization. For larger events, consistency in the folding and appearance of each name tent is key to maintaining a polished look. If you’re thinking about the practicalities of your event setup, consider how things like seating charts and table decorations tie into the overall guest flow.
What You’ll Need

Visual guide about How to Fold a Name Tent
Image source: i.pinimg.com
Gathering your materials is the first step to success. Fortunately, folding a name tent doesn’t require any specialized equipment.
Essential Materials:
- Paper or Cardstock: This is the most important material. For a professional and sturdy name tent, we highly recommend using cardstock. It’s thicker than regular printer paper and holds creases well, ensuring your tent stands up without buckling. The weight of the cardstock can vary, but anything between 65lb to 110lb cover stock is generally ideal. If you only have regular printer paper, it can work in a pinch, but be aware that it will be less stable.
- A Ruler: Accuracy is important for neat folds. A ruler will help you measure and mark your fold lines precisely.
- A Scoring Tool (Optional but Recommended): While not strictly necessary, a scoring tool (like a bone folder, an empty ballpoint pen, or even the dull edge of a butter knife) makes creating crisp, clean folds much easier. Scoring the paper before folding creates a slight indentation that guides the fold and prevents cracking, especially with thicker cardstock.
- A Printer (Optional): If you plan to print names or designs onto your cardstock before folding, you’ll need a printer. Ensure your printer can handle the weight of the cardstock you choose.
- A Pen or Marker (if not printing): If you’re hand-writing names, a good quality pen or marker that won’t bleed through the cardstock is essential.
- Scissors or a Paper Cutter: To cut your cardstock to the desired size. A paper cutter provides the straightest edges.
Step-by-Step Folding Instructions
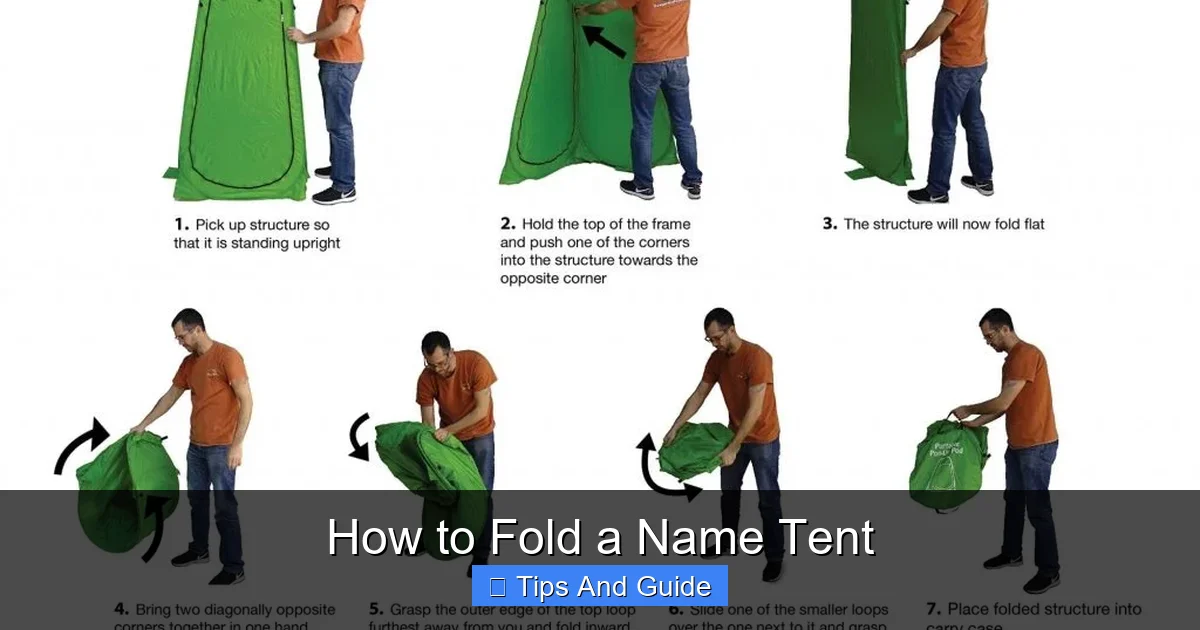
Visual guide about How to Fold a Name Tent
Image source: outdoorspro.org
Now, let’s get to the heart of it – folding your name tent. We’ll assume you’re starting with a rectangular piece of cardstock. The most common size for a name tent, when folded, is about 3.5 inches wide by 2 inches tall. This typically means starting with a piece of cardstock that is 3.5 inches wide and 4 inches tall.
Step 1: Prepare Your Cardstock
Start by cutting your cardstock to the appropriate size. For a standard name tent, you’ll want a piece that is 3.5 inches wide and 4 inches tall. If you’re using standard 8.5×11 inch cardstock, you can cut it into strips that are 3.5 inches wide. You’ll then cut these strips into 4-inch lengths. This will give you multiple pieces to work with. Aim for clean, straight edges.
Step 2: Mark Your Fold Line
Take one of your prepared cardstock pieces. You want to fold it in half lengthwise. This means you’ll be creating a fold that runs parallel to the longer side of the paper if you were to hold it vertically. However, since we cut our paper to be 3.5 inches wide and 4 inches tall, we are folding it along the 4-inch dimension.
Lay the cardstock flat so that the 3.5-inch width is horizontal and the 4-inch height is vertical. You want to fold it in half so that the final tent is 3.5 inches wide and 2 inches tall. To achieve this, you need to mark the center point along the 4-inch height.
Measure 2 inches down from the top edge of the cardstock. Make a small, light pencil mark at this 2-inch point along one of the 3.5-inch sides. Repeat this on the opposite 3.5-inch side. You should now have two marks, each 2 inches from the top.
Step 3: Score the Fold Line (Optional but Recommended)
If you have a scoring tool, this is where it comes in handy. Place your ruler along the line connecting the two marks you just made. The ruler should be positioned exactly down the center of the 4-inch height, creating a line that is 3.5 inches long and exactly 2 inches from both the top and bottom edges.
Using your scoring tool, gently run it along the line where you want to fold. Apply firm but not excessive pressure. You’re not trying to cut the paper, just create a crease. This indentation will make folding much cleaner and prevent the cardstock from cracking, especially if it’s thick.
Step 4: Fold the Cardstock
Now it’s time to fold. Gently bring the bottom edge of the cardstock up to meet the top edge. Align the edges perfectly. If you’ve scored the paper, the fold should naturally want to happen along the scored line.
Make a firm crease along the folded edge. You can use your fingernail, the side of your ruler, or your scoring tool to press down and create a sharp, defined crease. A good crease is essential for the tent to stand up properly. Ensure the crease is along the 3.5-inch width.
Step 5: Open and Stand Your Name Tent
Gently open up the folded cardstock. You should now have a stable, triangular shape that stands on its own. The fold you just made is the “peak” of the tent. The two sides that meet at the crease will stand upright, and the bottom edge will rest on the table.
Step 6: Add Names or Information
Once your tent is folded, you can add the names or other information. If you printed your names beforehand, ensure they are centered on each visible panel. If you’re handwriting them, take your time to write clearly.
* Centering is Key: When you unfold the tent, you’ll see two main panels that will be visible to guests. Ensure your writing or printing is centered horizontally and vertically on these panels. This creates a balanced and professional appearance. For example, if your folded tent is 3.5 inches wide and 2 inches tall, the visible panels are also 3.5 inches wide and 2 inches tall. When writing by hand, aim to have the name centered within this space.
Practical Tips for Perfect Name Tents
Visual guide about How to Fold a Name Tent
Image source: templateral.com
Folding a name tent is simple, but a few extra tips can elevate your creations from basic to brilliant.
Tip 1: Consistency is Crucial for Events
If you’re making name tents for a large event, try to maintain consistency in size, font (if printing), and placement of names. This creates a cohesive and professional look across all your tables. Measure twice, cut once!
Tip 2: Choose the Right Paper for the Occasion
For formal events like weddings or banquets, a thicker, textured cardstock in an elegant color can add a luxurious feel. For more casual gatherings or children’s parties, you might opt for brighter colors or even patterned paper. If you’re using your tent in a potentially damp environment, like a [best pop up tent waterproof], consider using a heavier cardstock or even a laminated option if possible.
Tip 3: Experiment with Sizes
While we’ve provided standard dimensions, don’t be afraid to adjust them. For larger tables or displays, you might want slightly bigger name tents. For smaller settings or place cards, you could scale them down. Just remember to adjust your measurements for the fold line accordingly.
Tip 4: Consider Double-Sided Information
For maximum visibility, you can print or write the name on both sides of the tent. This is especially useful if guests might approach the table from different angles.
Tip 5: Decorative Touches
Add a personal flair! You can use decorative scissors to create a patterned edge on your cardstock before folding, tie a small ribbon around the base of the tent, or even add a small sticker or embellishment that complements your event’s theme.
Tip 6: Pre-Creasing for Easier Folding
If you’re folding many name tents by hand without a scoring tool, you can pre-crease the fold line by firmly pressing down with the side of a ruler or even a sturdy credit card before doing the final fold.
Troubleshooting Common Name Tent Issues
Even with simple crafts, occasional hiccups can occur. Here are a few common issues and how to fix them.
Issue 1: The Tent Won’t Stand Upright / It’s Wobbly
* Cause: Insufficiently crisp crease, paper that is too flimsy, or uneven edges.
* Solution: Re-crease the fold with more pressure. Ensure your cardstock is thick enough. Check if your base edges are even; if not, you might need to trim them slightly. If using a printer, ensure it’s feeding paper correctly and not causing any unintended bends before you start.
Issue 2: The Paper is Cracking Along the Fold
* Cause: Folding cardstock without scoring it first, or applying too much pressure in one go.
* Solution: Always score the fold line, especially with thick cardstock. If it has already cracked, you might be able to disguise it with a decorative element or by carefully pressing the paper back together. For future tents, score more gently but consistently.
Issue 3: Names are Crooked or Off-Center
* Cause: Inaccurate marking of the fold line, or unsteady hand while writing/printing.
* Solution: For future tents, use your ruler meticulously for marking and scoring. If you’ve already written the name, you can try to adjust the placement of other elements on the table to draw attention away, or, if it’s a very slight imperfection, accept it as part of the handmade charm. For printed tents, double-check your document layout and printer settings before printing.
Issue 4: Edges Aren’t Straight
* **Cause:** Using scissors to cut cardstock, or an unsteady hand with a ruler and craft knife.
* **Solution:** A paper cutter is your best friend for perfectly straight edges. If you don’t have one, practice cutting with a ruler and craft knife on scrap paper first. For existing tents with uneven edges, you can sometimes trim them carefully with sharp scissors to straighten them out.
Conclusion
And there you have it! You’ve learned how to fold a perfect name tent. From selecting the right cardstock to making precise folds and adding personalized touches, the process is straightforward and rewarding. These simple yet effective name tents can transform the look and feel of any event, making it more organized, personalized, and memorable for your guests.
Remember, the key to a great name tent is clean lines, a firm crease, and accurate centering. With a little practice, you’ll be folding them quickly and efficiently. So, the next time you need to guide guests to their seats, create place settings, or simply add a personal touch to a gathering, you’ll know exactly how to fold a name tent like a pro. Happy folding!