
Don’t let a ripped tent cut your adventure short! This guide provides step-by-step instructions on how to effectively fix tears and holes in your tent fabric. We cover various repair methods, from patching to seam sealing, so you can extend the life of your tent and stay protected from the elements. With these simple techniques, you can confidently handle common tent damage and get back to enjoying the great outdoors.
Going camping is an incredible way to escape the everyday and immerse yourself in nature. Whether you’re hiking through mountains, relaxing by a lake, or simply enjoying a backyard adventure, your tent is your home away from home. But what happens when that home develops a tear or a hole? A ripped tent can be a serious problem, letting in rain, wind, and bugs. The good news is that most tent rips are fixable! This comprehensive guide will walk you through everything you need to know to repair your damaged tent, ensuring it’s ready for your next expedition.
We’ll cover different types of rips, the best materials for repairs, and step-by-step instructions for common fixes. By the end of this guide, you’ll have the skills and confidence to tackle most tent emergencies and extend the life of your valuable gear.
Key Takeaways
- Assess the Damage: Before you start, carefully examine the rip or hole to determine its size, location, and the type of fabric it affects. This will help you choose the right repair method.
- Clean and Prepare: Always clean the damaged area thoroughly. Dirt, debris, and moisture can prevent adhesives and patches from sticking properly.
- Patching for Holes and Tears: Use a rip-stop patch or fabric repair tape. Apply it from both the inside and outside of the tent for maximum strength and weatherproofing.
- Sewing for Durability: For larger or high-stress rips, sewing can provide a more durable repair. Use a strong, waterproof thread and a suitable stitch.
- Seam Sealing for Leaks: Damaged seams can lead to leaks. Reapply seam sealer to ensure your tent remains waterproof.
- Reinforce Weak Spots: Consider reinforcing areas prone to wear and tear, such as around zippers or stress points, even if they aren’t currently ripped.
- Practice Makes Perfect: Don’t be discouraged if your first repair isn’t flawless. Practice on scrap fabric if possible, and remember that a functional repair is often better than a cosmetic one.
Understanding Tent Fabric and Damage
Tents are typically made from synthetic fabrics like nylon or polyester, often coated with a waterproof material. These materials are lightweight and durable, but they can still be punctured or torn by sharp objects, rough handling, or excessive strain.
Types of Tent Damage
- Punctures: Small holes caused by sharp objects like twigs, rocks, or even small animal claws.
- Tears: Larger rips that can be straight, jagged, or start from a seam.
- Seam Separation: The stitching along seams can break, creating gaps that allow water to enter.
- Zipper Damage: While not a fabric rip, a damaged zipper can render a tent unusable. We’ll briefly touch on this, but our focus is on fabric damage.
Choosing the Right Repair Materials
The effectiveness of your repair depends on using the right materials. Here are the essentials you might need:
- Tent Repair Kit: Many outdoor gear brands sell comprehensive kits that include patches, tape, and sometimes even seam sealer. These are a great starting point.
- Rip-stop Fabric Patches: These are adhesive-backed patches designed specifically for tents. They are durable and often come in various colors.
- Fabric Repair Tape: Strong, waterproof tape like Tenacious Tape is excellent for quick fixes and reinforcing seams.
- Waterproof Adhesive: For a more permanent bond on certain patches or to seal small holes.
- Strong, Waterproof Thread: If you plan to sew your repair. Look for UV-resistant, polyester thread.
- Needle: A sturdy sewing needle, preferably a curved one for easier access to tight spots.
- Rubbing Alcohol or Tent Cleaner: For thoroughly cleaning the damaged area.
- Scissors or a Craft Knife: For cutting patches and tape precisely.
- Fabric Scraps: Small pieces of similar tent fabric can be useful for reinforcement.
- Seam Sealer: A liquid or spray that waterproofs stitched seams.
Step-by-Step Guide to Fixing a Ripped Tent
Now, let’s get down to the actual repairs. The best method will depend on the size and location of the damage.
1. Preparing the Tent for Repair
This is a crucial first step that many people skip. A clean, dry surface is essential for any repair to hold.
Clean the Damaged Area
Lay your tent out flat, preferably in good light. Carefully examine the rip or hole. Gently brush away any dirt, mud, leaves, or debris from the area around the damage. Then, use rubbing alcohol or a dedicated tent cleaner to thoroughly clean the fabric on both sides of the rip. Make sure the area is completely dry before proceeding. This step ensures that adhesives and patches will stick effectively.
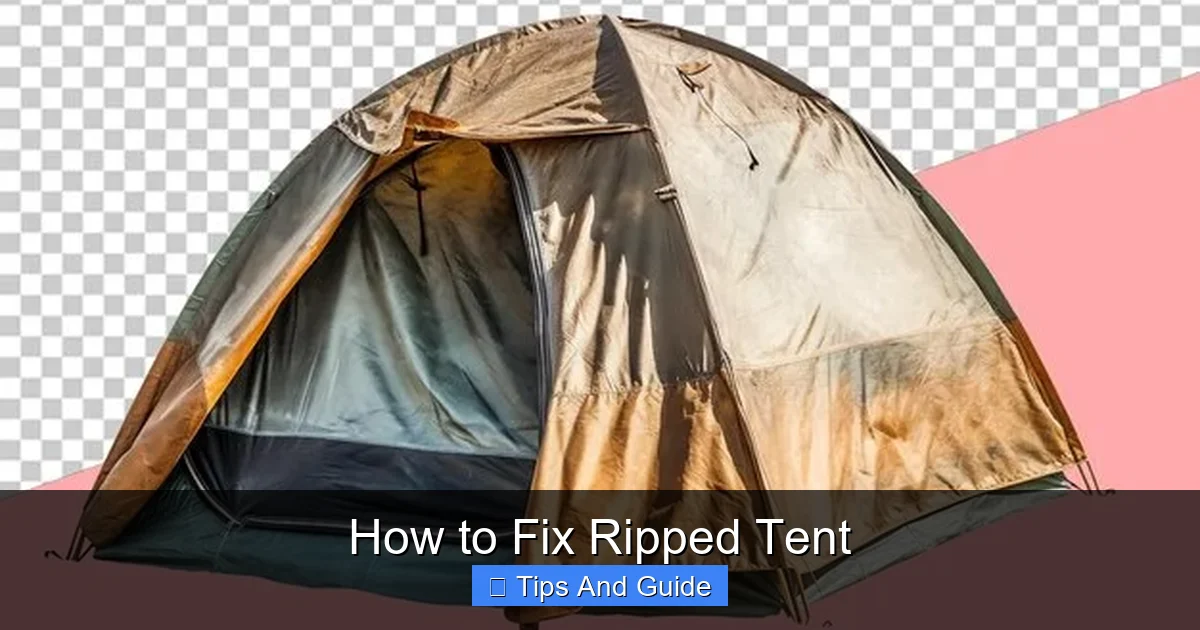
Visual guide about How to Fix Ripped Tent
Image source: img.freepik.com
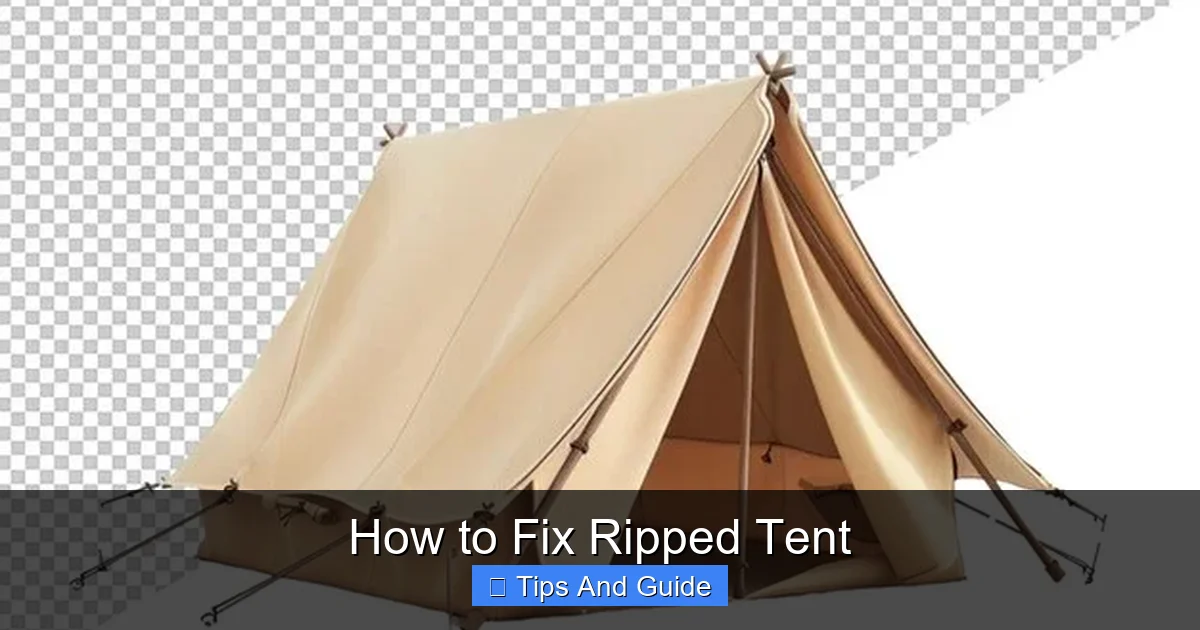
Visual guide about How to Fix Ripped Tent
Image source: img.freepik.com
Trim Loose Threads
If the rip has caused frayed or loose threads, carefully trim them with sharp scissors or a craft knife. This will create a cleaner edge for your patch or stitching.
2. Repairing Small Punctures and Holes
Small holes are the easiest to fix and often require a simple patching method.
Method A: Using Tent Repair Tape
This is a quick and effective method for small punctures or small tears.
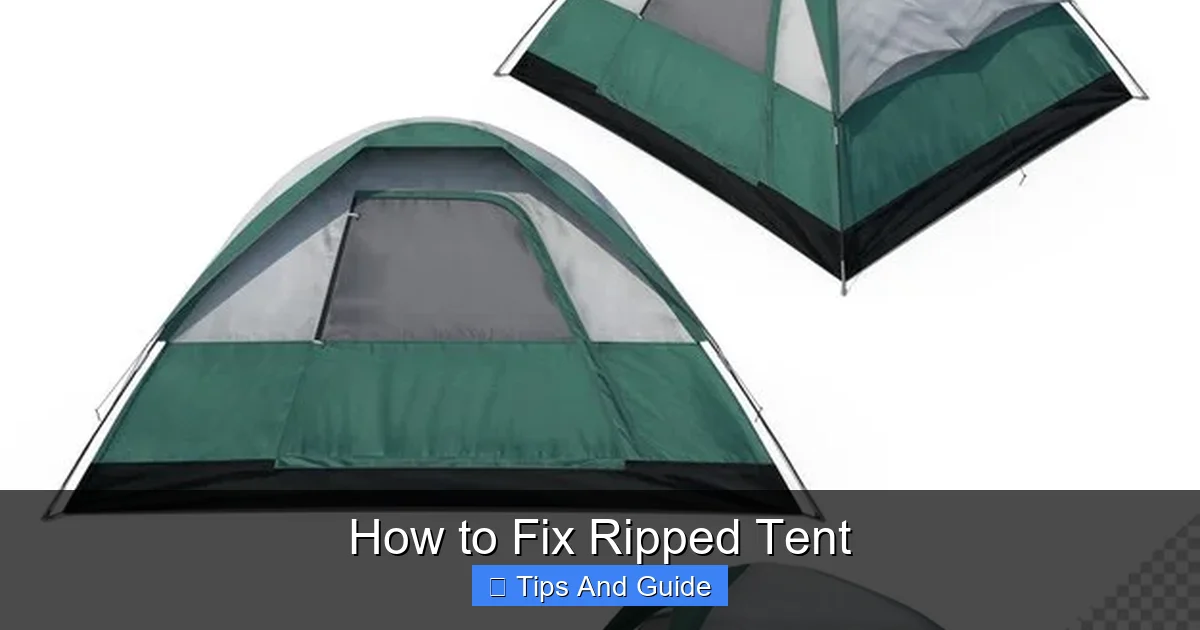
Visual guide about How to Fix Ripped Tent
Image source: img.freepik.com
- Cut the Tape: Cut a piece of rip-stop fabric repair tape (like Tenacious Tape) large enough to extend at least an inch beyond the hole in all directions. Round the corners of the tape. This prevents the edges from peeling up over time.
- Apply the First Piece: Peel off the backing from one piece of tape and carefully apply it to the inside of the tent, directly over the hole. Press down firmly, smoothing out any air bubbles.
- Apply the Second Piece: Cut another piece of tape, similar in size to the first. Apply this piece to the outside of the tent, directly over the hole. Again, press down firmly and smooth out any wrinkles. Having patches on both sides provides superior strength and waterproofing.
- Allow to Cure: Let the tape adhere for at least 24 hours before putting stress on the area, if possible.
Method B: Using Adhesive Patches
Similar to tape, but often more aesthetically pleasing and robust for certain situations.
- Cut the Patch: Cut a patch from a rip-stop fabric patch kit, ensuring it extends at least an inch beyond the hole in all directions. Round the corners.
- Apply the Patch: Peel off the backing and carefully apply the patch to the inside of the tent, centering it over the hole. Press firmly from the center outwards to ensure good adhesion and remove any air bubbles.
- Reinforce if Necessary: For added strength, you can apply a second, smaller patch to the outside of the tent over the hole, or use a piece of repair tape on the outside.
- Let it Cure: Allow the patch to bond for the manufacturer’s recommended time, usually at least 24 hours.
3. Repairing Larger Tears
Larger rips require a bit more effort and often benefit from a combination of methods.
Method A: Patching a Large Tear
This involves using larger patches, and sometimes sewing, for greater durability.
- Prepare the Tear: Clean the area thoroughly. If the tear is jagged, try to bring the edges together as neatly as possible. You can use a few pieces of masking tape on the outside to hold the edges in place temporarily while you work.
- Cut Large Patches: Cut two pieces of rip-stop fabric or repair tape. Each piece should be large enough to cover the tear with at least a two-inch overlap on all sides. Round the corners.
- Apply Inside Patch: Peel the backing from one patch and apply it to the inside of the tent, centering it over the tear. Press firmly, ensuring it adheres well and smooths out wrinkles.
- Apply Outside Patch: Apply the second patch to the outside of the tent, directly over the tear and the inside patch. Press down very firmly.
- Consider Sewing (Optional but Recommended): For maximum strength, you can sew around the edges of the patches after they have adhered. Use a strong, waterproof thread and a close, durable stitch, like a zigzag stitch, to secure the patch to the tent fabric. You can also sew along the original tear line through the patch for extra reinforcement.
Method B: Sewing a Tear (Advanced)
This method is best for tears that are along seams or where fabric edges are relatively clean.
- Prepare the Tear: Clean the area. Bring the torn edges together as closely as possible. You can temporarily hold them in place with masking tape.
- Thread Your Needle: Use a strong, waterproof thread. For extra strength, you can double the thread.
- Start Sewing: Begin sewing on the inside of the tent, a little way before the start of the tear. Use a strong stitch, like a backstitch or a reinforced zigzag stitch, that goes through both layers of fabric. Aim for small, tight stitches.
- Work Along the Tear: Carefully sew along the length of the tear, keeping the edges aligned. If the tear is wide, you might need to sew multiple lines of stitches.
- Reinforce and Finish: Once you reach the end of the tear, continue sewing for a short distance to reinforce the end. Tie off the thread securely on the inside.
- Apply a Patch: After sewing, it’s highly recommended to apply a patch (using Method A for large tears) over the sewn area, on both the inside and outside, for added waterproofing and durability.
4. Repairing Seams
If your tent seams are leaking, you’ll need to reseal them.
Reapplying Seam Sealer
- Clean the Seam: Ensure the seam area is clean and dry. Use a brush or a damp cloth to remove any dirt or old seam sealer residue.
- Apply New Seam Sealer: Follow the instructions on your seam sealer product. Typically, you’ll apply a thin, even bead of sealer directly onto the seam stitches. You can use a small brush or the applicator provided with the product.
- Smooth the Sealer: If using a liquid sealer, you might need to lightly smooth it with a gloved finger or a brush to ensure complete coverage and prevent pooling.
- Allow to Cure: Let the seam sealer dry and cure completely according to the product’s instructions. This can take several hours to a full day. Avoid touching or stressing the seam during this time.
5. Fixing Zipper Problems
While not a fabric rip, a faulty zipper can be a major issue.
Lubricate and Clean
Sometimes, zippers just get stiff. Clean the teeth with a brush and water. Once dry, lubricate them with graphite from a pencil or a silicone-based lubricant.
Realigning a Stuck Zipper
If the zipper is stuck, try to gently pull the fabric away from the zipper teeth. Sometimes, a small piece of fabric can get caught. Carefully work it free.
Replacing a Zipper Pull
If the pull tab breaks, you can easily replace it with a paperclip, a keyring, or a dedicated zipper pull replacement.
Zipper Repair Kits
For more serious zipper issues, like broken teeth or a detached slider, a dedicated zipper repair kit might be necessary. These kits usually include replacement sliders and tools to help you install them.
Troubleshooting Common Repair Issues
Even with careful work, you might encounter problems.
Patch Not Sticking
Cause: The fabric wasn’t clean or dry, or you didn’t apply enough pressure.
Solution: Carefully peel off the patch (if possible without causing more damage). Clean the area again thoroughly, ensuring it’s completely dry. Apply a new patch with extra pressure, especially around the edges. You might need to use a stronger adhesive or a combination of tape and adhesive.
Stitches Coming Loose
Cause: The thread was too weak, or the stitches weren’t secure.
Solution: Re-stitch the area with a stronger, UV-resistant thread. Use a backstitch or a reinforced zigzag stitch. For extra security, apply a patch over the sewn area afterwards.
Repair Affecting Tent Functionality
Cause: The patch or repair tape is too bulky and interferes with the tent poles, zippers, or other components.
Solution: If possible, trim excess material from the patch or tape once the adhesive has cured. For future repairs, try to use thinner materials or place patches strategically to avoid interference.
Maintaining Your Tent for Longevity
Preventing damage is always better than repairing it. Here are some tips to keep your tent in top condition:
- Store it Properly: Always ensure your tent is completely dry before packing it away. Store it in a cool, dry place, away from direct sunlight and pests. Use a breathable stuff sack rather than a compression sack for long-term storage.
- Pitch it Carefully: Avoid pitching your tent on rough, sharp surfaces. Use a ground cloth or footprint to protect the tent floor.
- Be Mindful of Sharp Objects: Keep sharp objects, like knives or tent stakes, away from the tent fabric.
- Clean Regularly: After each trip, clean your tent to remove dirt, sunscreen, and bug spray residue, which can degrade the fabric over time.
- Inspect Before and After Use: Take a few minutes to inspect your tent for any signs of wear and tear before and after each camping trip.
Conclusion
A ripped tent doesn’t have to mean the end of your camping adventures. With the right tools and a little patience, you can easily fix most tears and holes, restoring your tent’s functionality and extending its lifespan. Whether you’re dealing with a small puncture or a larger tear, the methods outlined in this guide will help you get your gear back in shape. Remember to always clean and prepare the area thoroughly, use appropriate repair materials, and take your time for the best results. Happy camping, and may your tent always stay intact!