
Don’t let a broken tent zipper ruin your outdoor fun! This comprehensive guide provides easy-to-follow steps to diagnose and fix common zipper issues. From stuck sliders to missing teeth, you’ll learn how to make your tent zipper as good as new. Empower yourself with these practical repair tips and keep your shelter secure and functional for all your camping trips.
How to Fix a Zipper on a Tent
A tent is your home away from home when you’re out exploring nature. It protects you from the elements and provides a cozy place to rest. But what happens when the zipper on your tent decides to act up? A stuck, broken, or separated zipper can be incredibly frustrating, especially when you’re miles from civilization.
Don’t despair! Most tent zipper problems are fixable with a little patience and the right tools. This comprehensive guide will walk you through common zipper issues and provide clear, step-by-step instructions on how to repair them. By the end of this guide, you’ll be equipped to tackle most tent zipper emergencies and keep your adventures going smoothly.
Key Takeaways
- Identify the Zipper Problem: The first step is to accurately diagnose whether the issue is with the slider, the teeth, the pull tab, or the insertion pin.
- Lubrication is Key: For stuck zippers, using graphite (pencil lead) or a specialized zipper lubricant can often free a stubborn slider.
- Realigning Zipper Teeth: If zipper teeth are misaligned or separated, gently using pliers to realign them can resolve the issue.
- Fixing a Separated Zipper: A common fix for zippers that split open behind the slider involves gently squeezing the slider with pliers.
- Replacing a Broken Pull Tab: A lost or broken pull tab can be easily replaced with a paperclip, keyring, or a specialized zipper pull.
- Repairing or Replacing the Slider: If the slider itself is damaged, it might be possible to repair it, or you may need to replace the entire slider.
- When to Seek Professional Help or Replace the Tent: For severe damage beyond simple fixes, it might be time to consider professional repair or investing in a new tent, perhaps one of the durable options like the best pop-up tent on the market.
Understanding Your Tent Zipper
Before we dive into repairs, let’s quickly identify the main components of a tent zipper:
* Zipper Teeth: These are the interlocking plastic or metal pieces that form the closure.
* Slider (or Pull Tab): This is the piece you pull up and down to open or close the zipper. It has a U-shaped opening that guides the teeth together or apart.
* Insertion Pin: Located at the bottom of one side of the zipper, this pin inserts into the slider to start the zipping process.
* Box: The matching counterpart to the insertion pin, usually found on the other side of the zipper.
* Top Stop: A small piece at the top of the zipper that prevents the slider from coming off.
* Bottom Stop: Similar to the top stop, found at the bottom to prevent the slider from separating the two sides completely.
Common Tent Zipper Problems and How to Fix Them

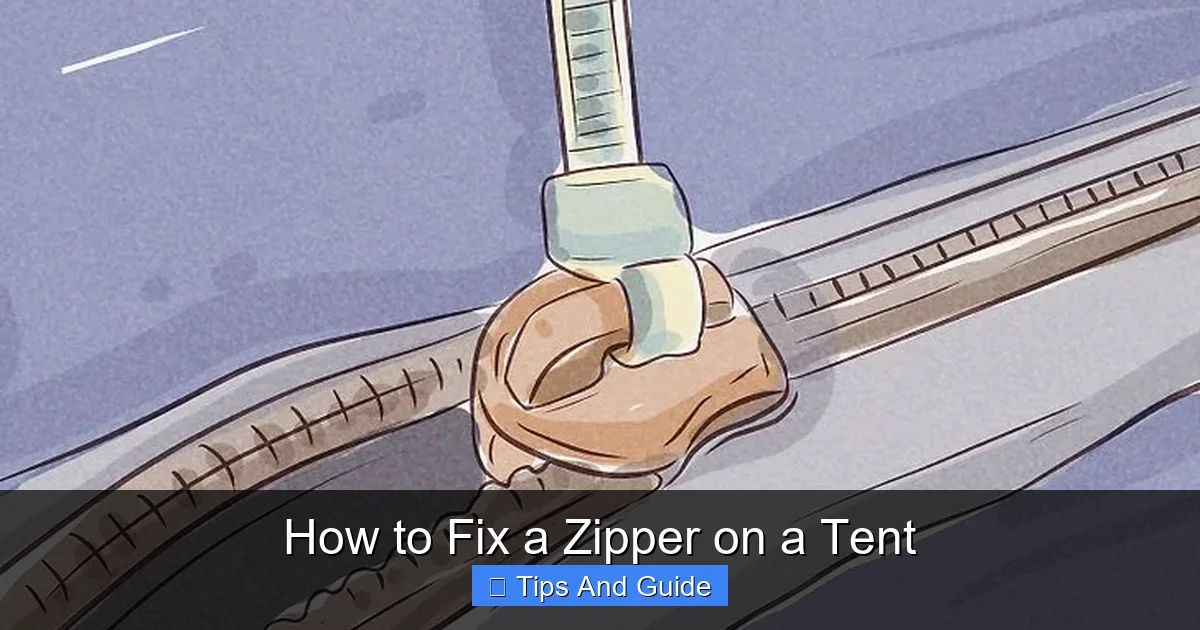
Visual guide about How to Fix a Zipper on a Tent
Image source: wikihow.com
Let’s tackle the most frequent zipper woes.
Problem 1: The Zipper Slider is Stuck
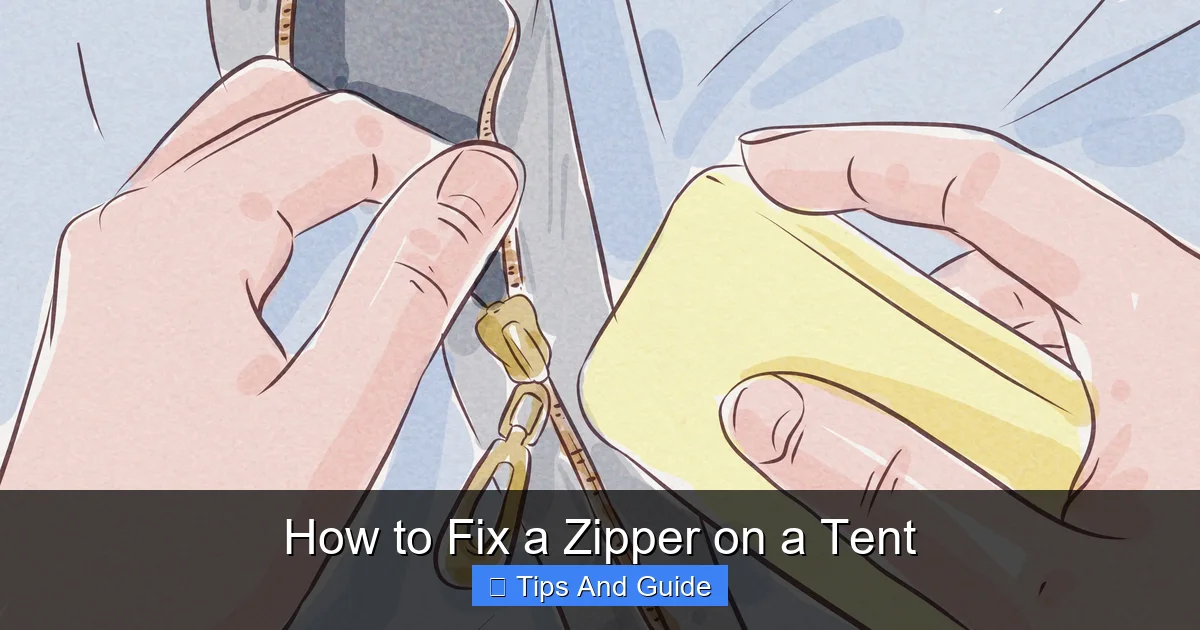
Visual guide about How to Fix a Zipper on a Tent
Image source: wikihow.com
This is perhaps the most common zipper issue. The slider might refuse to budge, leaving your tent entry or exit blocked.
Step-by-Step Solution: Lubrication
* Inspect for Obstructions: First, check if any fabric, thread, or dirt is caught in the zipper teeth or around the slider. Gently try to pull any obstructions free. If fabric is bunched up, use tweezers or a pin to carefully tease it out.
* Apply Lubricant: If there are no obvious obstructions, the slider likely needs lubrication.
* Using a Pencil: The graphite in a pencil is an excellent dry lubricant. Rub the pencil tip generously along the zipper teeth on both sides, especially around the stuck slider. Then, try to gently wiggle the slider up and down.
* Using Zipper Lubricant: You can purchase specialized zipper lubricants, often made from silicone or wax. Apply a small amount to the teeth around the slider.
* Using Soap or Wax: A bar of soap or a candle (wax) can also work in a pinch. Rub it along the teeth.
* Wiggle and Work: After applying lubricant, gently try to move the slider back and forth. Don’t force it aggressively, as this can damage the teeth or slider. Persistence with gentle wiggling is key.
* Clean Up: Once the zipper moves freely, wipe away any excess lubricant with a clean cloth.
Problem 2: The Zipper Teeth Won’t Stay Together (Zipper Splits Open Behind the Slider)
Visual guide about How to Fix a Zipper on a Tent
Image source: wikihow.com
This happens when the slider isn’t properly engaging or joining the zipper teeth. The zipper might close for a moment, then split open again.
Step-by-Step Solution: Tighten the Slider
* Examine the Slider: The most common cause of this problem is that the slider has widened over time, and the two sides are not being pressed together tightly enough. Look at the slider from the side. You should see a small gap.
* Use Pliers: Get a pair of pliers (needle-nose pliers work best).
* Locate the Back of the Slider: Identify the side of the slider that moves away from the insertion pin as you zip up.
* Gently Squeeze: With the zipper fully closed (or as closed as it will get), gently squeeze the bottom section of the slider (the part that houses the teeth). Squeeze the left side, then the right side, applying only a little pressure at a time.
* Test and Repeat: Test the zipper. If it still splits, squeeze a tiny bit more. Be very careful not to over-squeeze, as this can crush the slider and make it unusable, or even break the zipper teeth. You want to slightly narrow the gap that the teeth pass through.
* Lubricate if Necessary: After tightening the slider, you might want to lubricate the teeth again to ensure smooth operation.
Problem 3: The Zipper Slider Came Off One Side of the Track
If the slider has come completely off one track, but not both, it can be tricky to get it back on.
Step-by-Step Solution: Re-threading the Slider
* Examine the Damage: See if the teeth on the track where the slider came off are damaged or if a top or bottom stop is missing.
* Work from the Bottom: If the bottom stop is intact, you’ll need to re-thread the slider from the bottom.
* Position the Slider: Hold the zipper tape with the loose side of the slider.
* Insert the Pin: Carefully try to guide the insertion pin (if it’s still attached to the other side) into the slider. This can be challenging.
* Alternative: If the Pin is Damaged: If the pin is damaged or has pulled away, you might need to create a new “pin.” You can do this by carefully sewing a few sturdy stitches across the very bottom of the zipper tape where the pin would normally be. This creates a new, albeit less convenient, insertion point.
* Feed the Teeth: Once the pin is in place, gently feed the loose teeth into the slider, ensuring they align with the teeth on the other side.
* Zip Up Slowly: Once the slider is re-engaged with both sets of teeth, slowly zip upwards to test.
* If a Stop is Missing: If the slider came off because a top or bottom stop is missing, you’ll need to replace it. You can purchase zipper repair kits that include stops, or in a pinch, you can sew a few thick stitches to create a makeshift stop.
Problem 4: The Zipper Slider Came Off Both Sides of the Track
This is a more significant issue, but often still fixable.
Step-by-Step Solution: Re-attaching the Slider
* **Examine the Zipper Ends:** Look at both ends of your zipper.
* **Remove the Top Stops:** If the slider has come off from the top, you’ll need to remove the small metal or plastic stops at the very top of the zipper. You can usually pry these off gently with pliers.
* **Feed the Teeth into the Slider:** Carefully align the two zipper tapes and feed them evenly into the openings of the slider. This requires patience. Make sure the teeth are aligned correctly.
* Gently Pull the Slider: Once both sides are inserted, gently pull the slider downwards. The teeth should start to interlock.
* **Test Carefully:** Slowly zip the zipper up and down to test.
* Replace the Top Stops: Once you’ve confirmed the zipper is working, you must replace the top stops. You can buy replacement stops in a repair kit, or sew a few heavy stitches across the top of each zipper tape to prevent the slider from coming off again.
* **If the Bottom Separates:** If the slider came off from the bottom and the zipper tape is damaged, you might need to consider more advanced repairs or replacing the zipper.
Problem 5: Missing or Damaged Zipper Teeth
If one or more zipper teeth are bent, broken, or missing, the zipper will likely snag or fail to close properly.
Step-by-Step Solution: Repair or Replace Teeth
* **Bent Teeth:** If a tooth is just bent, try to gently straighten it with needle-nose pliers. Work slowly and carefully to avoid breaking it.
* **Damaged or Missing Teeth:**
* **Minor Damage:** For minor damage, you might be able to work around it by carefully guiding the slider over the affected area. Lubrication can help.
* **Significant Damage or Missing Teeth:** If several teeth are missing or severely damaged, the zipper is likely compromised.
* Zipper Repair Kit: Some zipper repair kits come with replacement teeth that can be crimped onto the tape. This is a fiddly process but can work for small sections.
* Sewing a “Bridge”: For a single missing tooth, you can sometimes sew a sturdy “bridge” of thread over the gap. This isn’t a perfect fix, but it might allow the zipper to function partially.
* Complete Zipper Replacement: For significant damage, the best solution is to replace the entire zipper. This is a more involved repair, often best left to a professional if you’re not comfortable with sewing.
Problem 6: The Zipper Pull Tab is Broken or Missing
This is usually an easy fix! The slider is still functional, but you have nothing to grip.
Step-by-Step Solution: Replace the Pull Tab
* **Temporary Fixes:**
* Paperclip: Unbend a large paperclip and thread it through the hole on the slider where the pull tab was attached. Bend it back to secure.
* Keyring: A small keyring can also be threaded through the hole.
* Cord or Paracord: Tie a loop of sturdy cord or paracord through the hole.
* **Permanent Replacements:**
* Zipper Pulls: You can buy replacement zipper pulls online or at fabric stores. They often attach with a small clip or loop.
* Paracord Zipper Pulls: These are specifically designed and readily available.
Problem 7: The Zipper Insertion Pin or Box is Damaged
The insertion pin (the part that goes into the box to start zipping) or the box itself can break or bend, preventing the zipper from starting.
Step-by-Step Solution: Repair or Replace
* **Bent Pin or Box:** Gently try to straighten a bent pin or box with pliers. Be very careful, as these small parts can break easily.
* **Damaged Pin:** If the pin is significantly damaged or broken off, you might be able to create a temporary fix by sewing a few sturdy stitches to form a new, thicker insertion point. However, this will make zipping more difficult.
* Damaged Box: If the box is damaged, it’s often difficult to repair effectively. This may require replacing the entire slider or the whole zipper.
Troubleshooting & Advanced Tips
* Practice Makes Perfect: If you’re attempting a more complex repair, like replacing a slider or a whole zipper, practice on an old garment first.
* Zipper Repair Kits: Invest in a good quality zipper repair kit. These often contain various sliders, stops, and sometimes even replacement teeth.
* Identify Zipper Type: Tents use different types of zippers (coil, Vislon, metal). Knowing your zipper type can help when ordering replacement parts. Coil zippers are common and flexible, Vislon (plastic molded teeth) are robust, and metal zippers are durable but can corrode.
* Preventative Maintenance: Regularly clean your tent zippers and apply lubricant. This can prevent many common problems before they start. Keeping your tent dry and storing it properly also helps.
* Consider the Environment: For harsh conditions, like high winds or heavy rain, ensure your tent’s zippers are robust. If you’re often facing challenging weather, researching tents known for their durability, like those listed among the best pop-up tent for wind or best pop-up tent waterproof options, might be a good investment.
* When to Call a Professional: If you’ve tried these steps and the zipper is still not working, or if the damage is extensive (e.g., large sections of teeth missing, torn zipper tape), it might be time to take your tent to a professional outdoor gear repair shop. They have specialized tools and expertise.
Conclusion
A faulty tent zipper doesn’t have to mean the end of your camping trip. With the right knowledge and a few simple tools, you can often bring your zipper back to life. Remember to always work gently, be patient, and assess the damage carefully. By mastering these tent zipper repair techniques, you’ll save yourself time, money, and the frustration of a malfunctioning tent, ensuring your outdoor adventures are always comfortable and secure. So next time your zipper acts up, give these tips a try!