
Don’t let a damaged tent ruin your outdoor fun! This guide provides comprehensive instructions for fixing common tent problems, including rips, tears, broken poles, and leaky seams. With practical tips and step-by-step advice, you’ll learn how to make durable repairs and extend the life of your camping shelter. Empower yourself to handle unexpected damage and ensure your tent remains a reliable home away from home on all your adventures.
Going camping is an incredible way to disconnect from the everyday hustle and reconnect with nature. You set up your tent, settle in, and then disaster strikes: a rip in the fabric, a broken pole, or a stubbornly leaky seam. It can feel disheartening, but the good news is that most tent damage is repairable! Knowing how to fix a tent can save your trip and ensure your shelter remains a reliable haven for many adventures to come.
In this comprehensive guide, we’ll walk you through common tent problems and provide clear, step-by-step solutions. You’ll learn what tools you need, how to make sturdy repairs, and even some tips to prevent future damage. By the end, you’ll feel confident tackling any tent emergency that comes your way.
- Assess the Damage: Before you start any repair, thoroughly inspect your tent to identify all issues, from small rips to major structural problems.
- Gather Your Tools: Having the right repair kit, including fabric patches, seam sealer, pole splints, and strong adhesive, is crucial for effective tent mending.
- Repairing Rips and Tears: Use fabric patches with adhesive backing or a sewing kit for a strong, lasting fix on fabric damage.
- Sealing Leaky Seams: Apply seam sealer generously along all seams, especially on the rainfly and tent floor, to prevent water from seeping in.
- Fixing Broken Tent Poles: Utilize tent pole repair sleeves (splints) to reinforce snapped or bent poles, ensuring the structural integrity of your tent.
- Zipper Troubles: Learn how to clean, lubricate, and repair common zipper issues like stuck teeth or broken pulls.
- Preventative Care: Proper cleaning, drying, and storage are key to preventing tent damage and extending its lifespan.
Understanding Common Tent Damage
Before we dive into repairs, it’s important to understand the types of damage your tent might experience. This will help you identify the problem and choose the right repair method.
- Fabric Tears and Rips: These can happen from sharp objects, excessive force, or general wear and tear. They can range from small pinholes to long gashes.
- Leaky Seams: Over time, the waterproofing on your tent’s seams can degrade, allowing water to seep in, especially during rain.
- Broken or Bent Tent Poles: Tent poles are crucial for structural integrity. A broken or bent pole can cause your tent to collapse.
- Damaged Zippers: Zippers can get stuck, have missing teeth, or have broken zipper pulls.
- Holes in the Mesh: Small tears or holes in the mesh windows or doors can let in insects.
- Waterproof Coating Degradation: The waterproof coating on your tent fly and floor can wear off, making the fabric less resistant to water.
Essential Tent Repair Tools and Materials
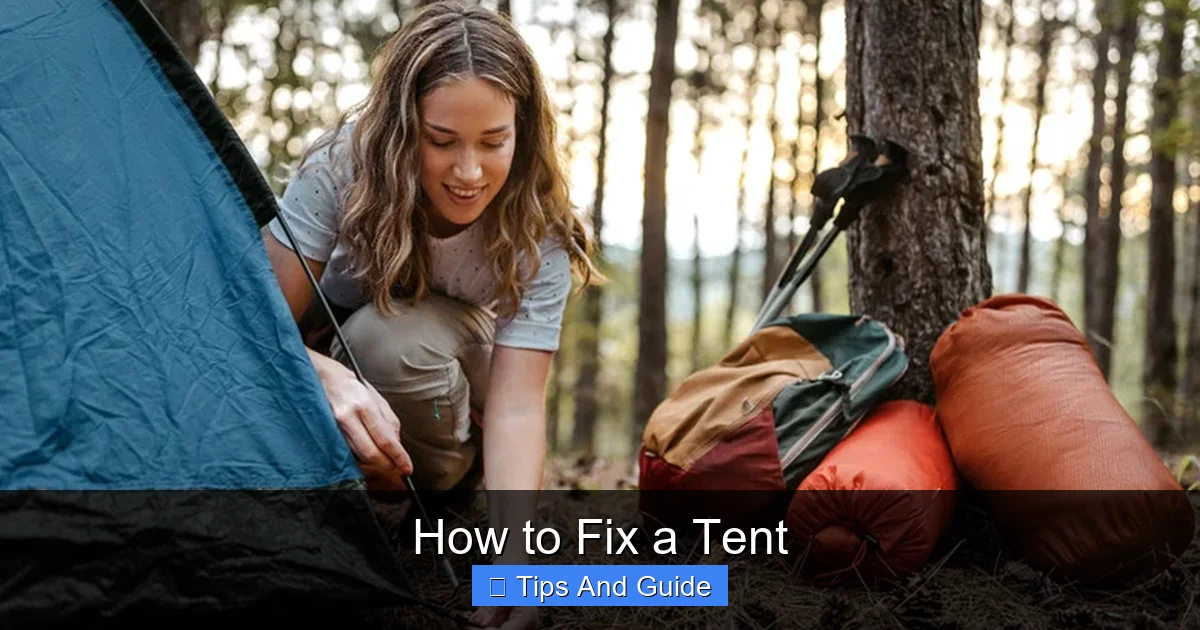
Visual guide about How to Fix a Tent
Image source: explore.com
Having a well-stocked tent repair kit is your first line of defense against unexpected damage. Here’s what you should consider having on hand:
- Tent Repair Kit: Many kits come with assorted fabric patches, seam sealer, and sometimes even pole repair sleeves.
- Fabric Patches: Look for self-adhesive patches specifically designed for outdoor gear. Tyvek, Tenacious Tape, and Gear Aid patches are excellent options.
- Seam Sealer: A liquid or tape-based product that waterproofs seams.
- Needle and Strong Thread: For sewing repairs, especially on larger tears.
- Fabric Glue or Adhesive: A strong, flexible adhesive for bonding fabric.
- Tent Pole Repair Sleeve (Splint): A hollow tube that slides over a broken or bent pole section.
- Duct Tape or Gear Repair Tape: A versatile, temporary fix for many issues.
- Pliers: Useful for manipulating zippers and small parts.
- Scissors or a Craft Knife: For cutting patches and fabric.
- Rubbing Alcohol: To clean the area before applying patches or sealants.
- Mild Soap and Water: For cleaning your tent.
How to Fix a Tent: Step-by-Step Repair Guides
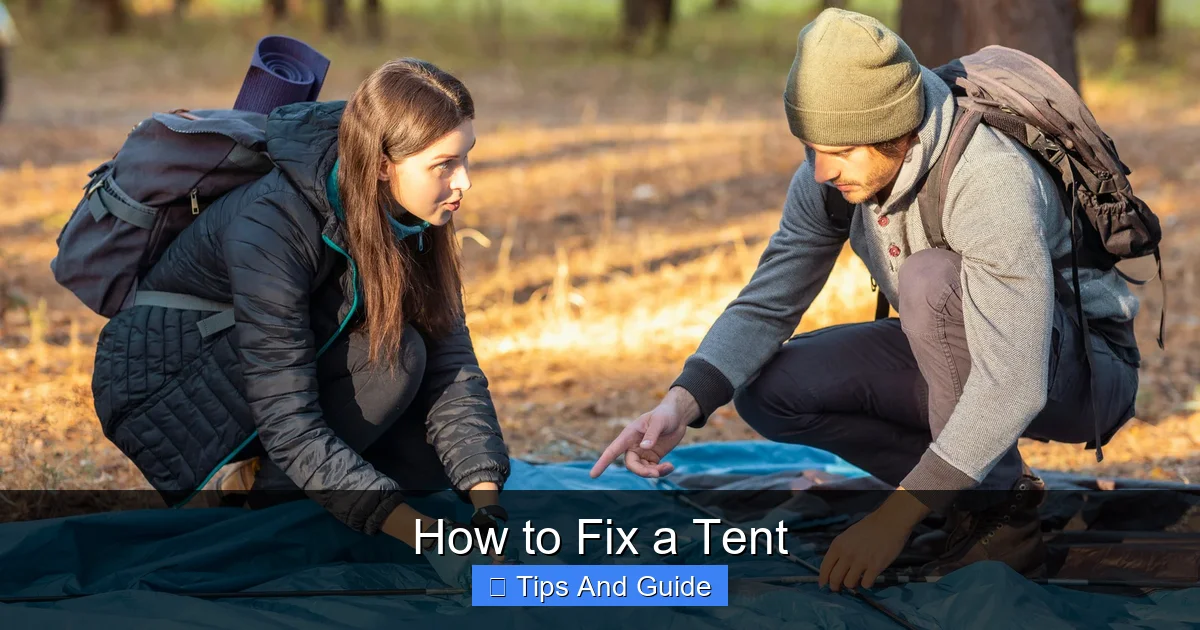
Visual guide about How to Fix a Tent
Image source: explore.com
Now, let’s get to the actual repairs. We’ll tackle the most common issues one by one.
Fixing Rips and Tears in Tent Fabric

Visual guide about How to Fix a Tent
Image source: explore.com
Small rips and tears are common, and thankfully, quite easy to fix. The goal is to create a patch that is strong, waterproof, and won’t fray.
Method 1: Using Self-Adhesive Fabric Patches
This is the quickest and easiest method for most fabric damage.
- Clean the Area: Gently clean the area around the rip or tear with mild soap and water. Let it dry completely. If the fabric is dirty or oily, use rubbing alcohol to clean it and ensure good adhesion.
- Cut the Patch: Cut a fabric patch that is at least 1-2 inches larger than the tear in all directions. Round the corners of the patch to prevent them from peeling up later.
- Peel and Stick: Carefully peel the backing from the fabric patch. Align it over the tear, ensuring it covers the damaged area completely. Press down firmly, starting from the center and working outwards to eliminate any air bubbles.
- Apply Pressure: For maximum adhesion, place a heavy object (like a book) on top of the patch and leave it for a few hours, or follow the adhesive instructions.
- Optional: Seal Edges: For extra durability and waterproofing, you can apply a thin bead of seam sealer around the edges of the patch.
Method 2: Sewing a Rip or Tear
For larger or more stressed rips, sewing can provide a stronger, more permanent fix.
- Prepare the Fabric: Clean the area as described above. If the fabric has frayed edges, you might need to carefully trim them or fold them inward before patching.
- Create a Patch (Optional but Recommended): Cut a piece of durable fabric (like ripstop nylon or a patch from your tent’s repair kit) slightly larger than the tear.
- Position the Patch: Place the patch on the inside of the tent, covering the tear. Pin it in place.
- Sew the Tear: Using a strong, waterproof thread and a needle, stitch along the edges of the tear. Use a strong stitch, like a whipstitch or a reinforced backstitch, to ensure it holds.
- Secure the Patch: If you used a separate patch, sew around the edges of the patch to secure it to the tent fabric. You can also sew a few X stitches across the tear for added reinforcement.
- Seal the Seams: After sewing, apply seam sealer along the stitched line to ensure it’s waterproof.
Sealing Leaky Tent Seams
Water is the enemy of a comfortable camping trip, and leaky seams are a prime culprit. Seam sealing is a straightforward process that can revive your tent’s waterproofing.
- Clean the Seams: Ensure the seams are clean and dry. You can use a damp cloth to wipe away dirt and grime, then let it air dry thoroughly.
- Choose Your Sealer: You can use liquid seam sealer (like Gear Aid Seam Grip) or seam sealing tape. Liquid sealers are generally more effective for long-term waterproofing.
- Apply Liquid Seam Sealer:
- Carefully apply a thin, even bead of seam sealer along the entire length of the seam. Try to get it directly into the stitched area.
- Work in small sections, as the sealer can dry quickly.
- If you’re sealing the inside of a tent floor or rainfly, ensure the fabric is taut.
- Let the seam sealer cure completely according to the product’s instructions (usually 12-24 hours). Avoid touching or flexing the sealed area during this time.
- Apply Seam Sealing Tape:
- Cut the tape to the length of the seam.
- Carefully peel off the backing and press the tape firmly onto the seam, ensuring it adheres well.
- Some tapes require heat to activate the adhesive; follow the manufacturer’s instructions.
Fixing Broken or Bent Tent Poles
A collapsed tent is a campsite disaster. Luckily, most pole issues can be addressed with a repair sleeve.
- Assess the Damage: Identify if the pole is cracked, snapped, or just bent.
- Insert the Repair Sleeve:
- If the pole is snapped completely, you’ll need two pole sections. Slide the repair sleeve over the break, ensuring it extends at least an inch or two onto either side of the break for stability. If the break is near the end of a pole section, you might need to trim the pole slightly so the sleeve fits securely.
- If the pole is cracked or severely bent, slide the repair sleeve over the damaged area. The sleeve should bridge the entire damaged section.
- Secure the Sleeve: Some repair sleeves have adhesive tape or are designed to be a tight friction fit. Ensure the sleeve is snug and won’t slide off. For extra security, you can wrap a bit of strong tape (like duct tape) around the ends of the sleeve where it meets the pole.
- Check for Flexibility: Gently flex the repaired pole to ensure it’s stable and can withstand some pressure.
Important Note: If your tent has a complex pole system or the damage is extensive, it might be worth contacting the manufacturer for replacement parts.
Repairing Zippers
A malfunctioning zipper can make it impossible to get in or out of your tent. Here’s how to fix common zipper problems.
Stuck Zippers:
- Inspect the Teeth: Look for any fabric, dirt, or debris caught in the zipper teeth. Gently pull any obstructions out with your fingers or pliers.
- Lubricate: Apply a lubricant to the zipper teeth. Graphite pencil lead is a classic and effective lubricant for zippers. Rub the pencil tip along the teeth. You can also use bar soap, wax, or a specialized zipper lubricant.
- Work the Zipper: Gently try to move the zipper pull back and forth to loosen it. Don’t force it, as this can cause further damage.
Missing or Damaged Zipper Teeth:
- Temporary Fix: If a few teeth are missing or damaged, you can sometimes “bridge” the gap by carefully sewing a few stitches across the opening to create a temporary stop. This won’t be fully functional but might let you close the tent.
- Zipper Replacement: For severely damaged zippers, the best solution is to replace the entire zipper. This can be a complex repair and might require professional help or purchasing a zipper repair kit designed for replacement.
Broken Zipper Pulls:
- Attach a Replacement: You can easily replace a broken pull by using a paperclip, a small key ring, a piece of cord (like paracord), or a dedicated zipper pull replacement. Thread it through the hole where the original pull was attached.
Repairing Holes in Mesh Screens
Don’t let tiny bugs ruin your ventilation! Mesh holes are usually easy to fix.
- Clean the Area: Ensure the mesh is clean and dry.
- Use a Small Patch: You can use a small piece of fine mesh material or a specialized mesh repair patch from a tent repair kit.
- Adhesive or Sewing: Apply a small amount of fabric glue or seam sealer to the edges of the patch and press it firmly over the hole. For a more durable fix, you can carefully stitch around the edges of the patch with a fine needle and thread.
Troubleshooting Common Tent Issues
* My tent smells musty: This is usually due to improper drying and storage. Ensure your tent is completely dry before packing it away. Air it out periodically if stored for a long time.
* The waterproof coating is peeling off: This means the PU (polyurethane) coating is degrading. You can try cleaning off the peeling coating and reapply a new waterproofing treatment, like Nikwax Tent & Gear Solarproof.
* My tent is difficult to pitch: Ensure all poles are correctly inserted into their sleeves and all guy lines are tensioned properly. Check that you’re using the correct pole for each section. If you’re looking for easier setup, consider exploring the best pop-up tents you can stand up in.
* My tent isn’t very waterproof anymore: Beyond seam sealing, you might need to re-waterproof the entire tent fabric. Products like Nikwax Tent & Gear Waterproof are designed for this.
Preventative Care for Your Tent
The best way to avoid extensive repairs is to take good care of your tent in the first place.
- Clean Your Tent: Always clean your tent after use, especially if it’s been exposed to dirt, mud, or campfire smoke. Use mild soap and water; avoid harsh chemicals.
- Dry It Thoroughly: This is perhaps the most critical step. Never pack away a wet or damp tent. Hang it up to air dry completely, both inside and out, before storing. A damp tent can lead to mildew and fabric degradation.
- Store It Properly: Store your tent loosely in a breathable bag, not crammed into its stuff sack. Find a cool, dry place away from direct sunlight and pests.
- Pitch on a Suitable Surface: Avoid pitching your tent on sharp rocks, gravel, or abrasive ground. Use a footprint or ground tarp to protect the tent floor. If you’re looking for comfort and protection, a good camping mat for your tent can also help.
- Be Gentle: Avoid excessive force when setting up or taking down your tent. Treat zippers and poles with care.
- Inspect Regularly: Before and after each trip, give your tent a quick inspection for any signs of wear or damage.
Conclusion
A damaged tent doesn’t have to mean the end of your camping adventures. With a few basic tools and the knowledge from this guide, you can effectively fix most common tent problems. Whether it’s a small rip, a leaky seam, or a broken pole, taking the time to make repairs will not only save your trip but also extend the life of your valuable camping gear. Remember, regular maintenance and careful handling are your best allies in keeping your tent in top condition for many memorable outdoor experiences to come. Happy camping, and happy repairing!