
Waterproofing your canvas tent is essential for staying dry and extending its lifespan. This guide covers proven methods, from cleaning to sealing, so you can camp confidently in any weather.
Key Takeaways
- Clean the tent thoroughly first: Dirt and grime prevent waterproofing products from bonding properly.
- Use a dedicated canvas waterproofing spray or wash-in treatment: Avoid silicone-based products not designed for canvas.
- Apply in dry, warm conditions: Moisture or cold temperatures can ruin the application.
- Focus on seams and high-wear areas: These spots are most prone to leaks.
- Reapply every 1–2 years or after heavy use: Regular maintenance keeps your tent weather-ready.
- Store your tent dry and loosely folded: Prevents mildew and preserves waterproofing.
- Consider a rainfly for extra protection: Adds a layer of defense during storms.
📑 Table of Contents
Why Waterproofing Your Canvas Tent Matters
Canvas tents are a favorite among campers for their durability, breathability, and classic look. But even the toughest canvas can let water in if it’s not properly protected. Unlike synthetic tents, canvas is naturally water-resistant but not fully waterproof—especially over time. That’s why knowing the best way to waterproof canvas tent is crucial for anyone who loves camping in all seasons.
Without proper waterproofing, rain can seep through the fabric, leaving you soggy and uncomfortable. Worse, trapped moisture can lead to mold, mildew, and fabric rot—shortening your tent’s life. On the flip side, a well-maintained, waterproofed canvas tent can last decades. It’s not just about staying dry; it’s about protecting your investment and ensuring safe, cozy nights under the stars.
Step 1: Clean Your Canvas Tent First
Before you even think about applying any waterproofing product, you must clean your tent. Why? Because dirt, dust, and old residue block the treatment from penetrating the fabric. Think of it like painting a wall—you wouldn’t skip priming, right? The same logic applies here.
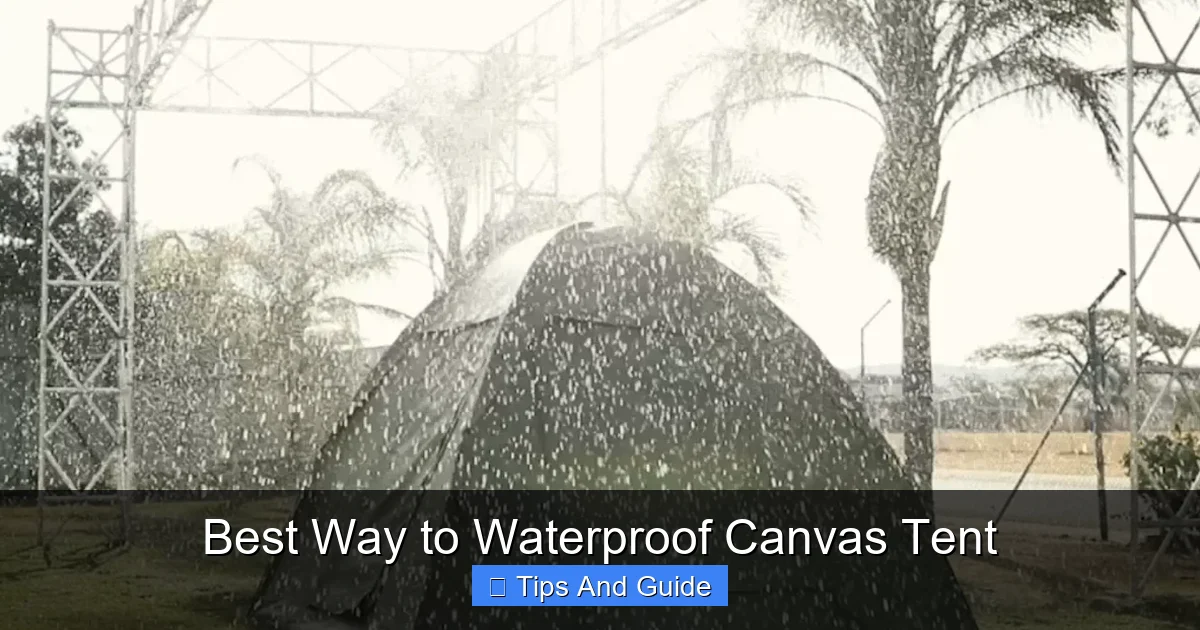
Visual guide about Best Way to Waterproof Canvas Tent
Image source: meerkatoutdoor.com
How to Clean Canvas Tent Fabric
Start by setting up your tent in a clean, dry area—your backyard works great. Use a soft-bristle brush to gently remove loose dirt and debris. Then, mix a mild soap (like dish soap or a tent-specific cleaner) with lukewarm water. Avoid harsh detergents or bleach—they can damage the canvas fibers.
Dip a sponge or soft cloth into the soapy water and wipe down the entire tent, inside and out. Pay extra attention to the floor and seams, where grime builds up. For stubborn spots, let the soap sit for a few minutes before scrubbing lightly. Once done, rinse thoroughly with clean water. Never use a pressure washer—it can force water into the fabric and weaken seams.
After cleaning, let the tent dry completely. This is non-negotiable. Even a little moisture left inside can lead to mildew. If you’re in a hurry, use fans or set it up in a sunny, breezy spot. For detailed cleaning tips, check out our guide on the best way to clean canvas tent.
Step 2: Choose the Right Waterproofing Product
Not all waterproofing sprays are created equal—especially when it comes to canvas. You need a product specifically formulated for natural fibers like cotton or polyester-cotton blends. Silicone-based sprays might work on nylon, but they can clog canvas pores and reduce breathability.
Best Types of Waterproofing Treatments
Look for wax-based or fluoropolymer-based treatments designed for canvas. Popular brands include Nikwax Cotton Proof, Gear Aid ReviveX, and Fabsil. These products restore water repellency without sacrificing airflow—key for preventing condensation inside the tent.
Wax treatments are great for heavy-duty protection and are often applied with a brush or sponge. They’re ideal for older tents or those used in extreme weather. Spray-on formulas are easier to apply and work well for routine maintenance. Some products come as wash-in treatments—perfect if you have a tent that fits in a large washing machine.
Avoid using generic waterproofing sprays meant for shoes or jackets. They may contain solvents that degrade canvas over time. Always read the label and confirm it’s safe for tents.
Step 3: Apply the Waterproofing Treatment
Now for the fun part—actually waterproofing your tent. Timing and technique matter here. Choose a dry, warm day (above 50°F or 10°C) with low humidity. Rain or high moisture can prevent the treatment from curing properly.
Application Tips for Best Results
If using a spray, hold the can 6–8 inches away and apply in even, overlapping strokes. Cover the entire surface, but don’t soak it. Too much product can leave a sticky residue or cause uneven drying. For wax treatments, melt the wax slightly (if needed) and use a brush to spread it thinly across the fabric.
Focus on high-risk areas: seams, zippers, corners, and the bottom edge of the walls. These spots take the most abuse and are common leak points. Use a small brush or cotton swab to get into tight seams.
After applying, let the tent dry completely—usually 24 to 48 hours. Avoid folding or packing it too soon. If you’re in a rush, use fans to speed up drying, but never use heat sources like hair dryers or heaters, which can damage the fabric.
Step 4: Test and Maintain Your Waterproofing
Once your tent is dry, it’s time to test it. The best way? A gentle hose spray. Set up the tent and lightly spray water over the roof and walls. Watch for beading—water should roll off like beads on a waxed car. If it soaks in, you may need a second coat.
Ongoing Maintenance Tips
Waterproofing isn’t a one-and-done task. Over time, UV exposure, dirt, and wear reduce effectiveness. Reapply treatment every 1–2 years, or sooner if you notice water no longer beads up.
Between applications, keep your tent clean. After each trip, shake out dirt and let it air dry before storing. Never pack a damp tent—even if it feels dry on the outside, moisture can hide in folds. For tips on drying, see our article on the best way to dry a tent.
Store your tent in a cool, dry place, loosely folded in a breathable bag. Avoid plastic bins—they trap moisture. And always inspect seams and fabric before and after trips. A small tear or worn spot can become a big leak if ignored.
Bonus Tips for Extra Protection
Even the best waterproofing can’t stop every drop in a downpour. That’s why smart campers use extra layers of defense.
Use a Rainfly or Tarp
A rainfly is a waterproof cover that goes over your tent roof. It adds a barrier against heavy rain and reduces wear on the canvas. If your tent didn’t come with one, you can buy a compatible model or use a large tarp. Just make sure it doesn’t touch the tent fabric—this prevents condensation buildup.
For more ideas, read our guide on the best way to hang tarp over tent. Proper setup keeps water away and improves airflow.
Seam Sealing for Extra Security
Even with waterproof fabric, seams can leak. Use a seam sealer designed for canvas to reinforce stitching. Apply it with a small brush, let it dry, and test with water. This simple step can prevent frustrating leaks during storms.
Choose the Right Campsite
No amount of waterproofing helps if you camp in a ditch. Always pitch your tent on high, level ground away from puddles or runoff paths. Use a groundsheet under the floor for added protection.
Conclusion
Waterproofing your canvas tent doesn’t have to be complicated. With the right products, a little effort, and regular care, you can keep your tent dry and durable for years. Start with a thorough clean, choose a canvas-safe treatment, apply it properly, and maintain it over time. Add a rainfly and smart campsite choices, and you’ll be ready for anything nature throws your way.
Remember, the best way to waterproof canvas tent is proactive, not reactive. Don’t wait for the first rainstorm to find out your tent isn’t ready. Take the time now, and you’ll enjoy dry, comfortable camping no matter the weather.
Frequently Asked Questions
How often should I waterproof my canvas tent?
Most experts recommend reapplying waterproofing every 1–2 years, or sooner if you notice water soaking in instead of beading up. Heavy use or exposure to harsh weather may require more frequent treatment.
Can I use silicone spray on canvas?
It’s not recommended. Silicone sprays can clog the pores of canvas fabric, reducing breathability and leading to condensation inside the tent. Use products specifically made for canvas instead.
Do I need to waterproof the inside of the tent?
No. Waterproofing is only needed on the outside. The inside should remain breathable to prevent moisture buildup. Applying treatment inside can trap humidity and cause mildew.
What’s the difference between water-resistant and waterproof?
Water-resistant means the fabric can repel light moisture but may soak through in heavy rain. Waterproof means it blocks water completely. Canvas is naturally water-resistant but needs treatment to become fully waterproof.
Can I waterproof a tent that’s already leaking?
Yes, but you must fix any tears or damaged seams first. Clean and dry the tent, repair holes with a patch kit, then apply waterproofing. Ignoring damage will only make leaks worse.
Is it okay to waterproof a damp tent?
No. The tent must be completely dry before applying any treatment. Moisture trapped under the waterproofing can lead to mold, mildew, and fabric breakdown.