Waterproofing your nylon tent is essential for staying dry and extending its lifespan. This guide covers the most effective methods, from seam sealing to applying durable sprays, so you can camp confidently in any weather.
If you’ve ever woken up to a damp sleeping bag or a puddle forming under your tent floor, you know how crucial it is to keep your shelter dry. Nylon tents are lightweight, durable, and popular among campers—but they’re not naturally waterproof. Over time, exposure to sun, rain, and dirt can break down the factory-applied coatings, leaving your tent vulnerable to leaks. That’s why knowing the best way to waterproof a nylon tent isn’t just helpful—it’s essential for safe, comfortable camping.
Whether you’re prepping for a weekend getaway or a multi-day trek through the mountains, taking the time to properly waterproof your nylon tent can make all the difference. It’s not just about avoiding a soggy sleeping pad; it’s about protecting your gear, staying warm, and enjoying your outdoor adventure without surprise showers ruining your plans. The good news? Waterproofing doesn’t have to be complicated or expensive. With the right tools and a little know-how, you can restore your tent’s water resistance and extend its life for years to come.
Key Takeaways
- Clean your tent thoroughly before waterproofing: Dirt and debris reduce the effectiveness of waterproofing treatments.
- Use a silicone-based waterproofing spray for best results: It bonds well with nylon and maintains fabric flexibility.
- Seal all seams with a quality seam sealer: Leaks often start at stitched seams, not the fabric itself.
- Reapply waterproofing every 1–2 years: Regular maintenance ensures long-term protection.
- Store your tent dry and loosely packed: Moisture and compression degrade waterproof coatings over time.
- Test waterproofing before your trip: Set up your tent and spray it with water to check for leaks.
- Combine methods for maximum protection: Use both seam sealing and fabric treatment for full coverage.
📑 Table of Contents
Why Nylon Tents Need Waterproofing
Nylon is a synthetic fabric prized for its strength, light weight, and resistance to abrasion. However, untreated nylon is actually porous—meaning water can seep right through it. To make nylon tents water-resistant, manufacturers apply a coating, usually made of polyurethane (PU) or silicone, during production. Over time, this coating wears off due to UV exposure, friction, and dirt buildup. Once that happens, your tent becomes prone to leaks, especially during heavy rain.
Even if your tent seems fine after a light drizzle, it may fail under sustained downpours. That’s because water can find its way through tiny pinholes in the fabric or, more commonly, through the stitched seams where the needle punctured the material. This is why simply spraying the outside isn’t enough—you need a comprehensive approach that treats both the fabric and the seams.
Step 1: Clean Your Tent Thoroughly
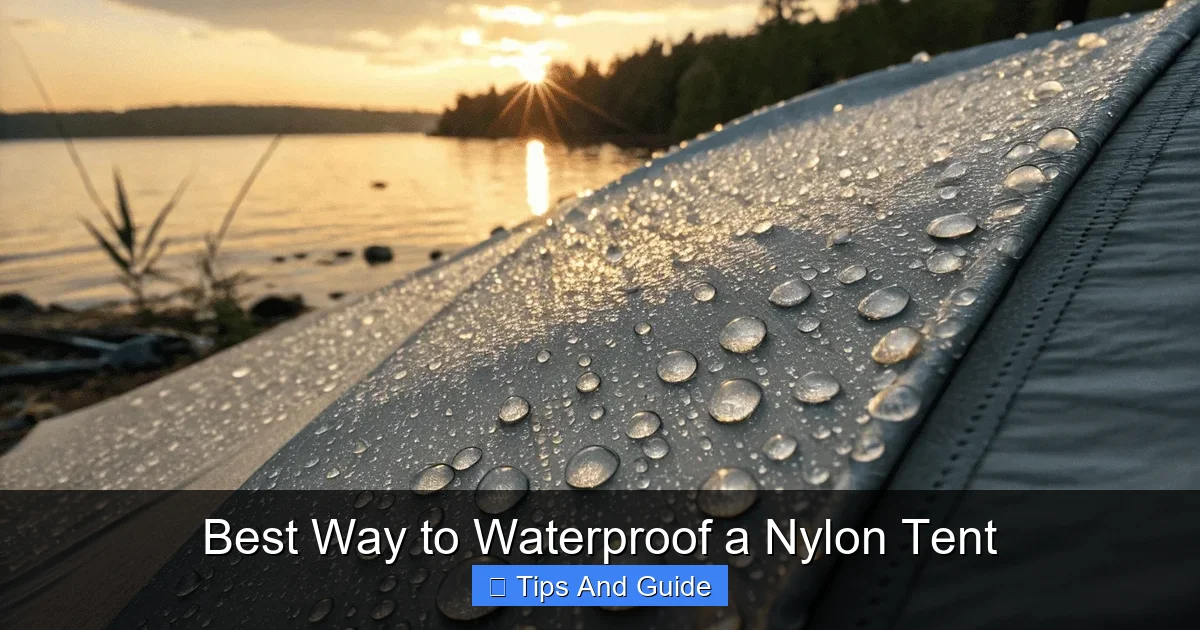
Visual guide about Best Way to Waterproof a Nylon Tent
Image source: kelyland.com
Before applying any waterproofing product, you must clean your tent. Residual dirt, oils, and mildew can prevent sealants from bonding properly, reducing their effectiveness. Think of it like painting a wall—you wouldn’t skip the primer.
How to Clean Your Tent
Start by setting up your tent in a clean, shaded area. Use a soft brush or sponge and a mild soap solution (like Nikwax Tech Wash or a gentle dish soap) to gently scrub the fabric. Avoid harsh detergents or bleach, as they can damage the coating and weaken the fibers. Pay extra attention to high-wear areas like the floor, door flaps, and corners.
Rinse thoroughly with clean water to remove all soap residue. Never use a pressure washer—it can force water through the fabric and damage seams. Once clean, let the tent dry completely. This is non-negotiable. Applying waterproofing to a damp tent traps moisture inside, which can lead to mold and mildew. For tips on drying, check out our guide on the best way to dry out a tent.
Step 2: Inspect for Damage
While your tent is clean and dry, take the time to inspect it closely. Look for tears, frayed edges, or worn spots—especially around the floor and guylines. Even small holes can become big problems when it rains. Use a patch kit designed for nylon tents to repair any damage before waterproofing. Most kits include adhesive-backed patches that bond well with treated fabric.
Also, check the zippers. If they’re stiff or catching, apply a small amount of zipper lubricant. While not directly related to waterproofing, smooth zippers help maintain the tent’s overall integrity and prevent stress on the fabric.
Step 3: Seal the Seams
One of the most common places for leaks is the seams—the stitched lines where fabric panels are joined together. Each stitch creates a tiny hole that water can exploit. That’s why seam sealing is a critical step in the waterproofing process.
Choosing the Right Seam Sealer
For nylon tents, a liquid seam sealer like Gear Aid Seam Grip or McNett Seam Sure works best. These products are flexible, waterproof, and designed to bond with synthetic fabrics. Avoid rubber cement or household glues—they can stiffen the fabric and crack over time.
How to Apply Seam Sealer
Turn your tent inside out if possible, so you can access the seams from the inside. Use a small brush or applicator to apply a thin, even coat along all the stitched seams—especially those on the rainfly, floor, and sidewalls. Be generous but not excessive; too much can leave a sticky residue. Let the sealer dry completely, usually 12–24 hours depending on humidity.
Pro tip: Focus on high-stress seams like those around the vestibule and door. These areas see the most movement and are more likely to leak.
Step 4: Apply Fabric Waterproofing Treatment
Once the seams are sealed, it’s time to treat the entire fabric. This step restores the water-repellent barrier and helps water bead up and roll off instead of soaking in.
Silicone vs. PU Sprays
There are two main types of waterproofing sprays: silicone-based and polyurethane-based. For nylon tents, silicone sprays are generally preferred. They’re lighter, more flexible, and don’t add stiffness to the fabric. PU sprays are durable but can make nylon feel heavy and less breathable.
Popular silicone options include Nikwax Tent & Gear SolarProof and Star Brite Waterproofing Spray. Both are easy to apply and environmentally friendly.
How to Apply the Spray
Work in a well-ventilated area, preferably outdoors. Shake the can well and hold it 6–8 inches from the fabric. Spray in even, overlapping strokes, covering the entire tent—roof, walls, floor, and rainfly. Don’t forget the underside of the rainfly and the tent floor, as these are common leak points.
Let the first coat dry for at least 2 hours, then apply a second coat for maximum protection. Avoid touching the fabric until it’s fully dry to prevent smudging or uneven coverage.
Step 5: Test and Maintain
After waterproofing, don’t just pack your tent away and hope for the best. Testing is a crucial final step.
Conduct a Water Test
Set up your tent in your yard or driveway. Use a garden hose to simulate rain, spraying all sides evenly. Pay close attention to seams, corners, and the floor. If you see water beading up and rolling off, you’re good to go. If it soaks in or leaks through, revisit those areas with additional sealer or spray.
Ongoing Maintenance
Waterproofing isn’t a one-and-done task. Plan to reapply treatments every 1–2 years, or sooner if you camp frequently or in harsh conditions. Always store your tent clean, dry, and loosely packed in a breathable bag. Avoid compressing it for long periods, as this can crack the coating.
For extra protection during rainy trips, consider using a footprint or ground tarp under your tent. This reduces wear on the floor and adds an extra layer of waterproofing.
Bonus Tips for Long-Lasting Protection
- Use a rainfly properly: Always deploy the rainfly in wet weather, even if it’s just drizzling. It creates a gap between the fly and the tent body, improving airflow and reducing condensation.
- Keep gear dry inside: Wet backpacks or boots can transfer moisture to the tent floor. Use dry bags or hang gear in the vestibule.
- Avoid cooking inside the tent: Heat and steam can degrade waterproof coatings and increase condensation. For warmth tips, see our guide on the best way to keep warm in a tent.
- Check the weather forecast: If heavy rain is expected, reinforce your setup with extra guylines and stakes.
- Clean after every trip: Salt, sand, and dirt accelerate wear. A quick rinse and dry can prevent long-term damage. Learn more in our article on the best way to clean a tent after camping.
Conclusion
Waterproofing your nylon tent doesn’t have to be a daunting chore. With the right approach—cleaning, inspecting, sealing seams, and applying a quality spray—you can ensure your shelter stays dry through every storm. The best way to waterproof a nylon tent combines preparation, the right products, and regular maintenance. By investing a few hours now, you’ll save yourself from soggy nights and costly replacements down the road.
Remember, a well-maintained tent is more than just dry—it’s reliable, comfortable, and ready for adventure. So before your next trip, take the time to give your nylon tent the care it deserves. Your future self, sleeping soundly under a dry roof, will thank you.
Frequently Asked Questions
How often should I waterproof my nylon tent?
It’s recommended to waterproof your nylon tent every 1–2 years, or sooner if you notice water soaking in instead of beading up. Frequent campers or those in wet climates may need to do it annually.
Can I use a regular waterproofing spray on my tent?
No—avoid household sprays like those for shoes or jackets. Use products specifically designed for tents, such as silicone-based sprays, which are flexible and safe for nylon fabric.
Do I need to waterproof the tent floor?
Yes! The floor is one of the most vulnerable areas, especially if you don’t use a footprint. Apply both seam sealer and waterproofing spray to the bottom for full protection.
Will waterproofing make my tent completely stormproof?
Waterproofing greatly improves resistance, but no tent is 100% stormproof. Proper setup, including using guylines and a well-pitched rainfly, is equally important for staying dry in heavy weather.
Can I waterproof a tent that’s already leaking?
Yes—clean and dry the tent first, then patch any holes and reapply seam sealer and fabric treatment. Most leaks can be fixed with proper maintenance.
Is it safe to waterproof a tent indoors?
No. Always apply waterproofing sprays and sealers in a well-ventilated outdoor area. The fumes can be harmful if inhaled in enclosed spaces.