
Sealing tent seams properly is essential for keeping your shelter waterproof and long-lasting. This guide covers the most effective methods, materials, and step-by-step instructions to ensure a watertight seal every time.
If you’ve ever woken up to a damp sleeping bag or seen water dripping from the ceiling of your tent during a rainstorm, you know how important it is to have properly sealed seams. Tent seams are one of the most vulnerable spots when it comes to water intrusion—even the best-quality tents can leak if their seams aren’t sealed correctly. Whether you’re prepping for a weekend backpacking trip or setting up camp for a family vacation, knowing the best way to seal tent seams can make the difference between a cozy, dry night and a soggy disaster.
Seam sealing isn’t just for new tents. Over time, factory-applied sealants can wear off due to UV exposure, abrasion, or repeated setup and takedown. That’s why regular inspection and resealing are crucial parts of tent maintenance. The good news? It’s a simple DIY task that doesn’t require special skills—just the right tools, a bit of patience, and attention to detail. In this guide, we’ll walk you through everything you need to know to seal your tent seams like a pro.
Key Takeaways
- Use seam sealer designed for tents: Not all sealants work on fabric—choose a silicone- or polyurethane-based product made for outdoor gear.
- Clean and dry seams before applying: Dirt, moisture, or oils can prevent proper adhesion and reduce effectiveness.
- Apply sealer evenly with a brush or applicator: Thin, consistent layers dry better and last longer than thick globs.
- Allow full drying time before use: Rushing this step can lead to peeling or incomplete sealing—follow manufacturer instructions.
- Inspect seams annually: Regular maintenance helps catch wear early and extends your tent’s life.
- Test waterproofing after sealing: Spray water on seams to confirm they’re fully sealed before heading out.
- Store your tent properly: A dry, loosely packed tent prevents seam stress and mold growth.
📑 Table of Contents
Why Sealing Tent Seams Matters
Tent fabric is typically treated with a waterproof coating, but the stitching that holds the panels together creates tiny holes that can let water seep through. These needle holes are unavoidable during manufacturing, which is why most quality tents come with pre-sealed seams—but those seals don’t last forever. When seams fail, even light rain can turn your shelter into a leaky mess.
Beyond keeping you dry, properly sealed seams also protect the structural integrity of your tent. Water that gets trapped inside can lead to mold, mildew, and fabric degradation over time. Plus, damp conditions inside the tent can make it harder to stay warm, especially in cooler weather. If you’re wondering how to keep your tent dry in rain, seam sealing is one of the first lines of defense. For more tips on staying dry, check out our guide on the best way to keep your tent dry in rain.
Types of Tent Seam Sealers
Not all seam sealers are created equal. Choosing the right product depends on your tent’s material and the type of seams it has. Here are the most common options:
Silicone-Based Sealers
Silicone sealers are ideal for nylon and polyester tents with factory-applied silicone coatings. They flex with the fabric, resist UV damage, and remain effective in extreme temperatures. Brands like Gear Aid’s SilNet or McNett’s Tent Sure are popular choices. These are usually applied with a small brush and dry clear.
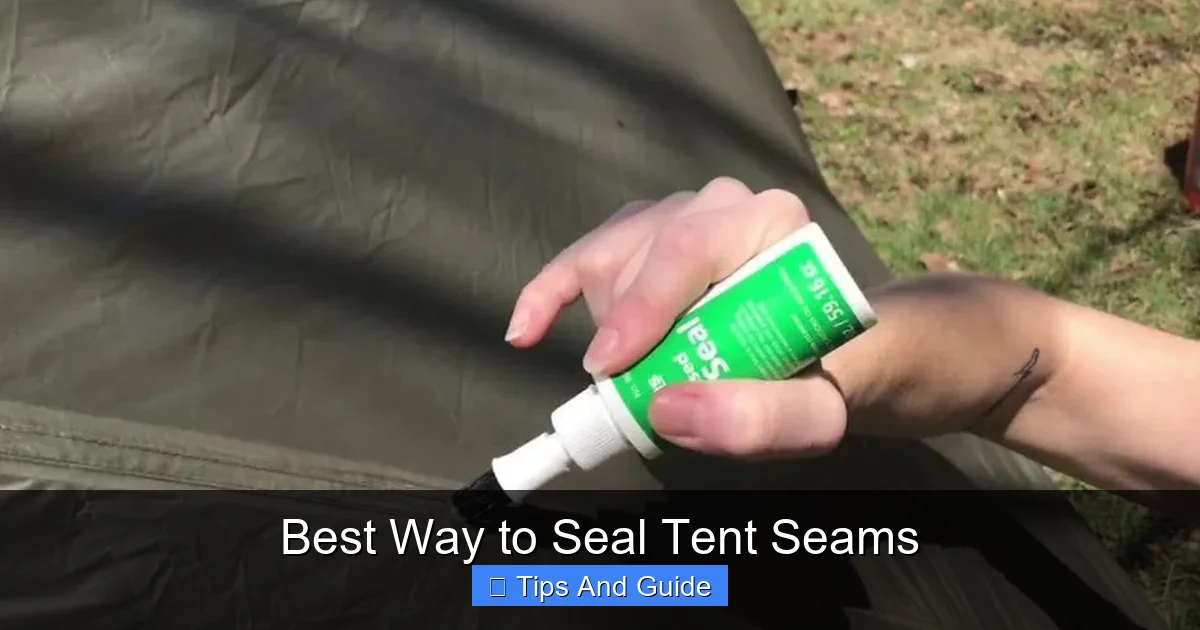
Visual guide about Best Way to Seal Tent Seams
Image source: static.wixstatic.com
Polyurethane (PU) Sealers
PU-based sealers work well on polyurethane-coated fabrics—common in budget or older tents. They’re durable and affordable but can become stiff over time and may crack if the fabric stretches. Always check your tent’s care label before using PU sealers, as they can degrade silicone-treated fabrics.
Spray-On vs. Brush-On Sealers
Spray-on sealers are quick and convenient but harder to control—they can overspray onto unwanted areas. Brush-on formulas give you precision, especially around zippers and corners. For most users, a brush-on applicator offers better results with less mess.
Step-by-Step Guide to Sealing Tent Seams
Now that you know what sealer to use, let’s walk through the process. With a little time and care, you can seal your tent seams effectively at home.
1. Set Up Your Workspace
Find a clean, well-ventilated area—indoors or under cover. Lay down newspaper or a drop cloth to protect surfaces. Make sure the temperature is above 50°F (10°C), as most sealers won’t cure properly in cold conditions.
2. Clean the Seams Thoroughly
Use a mild soap and water solution with a soft brush or sponge to remove dirt, dust, and old sealant residue. Pay extra attention to areas around zippers and stress points. Rinse well and let the tent dry completely—any moisture left behind will interfere with adhesion.
3. Identify All Seam Lines
Most tents have seams along the floor, walls, and rainfly. Unfold the tent fully and inspect every stitch line. Look for white or shiny residue—that’s old sealant that may need refreshing. Don’t forget the interior seams; water can enter from either side.
4. Apply the Sealer
Shake the sealer bottle well. Using a small foam brush or the applicator provided, paint a thin, even layer along each seam. Avoid puddling—too much sealer can crack or peel. Cover about 1–2 inches on either side of the stitch line for full protection.
5. Let It Dry Completely
Drying times vary by product, but most require 12–24 hours. Keep the tent flat and undisturbed during this time. Don’t pack it away too soon—premature folding can cause the sealant to stick to itself and tear.
6. Test for Leaks
Once dry, spray water along the seams with a garden hose. Watch for beads of water rolling off (good!) versus soaking in (needs more sealant). Touch up any weak spots if needed.
Common Mistakes to Avoid
Even experienced campers make errors when sealing seams. Here’s what to watch out for:
- Skipping the cleaning step: Grime prevents sealant from bonding. Always clean first.
- Using the wrong sealer: Mixing silicone and PU products can ruin your tent fabric.
- Applying in humid or cold weather: Moisture in the air slows drying and weakens the seal.
- Over-applying sealant: Thick layers take longer to dry and are more likely to crack.
- Folding the tent too soon: Wait until the sealant is fully cured—rushing leads to peeling.
Maintenance Tips for Long-Lasting Seams
Seam sealing isn’t a one-and-done task. To keep your tent in top shape:
- Inspect seams before and after each trip.
- Re-seal annually or whenever you notice flaking or gaps.
- Store your tent loosely in a breathable bag—never stuff it wet.
- Avoid dragging your tent on rough ground to reduce seam stress.
- Use a footprint or tarp underneath to protect the floor seams.
For added peace of mind, consider pairing seam sealing with other weatherproofing strategies. Learn how to hang a tarp over your tent for extra rain protection, or explore ways to keep your tent cool in hot weather to reduce condensation buildup.
When to Call in the Pros
Most seam sealing jobs are easy to do yourself, but there are exceptions. If your tent has extensive damage, delaminated fabric, or complex seam structures (like those in high-end ultralight models), it may be worth consulting a professional repair service. They have specialized tools and materials to handle tricky fixes without compromising performance.
That said, for 95% of campers, a DIY approach with the right sealer and technique will deliver excellent results. Just remember: patience pays off. Rushing the process might save time now but could cost you a dry night later.
In conclusion, sealing your tent seams is one of the simplest and most effective ways to extend your gear’s life and improve your camping experience. With the right products, a clean workspace, and careful application, you’ll create a reliable barrier against rain, dew, and condensation. So next time you’re prepping for an adventure, don’t skip this essential step—your future self will thank you when you’re staying dry under starry skies.
Frequently Asked Questions
How often should I seal my tent seams?
It’s best to inspect and reseal your tent seams at least once a year, or whenever you notice signs of wear like flaking sealant or minor leaks. Frequent campers may need to do it more often.
Can I use regular waterproofing spray instead of seam sealer?
No—waterproofing sprays are designed for fabric surfaces, not stitch holes. They won’t penetrate seams effectively and may leave a sticky residue. Always use a dedicated seam sealer.
Will seam sealing make my tent completely waterproof?
While seam sealing greatly reduces leaks, no tent is 100% waterproof in extreme conditions. Combine it with a properly pitched rainfly and ground tarp for best results.
Can I seal seams on a wet tent?
Never apply sealer to a damp tent. Moisture prevents proper adhesion and can trap mold inside the fabric. Always clean and dry the tent thoroughly first.
Is it safe to seal seams near zippers?
Yes, but be careful not to get sealant on the zipper teeth, which can cause sticking. Apply sparingly around the zipper tape and wipe away excess immediately.
What if my tent didn’t come with sealed seams?
Some budget or older tents aren’t factory-sealed. In that case, sealing all seams before your first use is highly recommended to prevent leaks from day one.