
Putting a tarp over your tent is one of the smartest moves you can make to stay dry, cool, and comfortable in the outdoors. Whether you’re facing rain, intense sun, or wind, a properly placed tarp adds an extra layer of protection and can extend the life of your tent.
Key Takeaways
- Choose the right tarp size: A tarp should extend at least 2–3 feet beyond your tent on all sides for full coverage.
- Use a ridgeline or support poles: This prevents water pooling and improves airflow under the tarp.
- Keep the tarp high and taut: A loose or low-hanging tarp traps moisture and increases condensation risk.
- Anchor securely with guylines: Strong stakes and tension prevent the tarp from flapping or blowing away in wind.
- Ensure proper ventilation: Leave space between the tarp and tent to allow airflow and reduce condensation buildup.
- Pick the right material: Polyethylene tarps are durable and waterproof, while silnylon offers lightweight performance.
- Practice setup before your trip: Knowing how to quickly and correctly install your tarp saves time and stress in bad weather.
📑 Table of Contents
Why You Should Put a Tarp Over Your Tent
Let’s be honest—no one wants to wake up in a soggy tent after a night of heavy rain. Even the best tents can struggle with prolonged exposure to moisture, especially if the rainfly isn’t perfectly sealed. That’s where a tarp comes in. Adding a tarp over your tent isn’t just about staying dry—it’s about improving comfort, protecting your gear, and extending the life of your shelter.
A well-placed tarp acts as a first line of defense against rain, snow, and even harsh sunlight. It shields your tent’s roof from direct water impact, reducing the chance of leaks. Plus, it creates a dry area outside your tent for storing boots, backpacks, or cooking. In hot weather, a tarp can reflect sunlight and keep your tent significantly cooler. And in windy conditions, it can break the force of gusts, giving your tent extra stability.
Choosing the Right Tarp for Your Tent
Not all tarps are created equal. The best way to put a tarp over a tent starts with selecting the right one. Size, material, and shape all matter.
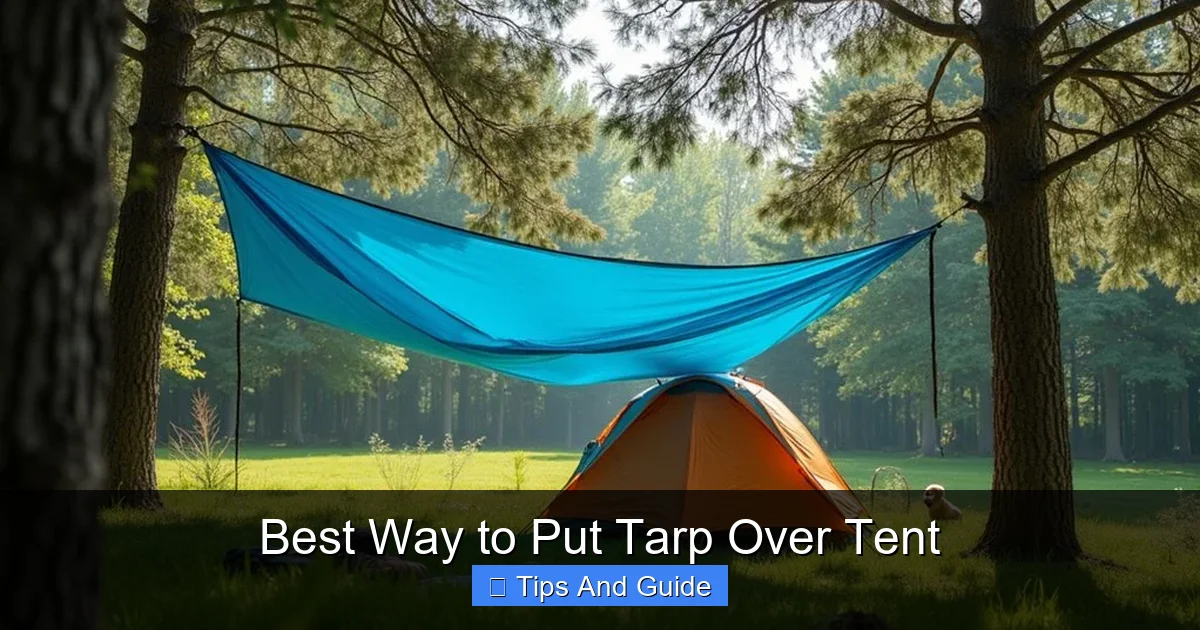
Visual guide about Best Way to Put Tarp Over Tent
Image source: besttentreview.com
Size Matters
Your tarp should be larger than your tent footprint. A good rule of thumb is to choose a tarp that extends at least 2–3 feet beyond each side of your tent. For example, if you have a 7×7 foot tent, go for a 10×10 or 12×12 foot tarp. This overhang ensures rain runs off the sides instead of dripping onto your tent walls.
Material Options
There are three main types of tarp materials: polyethylene (poly), silnylon, and canvas. Poly tarps are the most common—they’re affordable, waterproof, and durable. They’re great for car camping or base camps. Silnylon is lighter and more packable, making it ideal for backpackers. Canvas is heavy but breathable and excellent for long-term use in dry climates.
Shape and Grommets
Rectangular tarps offer the most flexibility for setup. Look for reinforced grommets spaced every 18–24 inches. These make it easier to tie down the tarp securely. Some tarps come with built-in guylines or reflective tape—small features that make a big difference in the field.
Best Tarp Placement Techniques
Once you’ve got the right tarp, it’s time to set it up. The goal is to create a waterproof canopy that protects your tent without touching it. Here are the most effective methods.
The A-Frame Setup
This is one of the most popular and reliable ways to put a tarp over a tent. It involves stringing a ridgeline between two trees or poles and draping the tarp over it to form an A-shape. The sides are then staked out to create a sloped roof.
To set this up, tie a strong paracord or ridgeline between two anchor points—trees, trekking poles, or dedicated tarp poles. Drape the tarp over the line so it’s centered. Pull the sides outward and stake them down at a 45-degree angle. This creates a wide, stable shelter with excellent runoff.
The Lean-To Configuration
If you’re camping near a rock face or using your tent as a windbreak, a lean-to setup works well. Tie one side of the tarp high to a tree or pole and angle it down to the ground on the opposite side. Stake the lower edge securely. This method is great for blocking wind or sun from one direction.
Using Tent Poles as Support
Don’t have trees? No problem. You can use your tent poles or trekking poles to support the tarp. Set up your tent first, then insert poles vertically near the corners or center of the tarp. Raise them to create a peak, then stake the corners. This method is perfect for open fields or beaches.
For a step-by-step guide on setting up a tarp without trees, check out our detailed article: How To Put A Tarp Over A Tent Without Trees.
How to Secure Your Tarp Properly
A tarp that’s not secured can become a liability in wind or rain. Flapping fabric creates noise, wears out the material, and can even damage your tent. Proper anchoring is key.
Use Strong Stakes and Guylines
Invest in high-quality stakes—aluminum or steel Y-stakes work best. Avoid flimsy plastic ones that bend in hard ground. Use guylines (paracord or nylon webbing) to connect each grommet to a stake. Tension is important: the tarp should be taut but not overly tight, which can tear grommets.
Adjust for Weather Conditions
In windy conditions, add extra guylines and use deadmen anchors (burying stakes at an angle) for better hold. In rain, make sure all seams and tie-downs are pointing away from your tent to prevent water from channeling underneath.
Create a High Peak
Always aim to create a peak or ridge in the center of your tarp. This allows rainwater to run off quickly and prevents pooling, which can lead to sagging or collapse. Use a ridgeline or support pole to lift the center higher than the edges.
Ventilation and Condensation Control
One of the biggest mistakes campers make is placing the tarp too close to the tent. This traps moisture and increases condensation inside, leaving you damp even if it’s not raining.
Leave Space Between Tarp and Tent
There should be at least 6–12 inches of airspace between the tarp and your tent roof. This gap allows moisture to escape and promotes airflow. If the tarp touches the tent, condensation will drip directly onto your gear.
Angle for Airflow
When setting up your tarp, angle the sides so they slope away from your tent. This not only improves water runoff but also encourages cross-ventilation. In humid climates, this can make a huge difference in comfort.
For more tips on staying dry, read our guide: Best Way To Keep Tent Dry In Rain.
Common Mistakes to Avoid
Even experienced campers make errors when setting up a tarp. Here are a few to watch out for.
Using a Tarp That’s Too Small
A small tarp won’t provide full coverage. Water will drip off the edges and soak your tent walls. Always go bigger.
Setting Up Too Low
A low-hanging tarp reduces headroom and traps heat and moisture. Raise it high enough to allow airflow and movement underneath.
Ignoring the Wind Direction
Always set up your tarp so the open side faces away from the wind. This prevents rain from blowing under the tarp and keeps the structure stable.
Not Practicing at Home
Don’t wait until you’re at the campsite to figure it out. Practice setting up your tarp in your backyard. You’ll save time and stress when it matters most.
Final Tips for a Perfect Tarp Setup
With the right approach, putting a tarp over your tent becomes second nature. Here are a few final tips to keep in mind.
- Use reflective guylines: These make it easier to see your setup at night and reduce tripping hazards.
- Carry extra stakes and cord: You never know when you’ll need them.
- Check local regulations: Some campsites restrict the use of tarps or require fire-resistant materials.
- Clean and dry your tarp after use: This prevents mold and extends its lifespan.
For a complete walkthrough of tarp setup methods, visit our guide: How To Put A Tarp Over A Tent.
Conclusion
Mastering the best way to put a tarp over a tent can transform your camping experience. It’s not just about staying dry—it’s about creating a safer, more comfortable, and more enjoyable outdoor shelter. With the right tarp, proper setup, and a little practice, you’ll be ready for whatever the weather throws your way.
Whether you’re a weekend warrior or a seasoned backpacker, a well-placed tarp is one of the simplest and most effective upgrades you can make. So next time you head out, don’t forget to pack that tarp—and set it up like a pro.
Frequently Asked Questions
Should a tarp go over or under my tent?
A tarp should go over your tent, not under. Placing it underneath can trap moisture from the ground and lead to condensation. An overhead tarp provides rain protection and ventilation.
How high should a tarp be above a tent?
The tarp should be at least 6–12 inches above the highest point of your tent. This allows for proper airflow and prevents condensation from dripping onto your shelter.
Can I use a tarp without trees?
Yes! You can use trekking poles, tent poles, or freestanding tarp supports to create a structure. Our guide on How To Put A Tarp Over A Tent Without Trees has detailed instructions.
What’s the best material for a camping tarp?
Polyethylene tarps are durable and waterproof, ideal for car camping. Silnylon is lighter and better for backpacking. Choose based on your needs and trip length.
How do I prevent water from pooling on my tarp?
Create a peak or ridge in the center using a ridgeline or support pole. Keep the tarp taut and angled so water runs off the sides instead of collecting.
Do I really need a tarp if my tent has a rainfly?
Yes, especially in heavy rain or prolonged wet conditions. A tarp adds an extra layer of protection and helps keep the area around your tent dry for gear storage.