
Don’t let a flimsy tent ruin your adventure! This guide will teach you the proper techniques for using tent stakes to ensure your shelter stays secure, no matter the weather. We cover everything from choosing the right stakes to advanced methods for windy conditions. Proper staking is crucial for a stable and safe campsite.
How to Use Tent Stakes
Welcome to your ultimate guide on using tent stakes! Camping is all about connecting with nature, but a securely anchored tent is the foundation of a comfortable and safe outdoor experience. You might think tent stakes are simple; you just hammer them in, right? While that’s a start, mastering the art of tent staking can make a world of difference, especially when the wind picks up or the ground is less than ideal.
In this comprehensive guide, you’ll learn everything you need to know to confidently secure your tent. We’ll cover the importance of proper staking, how to choose the right stakes for your situation, and step-by-step instructions for various ground conditions. By the end, you’ll be a tent staking pro, ready for any camping adventure!
Key Takeaways
- Understand Your Stakes: Different stake types are designed for specific ground conditions, from soft sand to rocky soil.
- Choose the Right Location: Select a flat, well-drained area free from sharp objects to avoid damaging your tent and stakes.
- Master the Angle: For most ground types, drive stakes at a 45-degree angle away from the tent for maximum holding power.
- Proper Depth is Key: Ensure stakes are driven deep enough into the ground to resist wind and movement.
- Use Guy Lines Effectively: Guy lines provide crucial extra tension and stability, especially in windy conditions.
- Adapt to Conditions: Learn how to adjust your staking strategy for different surfaces like sand, snow, or hard-packed earth.
Why Proper Tent Staking Matters
Before we dive into the “how,” let’s talk about the “why.” Properly staking your tent isn’t just about keeping it from blowing away. It’s about:
- Stability: A well-staked tent will resist wind gusts, preventing it from collapsing or shifting, which can damage the fabric and poles.
- Waterproofing: Proper tension, achieved through good staking, helps maintain the tent’s shape and ensures that rain runs off effectively, keeping you dry.
- Safety: A flapping or collapsing tent can be dangerous, especially in severe weather. Secure stakes mean a safer shelter.
- Longevity: Correctly anchoring your tent reduces stress on the fabric, seams, and poles, extending its lifespan.
- Comfort: A taut tent is a more comfortable tent. No one enjoys sleeping in a saggy, drafty shelter.
Understanding Tent Stakes
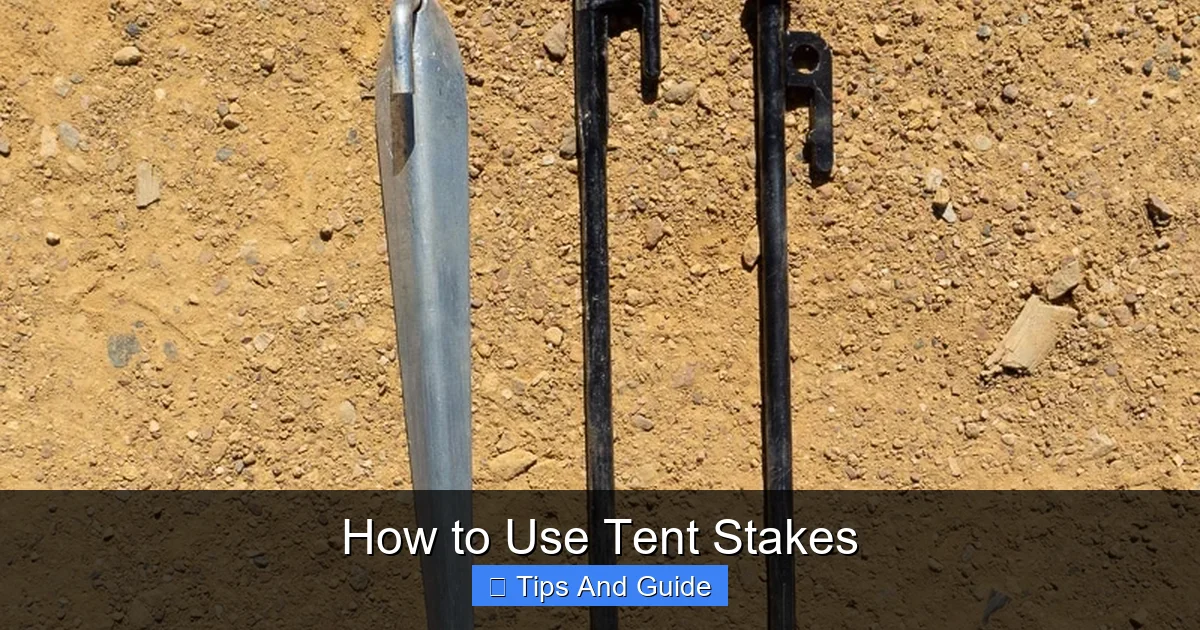
Visual guide about How to Use Tent Stakes
Image source: wifibum.com
Tent stakes come in many shapes and sizes, each designed for different purposes. Knowing what you have and what you need is the first step to success.
Common Stake Types:
- Nail Stakes (or Pins): These are the most basic and common stakes, often included with tents. They’re usually made of aluminum or steel and are good for general-purpose camping on soft to medium ground.
- Screw Stakes (or Augers): These look like screws and are excellent for soft ground like sand or snow. They twist into the ground, providing excellent holding power. You can often find specialized ones for beach camping, like those discussed in our guide to best beach tent stakes.
- Y-Beam Stakes: These have a Y-shaped cross-section, offering a good balance of strength and surface area. They are versatile and work well in a variety of soil types.
- V-Beam Stakes: Similar to Y-beam stakes, these have a V-shaped profile, offering good holding power and durability.
- D-Ring Stakes (or Hook Stakes): These have a hook or loop at the top, making them easy to attach guy lines. They are often longer and stronger, suitable for more demanding conditions.
- Rock Stakes: Designed for use in rocky terrain where driving traditional stakes is impossible. They often have holes to tie guy lines to and can be wedged between rocks.
Choosing the Right Stakes
Consider the terrain you’ll be camping on most often. If you frequent sandy beaches, look into sand stakes. For rocky areas, rock stakes are essential. For general camping, a good set of Y-beam or D-ring stakes will serve you well. It’s also wise to carry a few different types if you travel to diverse locations.
Preparing Your Campsite
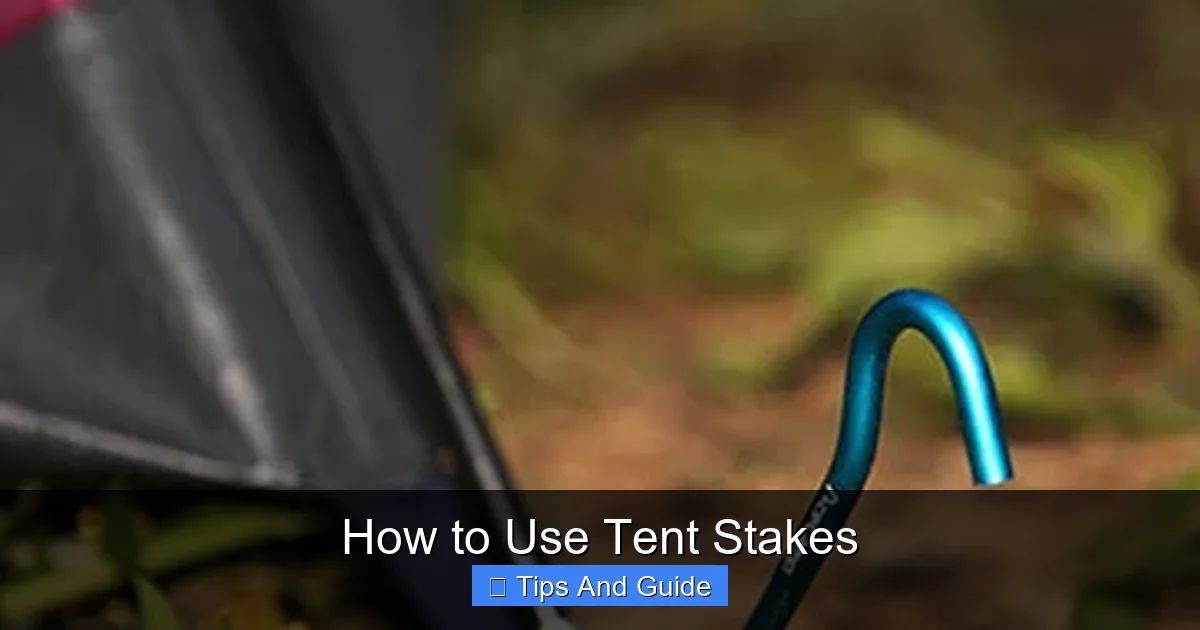
Visual guide about How to Use Tent Stakes
Image source: cdn11.bigcommerce.com
Before you even think about stakes, choose your tent spot wisely.
Selecting a Spot:
- Flat Ground: Aim for the flattest ground you can find. This ensures even tension on your tent fabric and a comfortable sleeping surface.
- Drainage: Avoid low-lying areas that might collect water if it rains. Look for slightly elevated spots.
- Shelter: Consider natural windbreaks like trees or large rocks, but avoid pitching directly under dead branches or in potential flood zones.
- Clear Debris: Remove any sharp rocks, twigs, or roots from your chosen spot. These can puncture your tent floor or make staking difficult.
The Basic Staking Process
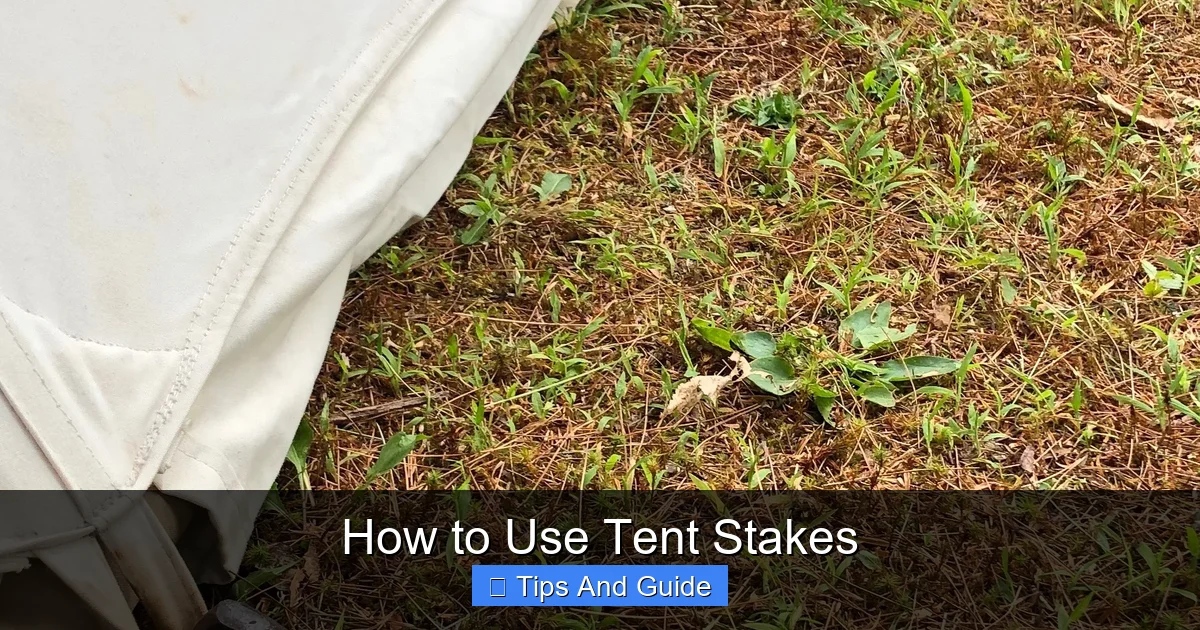
Visual guide about How to Use Tent Stakes
Image source: tentsmiths.com
This is the fundamental method for staking your tent.
Step 1: Lay Out Your Tent
Unpack your tent and lay it flat on your chosen campsite. Identify the stake loops around the perimeter of the tent.
Step 2: Position Your Tent Pegs
Take your first stake and a hammer or rock. For most ground types, you’ll want to drive the stake at a 45-degree angle. The angle should be pointing away from the tent. This angle maximizes the amount of stake that is in the ground, creating a stronger anchor.
Step 3: Drive the Stake
Gently but firmly tap the stake into the ground. You want to drive it deep enough so that only a small portion (about an inch or two) is exposed. This will give you plenty of room to attach your guy lines later. Don’t be afraid to put some force into it if the ground is firm.
Step 4: Attach the Tent Loops
Connect the stake loop on your tent to the stake. For most stakes, this will simply involve slipping the loop over the top of the stake. Ensure the loop is securely seated.
Step 5: Repeat for All Stake Loops
Work your way around the tent, staking down all the main anchor points. As you stake, pull the tent fabric slightly taut to begin shaping the tent.
Using Guy Lines for Maximum Stability
Guy lines are the ropes that extend from your tent’s rainfly or sides to additional anchor points. They are crucial for stability, especially in windy conditions.
Step 1: Locate Guy Line Points
Your tent’s rainfly will have loops or grommets specifically for attaching guy lines.
Step 2: Attach the Guy Line
Tie one end of your guy line securely to the loop on the rainfly. Use a strong knot like a bowline or a taut-line hitch, which allows for easy tension adjustment.
Step 3: Extend and Stake the Guy Line
Pull the guy line away from the tent, creating tension on the rainfly. The ideal distance is usually about 30-45 degrees from the tent wall. Stake the end of the guy line in the ground, again at a 45-degree angle away from the tent, ensuring it’s driven deep enough for a secure hold.
Step 4: Adjust Tension
Use the tensioner (often a small plastic slider or a knot) on the guy line to make it taut. You want the rainfly to be snug, without being overly stretched. This is where the taut-line hitch is very useful.
Step 5: Repeat for All Guy Lines
Attach and stake all available guy lines. Proper use of guy lines can significantly improve your tent’s resistance to wind. If you’re considering a tent that needs extra stability, checking out guides on the best pop-up tent for wind can offer valuable insights into features that aid in wind resistance.
Staking in Different Ground Conditions
Not all ground is created equal. Here’s how to adapt your technique.
Soft Ground (Sand, Loose Soil, Snow)
These conditions require stakes that can spread out or twist to gain more surface area and grip.
Sand Staking:
- Use Wide Stakes: Long, wide stakes (like specialized sand stakes or snow stakes) are best. They dig deeper and have more surface area.
- The “Deadman” Anchor: For extreme softness, bury a stake horizontally in the sand or snow, attaching your guy line to the middle of it. Then bury it with a significant amount of sand or snow. This “deadman” anchor is very effective.
- Screw Stakes: These are excellent for sand. Twist them in as deep as they will go.
- Angle: Even in sand, a 45-degree angle is generally good, but you might need to bury them deeper.
- For beach camping, consider our recommendations for the best beach tent stakes.
Snow Staking:
- Wide Stakes: Similar to sand, wide stakes or snow anchors are ideal.
- “Deadman” Anchor: Burying stakes horizontally and covering them with snow works very well.
- Ski Poles or Mates: If you have them, ski poles or even flat objects like tent poles can be buried in snow to act as anchors.
Hard Ground (Packed Earth, Clay, Gravel)
This can be challenging. Metal stakes are usually necessary.
- Use Strong Stakes: Steel or heavy-duty aluminum stakes are recommended.
- Hammer Firmly: You may need to use more force to drive stakes into hard ground. A rubber mallet or a sturdy rock can help.
- Start Small: If the ground is very hard, you might need to pre-drill a small hole with a sharp rock or even a drill if you’re car camping and have one.
- Angle: A 45-degree angle is still best, but if the ground is extremely resistant, a more vertical angle might be the only option. Ensure it’s still driven deep.
Rocky Terrain
This is where standard stakes might fail entirely.
- Rock Stakes: These are specifically designed for this. They have holes to tie guy lines to and can be wedged into cracks or between rocks.
- Weight: Sometimes, heavy rocks can be used as anchors. Place a sturdy rock on top of your tent loop or tie a guy line around a large boulder. Be mindful not to damage the environment.
- Utilize Natural Features: Look for sturdy tree roots, fallen logs, or large, stable rocks to tie your guy lines to.
Troubleshooting Common Staking Problems
Even experienced campers run into issues. Here are solutions to common problems.
Problem: My Stakes Keep Pulling Out
- Cause: Not driven deep enough, wrong stake type for the ground, insufficient angle, or not using guy lines.
- Solution: Drive stakes deeper. Try a stake designed for the current ground conditions (e.g., sand stakes for sand). Ensure a 45-degree angle away from the tent. Use guy lines for added tension and anchoring.
Problem: I Can’t Drive My Stakes Into the Ground
- Cause: Extremely hard ground, rocks obstructing the path.
- Solution: Use a sturdier stake. Try using a rock or rubber mallet with more force. If it’s rocky, try to find a different spot or use rock stakes/natural anchors. Pre-drilling a small hole can help.
Problem: My Tent is Sagging and Loose
- Cause: Stake tension is too low, guy lines are not properly adjusted.
- Solution: Re-stake the main anchor points, ensuring they are taut. Adjust your guy lines to create proper tension on the rainfly. Ensure all stakes are driven fully into the ground.
Problem: Wind is Threatening My Tent
- Cause: Insufficient anchoring, lack of guy lines.
- Solution: This is when proper staking is critical. Ensure all stakes are driven deep. Use all available guy lines and make them taut. Consider adding extra guylines if your tent allows. If you’re in an area known for high winds, it’s worth researching the best pop-up tent for wind to see what features can help.
Tips for Long-Term Tent Care
Proper staking also helps in the long run.
- Avoid Forcing: Don’t force stakes into the ground at an unnatural angle. This can bend or break them.
- Clean Your Stakes: After use, clean dirt and mud off your stakes before storing them. This prevents rust and makes them easier to use next time.
- Inspect for Damage: Check your stakes for bends or cracks before and after each trip. Replace any damaged ones.
Conclusion
Mastering tent staking is an essential skill for any camper. By understanding the different types of stakes, choosing the right location, and employing proper techniques for various ground conditions, you can ensure your tent remains a secure and comfortable haven throughout your adventures. Remember to always pay attention to the weather and adjust your staking accordingly. A few extra minutes spent on secure anchoring can save you a lot of trouble and allow you to focus on enjoying the great outdoors. Happy camping!