
Learn the art of “tenting windows” to enhance your living space. This comprehensive guide provides clear, step-by-step instructions for DIY window tenting. You’ll discover how to create privacy, manage sunlight, and improve insulation. Master this skill to boost comfort and energy efficiency in your home.
Are you looking for a simple yet effective way to enhance your home’s comfort and privacy? Perhaps you want to block out harsh sunlight, reduce heat in the summer, or add an extra layer of insulation during colder months. If so, learning how to tent windows might be the perfect DIY project for you. Tenting windows, in this context, refers to creating a removable fabric covering that fits snugly within or over your window frame. It’s a versatile solution that offers a host of benefits without the need for permanent alterations or expensive blinds.
This comprehensive guide will walk you through everything you need to know to successfully tent your windows. We’ll cover the benefits, the materials you’ll need, and provide detailed, step-by-step instructions to help you achieve a professional-looking result. Whether you’re a seasoned crafter or a beginner looking for a practical home improvement, this guide is designed to be easy to follow and incredibly useful.
Key Takeaways
- Understand the Benefits: Tenting windows offers privacy, controls light and heat, and can help with insulation, making your space more comfortable and energy-efficient.
- Gather Your Materials: Essential supplies include your chosen fabric (like blackout material or sheer curtains), measuring tape, scissors, hem tape or sewing machine, and fasteners (hooks, velcro, or tension rods).
- Precise Measurement is Crucial: Accurately measure the inside dimensions of your window frame for a snug and effective fit.
- Prepare Your Fabric: Cut your fabric to size, accounting for hems and any overlap needed for a complete seal. Hemming ensures a neat finish and prevents fraying.
- Choose Your Attachment Method: Select a method like using a tension rod for easy installation and removal, or adhesive hooks and loops for a more permanent solution.
- Installation and Adjustment: Carefully install your tented window, ensuring it’s taut and covers the entire window for maximum effectiveness. Make any necessary adjustments for a perfect fit.
- Maintenance and Care: Regularly check your tented windows for wear and tear, and clean them according to the fabric’s care instructions to maintain their appearance and function.
Why Tent Your Windows?
Before we dive into the “how-to,” let’s explore why tenting your windows is such a fantastic idea. It’s more than just a creative window covering; it’s a functional upgrade for your living space.
Privacy, Please!
One of the most common reasons people tent their windows is for privacy. Whether you live on a busy street, have close neighbors, or simply want to create a more secluded atmosphere in your home, tented windows can effectively block the view from the outside in.
Sun Control and Heat Management
Tented windows are excellent for managing sunlight. You can choose fabrics that block UV rays, significantly reducing heat buildup in the summer. This can lower your cooling costs and protect your furniture and flooring from sun damage. In winter, a well-fitted tent can provide a minor insulating layer, helping to keep drafts out and warmth in. If you’re planning a camping trip and want to control the light inside your tent, understanding how light enters and can be blocked is also key. For instance, when choosing the best camping lights for your tent, you also want to consider how they might affect light penetration from the outside.
Aesthetic Appeal
Beyond functionality, tented windows can add a unique decorative touch to your home. You can choose from a wide variety of fabrics to match your decor, from sheer and airy to thick and dramatic. This offers a more custom and often softer look than traditional window treatments.
Cost-Effective Solution
Compared to custom blinds, shutters, or expensive curtains, tenting your windows is a remarkably budget-friendly option. You can often create effective window tents with minimal materials and your own two hands.
Materials You’ll Need
Gathering the right materials is the first step to a successful project. Here’s a list of common items you’ll need for tenting your windows:
- Fabric: This is your primary material. Consider:
- Blackout Fabric: For maximum light blocking and privacy.
- Sheer or Voile Fabric: For a light, airy feel that still diffuses light and offers some privacy.
- Medium-Weight Cotton or Linen: For a balance of privacy and light filtering.
- Outdoor-Specific Fabrics: If you’re tenting windows on a shed, greenhouse, or perhaps a camping kitchen tent.
- Measuring Tape: For accurate measurements of your window frame.
- Scissors: Sharp fabric scissors will make cutting much easier and cleaner.
- Fabric Marker or Chalk: To mark your cutting lines.
- Hem Tape or Sewing Machine: To create neat hems on your fabric.
- Fasteners: Depending on your preferred installation method:
- Tension Rod: For an easy, no-drill solution.
- Velcro Strips (adhesive-backed or sew-on): For a secure fit.
- Adhesive Hooks or Command Hooks: To attach velcro or rings.
- Small Grommets and Rings: For a more professional look if using rods.
- Iron and Ironing Board: To press hems for a crisp finish.
- Optional: Lining Fabric: If you want extra insulation or to further enhance blackout capabilities.
Step-by-Step Guide to Tenting Your Windows
Now, let’s get down to the actual process. These steps are designed for a typical DIY window tent that fits inside the window frame using a tension rod or velcro.
Step 1: Measure Your Window Frame
Accuracy here is non-negotiable. You want your window tent to fit snugly to prevent light leakage and drafts.
Measure the Inside Width
Using your measuring tape, measure the inside width of your window frame at the top, middle, and bottom. Use the smallest measurement to ensure your fabric won’t be too tight.
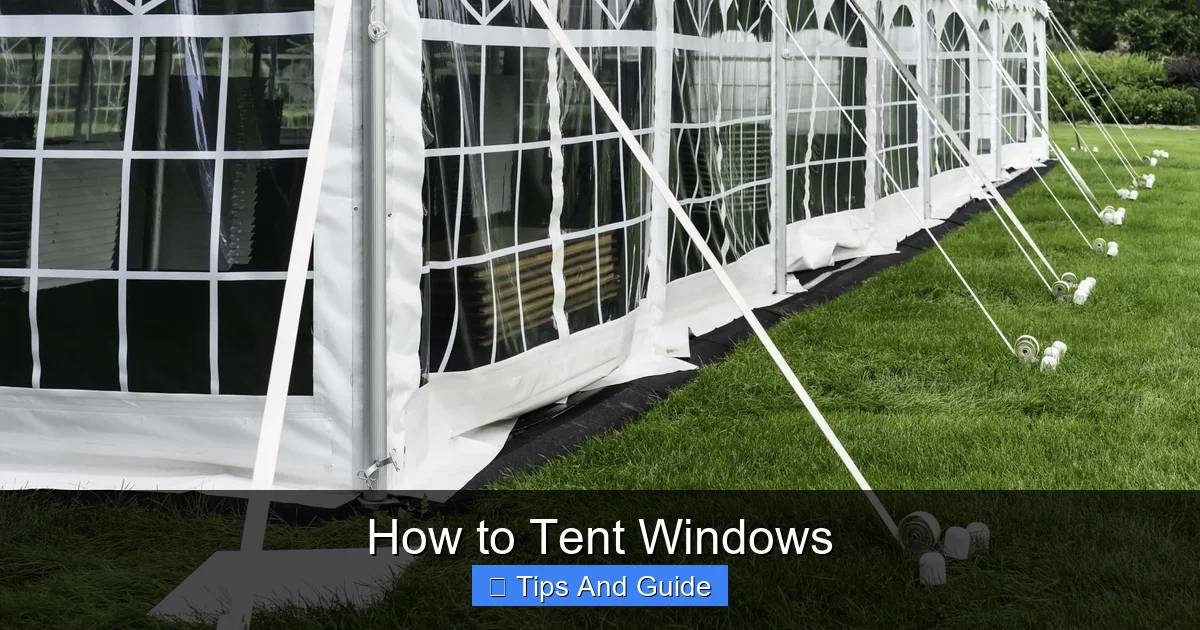
Visual guide about How to Tent Windows
Image source: adamsplastics.com
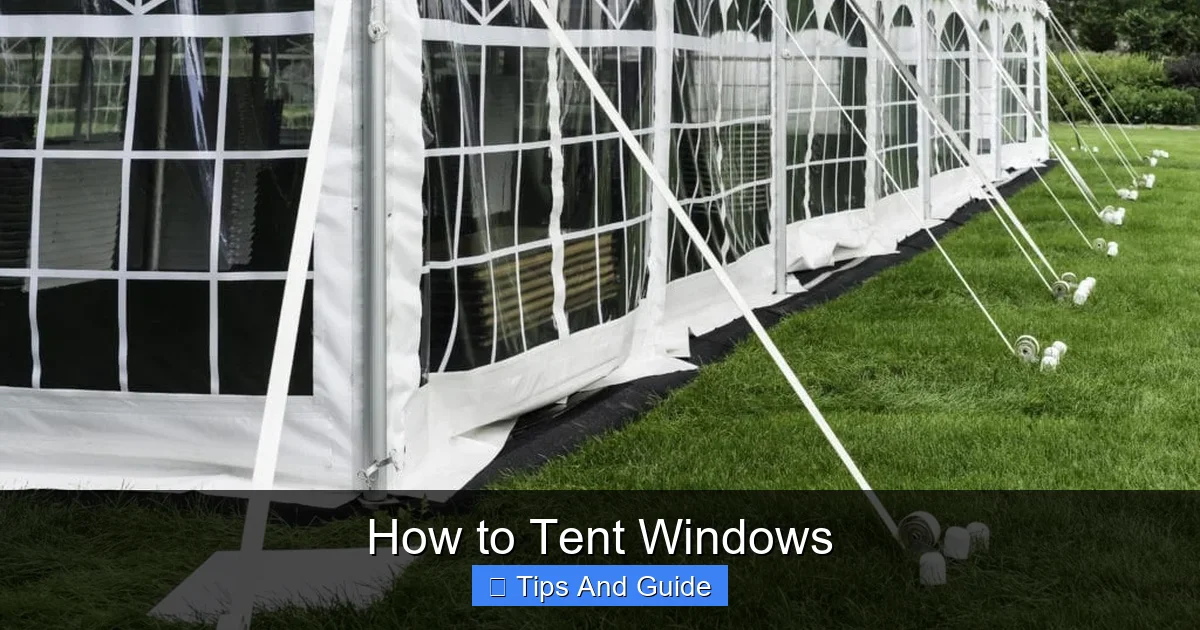
Visual guide about How to Tent Windows
Image source: adamsplastics.com
Measure the Inside Height
Measure the inside height of your window frame from the top sill to the bottom sill. Again, take measurements at both the left and right sides and use the smallest one.
Add for Hemming and Fit
Once you have your final width and height, you need to add extra fabric for hems and a slight “ease” for fitting.
- Add for Width: Add about 2 to 4 inches (5-10 cm) to your measured width. This accounts for side hems and allows the fabric to extend slightly beyond the frame for a good seal.
- Add for Height: Add about 2 to 4 inches (5-10 cm) to your measured height. This accounts for top and bottom hems. If you plan to use a tension rod, add enough extra height so the fabric can loop over it comfortably.
Step 2: Prepare Your Fabric
With your measurements in hand, it’s time to prepare your fabric.
Cut the Fabric
Lay your chosen fabric flat and smooth it out. Using your fabric marker and a ruler, mark the dimensions you calculated in Step 1. Cut the fabric carefully with sharp scissors.
Hem the Edges
Hemming creates a clean finish and prevents fraying.
- No-Sew Hem: Fold over about 1/2 inch (1.25 cm) of fabric along each edge, then fold over another 1/2 inch (1.25 cm) to hide the raw edge. Press with an iron. Apply fabric hem tape according to the product instructions and press again to secure the hem.
- Sewn Hem: For a more durable and professional finish, fold and press the fabric twice as described above, then sew along the edge with a sewing machine.
Ensure your hems are straight and secure. The goal is to reduce the fabric size by the amount you’ve folded over for the hems. Double-check your final dimensions after hemming.
Step 3: Choose and Install Your Fastening Method
How you attach your window tent will depend on your preference and window type.
Option A: Using a Tension Rod
This is a popular method because it’s non-damaging and easily adjustable.
- Create a Rod Pocket: When hemming the top edge, create a larger pocket. Fold over about 1.5 to 2 inches (4-5 cm) of fabric, press, and hem it in place. This pocket should be wide enough to comfortably slide your tension rod through.
- Install the Rod: Adjust the tension rod to fit snugly within your window frame at the desired height.
- Slide the Tent onto the Rod: Gently slide the fabric tent onto the tension rod through the pocket you created.
- Adjust for Fit: Ensure the fabric hangs straight and covers the window. You might need to adjust the rod’s tension slightly to pull the fabric taut.
Option B: Using Velcro
This method provides a very secure and flush fit.
- Prepare the Window Frame: Clean the inside of your window frame thoroughly. Attach one side of the velcro (usually the loop side) to the inside edges of the window frame using the adhesive backing. If using Command hooks, attach hooks where you want velcro to adhere, then attach velcro to the hooks.
- Prepare the Fabric: Attach the corresponding velcro strip (usually the hook side) to the hemmed edges of your fabric tent. You can sew it on for maximum durability or use strong fabric adhesive. Make sure the velcro is placed so it will align perfectly with the velcro on the frame.
- Attach the Tent: Carefully align the velcro on the fabric with the velcro on the frame and press firmly to secure. Start from one corner and work your way around to ensure a good seal.
Tip: For added security with velcro, you can also add a small tension rod at the bottom to keep the fabric from bowing outwards.
Step 4: Final Installation and Adjustment
Once your fastening method is in place, it’s time to install the tent.
For Tension Rods: Slide the fabric onto the rod. Position the rod within the frame and twist it until it’s snug. Make sure the fabric is evenly distributed and covers the entire window. Adjust the tension as needed to get a neat, taut finish.
For Velcro: Start at the top corners and press the velcro together, working your way down the sides and across the bottom. Ensure there are no gaps. If the fabric seems loose anywhere, you might need to reposition the velcro slightly or add more attachment points.
Take a step back and look at your work. Are there any obvious light gaps? Does the fabric hang evenly? Make minor adjustments as needed.
Practical Tips and Considerations
* Layering: For extra insulation or blackout, consider using two layers of fabric. You could sew a lighter, decorative fabric to the front of a blackout fabric.
* Ventilation: If you’re blocking out a lot of light or heat, remember that your window might also be a source of ventilation. Consider if you need to be able to easily open the window or if alternative ventilation methods are available. For example, if you are using a camping fan for your tent, you might still need fresh air circulation.
* Fabric Choice for Different Rooms: Use breathable fabrics like cotton for bedrooms and more robust, easy-to-clean fabrics for kitchens or playrooms.
* Seasonal Changes: You can easily swap out fabrics with the seasons. Use heavier, insulating fabrics in winter and lighter, more breathable ones in summer.
* Washing: Always check the care instructions for your fabric. Most cottons can be machine washed, but delicate fabrics might require hand washing or dry cleaning.
* For RVs or Vans: Tenting windows is a popular modification for RVs and vans. If you’re looking for solutions for a pop-up tent for a van, the principles are the same, but you might opt for more durable, UV-resistant fabrics.
Troubleshooting Common Issues
Even with careful planning, you might run into a few hiccups.
Light Gaps
Problem: Light is leaking through the edges.

Visual guide about How to Tent Windows
Image source: wallpaperaccess.com
Solution:
- Ensure your fabric is large enough to overlap the frame slightly.
- Adjust your tension rod to pull the fabric tighter.
- For velcro, check that all strips are firmly attached and aligned. You might need to add more velcro.
- Consider using magnetic tape or clips for a more secure seal around the perimeter.
Fabric Sagging
Problem: The fabric is drooping in the middle.
Solution:
- Make sure your tension rod is installed correctly and providing enough support.
- If using velcro, ensure it’s attached securely all the way around.
- For larger windows, you might need to add a central support or a second tension rod.
Difficulty Installing
Problem: The tent is too tight or too loose to install easily.
Solution:
- Too Tight: You may have measured incorrectly or not added enough allowance for hems. You might need to slightly re-hem or adjust your fasteners.
- Too Loose: Re-measure and adjust your fabric size or re-position your velcro/tension rod.
Conclusion
Tenting your windows is a rewarding DIY project that offers significant benefits in terms of privacy, comfort, and energy efficiency. By following these steps, you can create custom window coverings that perfectly suit your needs and style. Remember that patience and precision are key to achieving the best results. So, gather your materials, get creative, and enjoy your newly transformed windows! Whether you’re looking to enhance your home’s ambiance or simply seeking a more practical way to manage light and heat, this guide provides the foundation for you to successfully tent your windows.