
Setting up a tent might seem daunting, but it’s a straightforward process with the right guidance. This comprehensive guide walks you through each step, from choosing a location to securing your shelter against the elements. Learn how to pitch your tent efficiently for a comfortable and secure outdoor adventure.
Welcome, outdoor enthusiasts! Embarking on a camping trip is an exciting adventure, and having a secure, comfortable shelter is paramount. But what if you’re new to camping or just need a refresher on how to set up your tent? Don’t worry, this guide is here to help! We’ll break down the process of setting up a tent into simple, manageable steps, ensuring you can confidently pitch your shelter in no time. Whether you have a simple dome tent or a more complex family tent, these instructions will equip you with the knowledge to create a cozy haven in the wilderness.
We’ll cover everything from selecting the perfect campsite to the final touches that ensure your tent is ready to withstand the elements. By the end of this guide, you’ll be a pro at tent setup, ready to enjoy your camping trip to the fullest.
Key Takeaways
- Choose the Right Spot: Select a flat, well-drained area away from hazards like dead trees or water sources.
- Organize Your Gear: Lay out all tent components and accessories before starting the setup process.
- Lay the Footprint/Ground Tarp: Protect your tent floor and add an extra layer of waterproofing.
- Assemble the Tent Poles: Connect the pole sections correctly, ensuring they are fully seated.
- Pitch the Tent Body: Insert poles into grommets or sleeves and raise the tent structure.
- Attach and Secure the Rainfly: Drape the rainfly over the tent and fasten it to the poles and tent body.
- Stake Down Your Tent: Use all provided stakes to anchor the tent and guylines for stability.
Step 1: Choose Your Campsite Wisely
The foundation of a successful tent setup begins before you even unpack your tent. Selecting the right spot is crucial for comfort, safety, and a good night’s sleep.
Scout for a Level Surface
Look for an area that is as flat as possible. Sleeping on an incline can be uncomfortable, causing you to roll around all night. A level surface also helps water drain away from your tent.
Consider Drainage
Avoid setting up your tent in depressions or low-lying areas where water can pool if it rains. Look for slightly elevated spots that will allow water to run off.
Check for Overhead Hazards
Inspect the area for any dead trees, branches, or other potential falling hazards. You don’t want anything to drop on your tent during the night.
Proximity to Water and Facilities
While it’s nice to be near a water source or restroom, be mindful of potential smells or increased insect activity. Also, ensure you are a safe distance from any open water to avoid flooding.
Respect the Environment
Camp on established campsites or durable surfaces like sand or gravel whenever possible. Avoid setting up on fragile vegetation or disturbing wildlife habitats. Many campgrounds have specific rules about where you can pitch your tent; always check these.
Step 2: Unpack and Organize Your Gear
Once you’ve found your ideal spot, it’s time to get your tent ready. Before you start assembling, take a moment to lay everything out.
Empty the Tent Bag
Carefully remove all the components from the tent bag. This typically includes the tent body, rainfly, poles, stakes, and guylines. Some tents also come with a footprint or ground tarp.
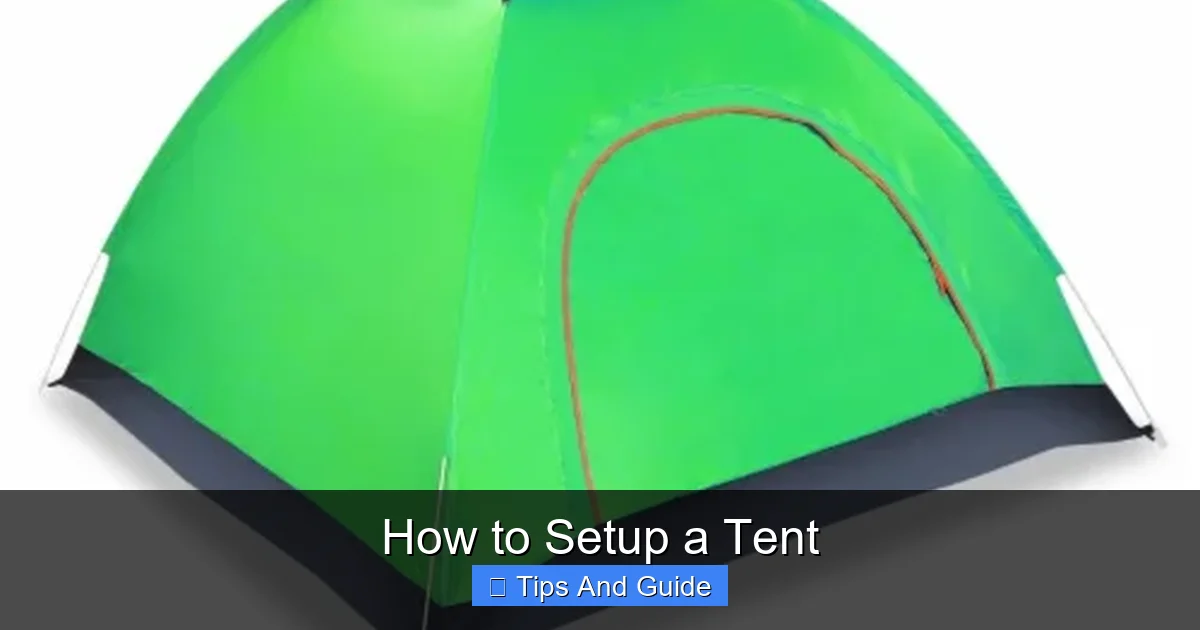
Visual guide about How to Setup a Tent
Image source: kroger.com
Identify Each Piece
Familiarize yourself with each part. Most tent bags have illustrations or labels. It’s helpful to identify the tent body, the rainfly (which often has a distinct shape or color), and the different pole sections.
Check for Damage
Quickly inspect your tent for any rips, tears, or broken parts. It’s much better to discover a problem now than when you’re miles from civilization.
Step 3: Lay Out the Footprint or Ground Tarp
Many tents come with a separate ground cloth, often called a footprint or ground tarp. This is an essential piece of equipment that serves a dual purpose.
Protect Your Tent Floor
The ground beneath your tent can be rough, with sticks, rocks, and roots that can puncture or wear down the tent floor over time. The footprint acts as a protective barrier.
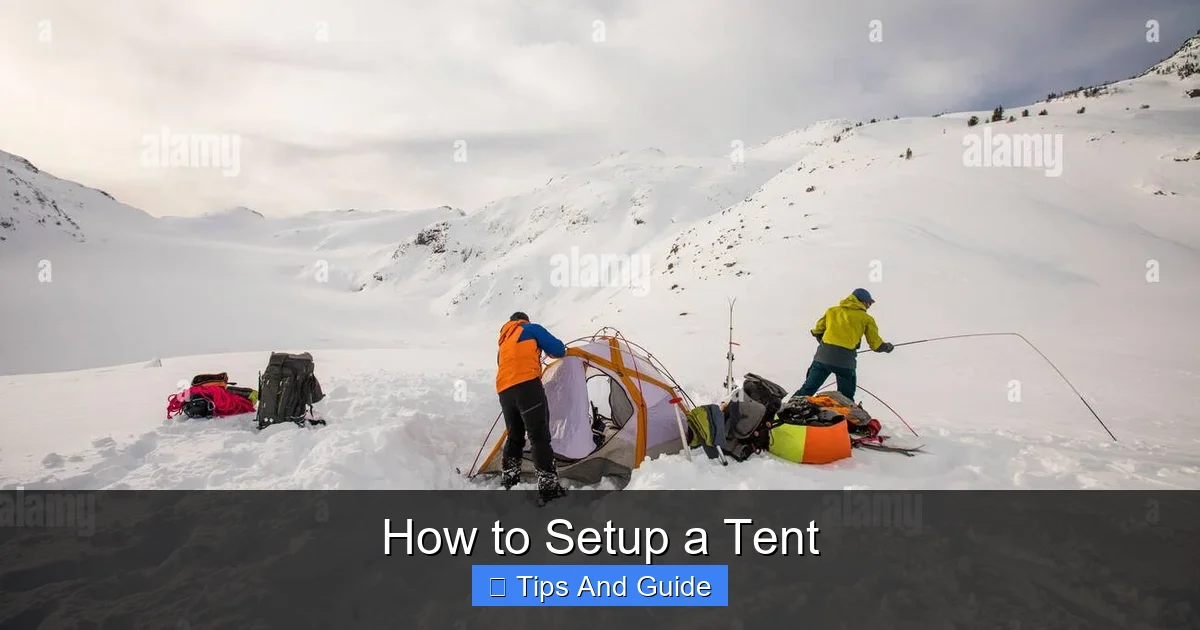
Visual guide about How to Setup a Tent
Image source: c8.alamy.com
Add an Extra Layer of Waterproofing
A good footprint will also help prevent moisture from seeping up from the ground into your tent, especially in damp conditions.
Position It Correctly
Lay the footprint out on your chosen spot. Ensure the footprint is slightly smaller than the tent floor. If it extends beyond the tent’s edges, it can actually collect rainwater and channel it underneath your tent. If your tent didn’t come with a dedicated footprint, a durable tarp can serve as a substitute.
Step 4: Assemble the Tent Poles
Tent poles are usually made of flexible shock-corded sections. They need to be assembled before you can pitch the tent.
Connect the Sections
Take the pole sections and connect them end-to-end. The shock cord running through the center will help guide them into place. Make sure each section is fully seated into the next to create a rigid pole.
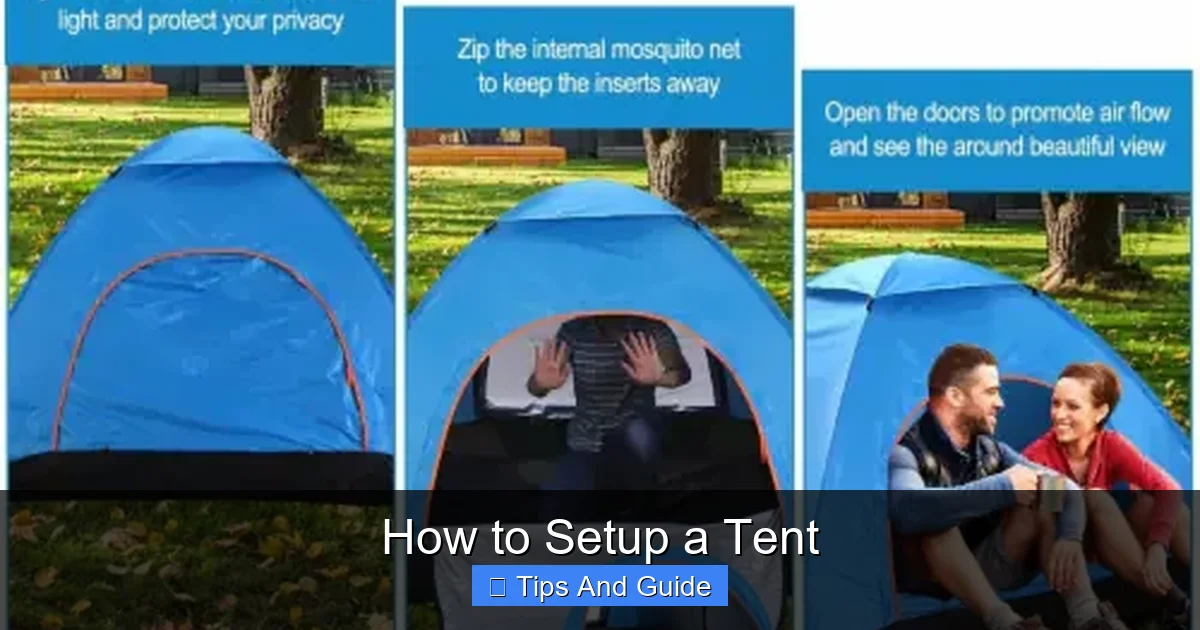
Visual guide about How to Setup a Tent
Image source: kroger.com
Handle With Care
Be gentle when assembling poles, especially in windy conditions, to prevent them from snapping together forcefully or kinking. Some poles are color-coded to match specific sleeves or grommets on the tent body, making assembly even easier.
Step 5: Pitch the Tent Body
This is where your tent starts to take shape. The goal is to create the basic structure of your tent.
Lay Out the Tent Body
Carefully spread the tent body over the footprint. Orient it so the door faces the direction you prefer, perhaps towards a view or away from the prevailing wind.
Insert Poles into Grommets or Sleeves
This step varies depending on your tent type.
- Grommets: Some tents have metal rings (grommets) at the corners or edges of the tent body. You’ll insert the ends of the assembled poles into these grommets.
- Sleeves: Other tents have fabric sleeves that the poles slide through. Gently feed the poles through these sleeves, ensuring they don’t snag or tear the fabric.
Raise and Secure the Poles
Once the poles are in place, you’ll typically bend them to create the tent’s arch or dome shape. Many tents have clips or ties along the tent body that you’ll use to attach the poles to the tent fabric. Clip these securely.
For freestanding tents, once the poles are in and clipped, the tent should stand up on its own. If your tent isn’t freestanding, you’ll need to stake it down immediately to keep it upright.
Step 6: Attach and Secure the Rainfly
The rainfly is your tent’s primary defense against rain and sun. It’s usually a separate, waterproof layer.
Drape the Rainfly
Carefully lift and drape the rainfly over the erected tent body. Ensure it’s oriented correctly – there’s usually a specific front and back, often indicated by door zippers or vents.
Fasten the Rainfly
Look for buckles, clips, or Velcro straps on the rainfly that correspond to points on the tent poles or tent body. Secure the rainfly to these attachment points. This will help keep the rainfly taut and in place.
Adjust for Tension
Ensure the rainfly is pulled evenly and snugly around the tent. A well-tensioned rainfly prevents water from pooling and ensures good ventilation.
Step 7: Stake Down Your Tent
Staking is critical for securing your tent against wind and providing structural integrity. Don’t skip this step, even if the weather seems calm!
Identify Stake Loops
Your tent body and rainfly will have loops or grommets around the base and along the edges. These are where the stakes go.
Hammer Stakes In
Push or hammer the stakes into the ground at an angle, away from the tent. This angle provides the best holding power. Aim for the stakes to be about 45 degrees into the ground.
Stake the Tent Base First
Start by staking down the main corners of the tent body. This will anchor the structure.
Stake the Rainfly
Next, stake out the loops on the rainfly. This is important for creating space between the rainfly and the tent body, which allows for better ventilation and prevents condensation buildup.
Use Guylines for Stability
Many tents come with guylines – extra cords that attach to higher points on the rainfly. These are essential for providing extra stability in windy conditions or for creating a porch area. Stake out guylines so they are taut, but not so tight that they distort the tent shape.
For optimal protection, especially if you anticipate wind or rain, consider bringing along extra-long or specialized stakes. Learning to properly set up guylines can significantly improve your tent’s resilience, much like understanding how to select the best pop-up tent for wind can make a difference.
Step 8: Final Adjustments and Interior Setup
With the tent securely pitched, you can now make final adjustments and set up the interior for comfort.
Tighten Stakes and Guylines
Walk around your tent and check that all stakes are firmly in the ground and guylines are taut. Make any necessary adjustments.
Ventilation Check
Open or close vents on your rainfly as needed, depending on the weather. Good ventilation helps reduce condensation inside the tent, which can make things feel damp even when it’s not raining.
Interior Comfort
Now it’s time to make your tent feel like home!
- Sleeping Setup: Bring in your sleeping bag and consider a comfortable camping mattress or sleeping pad. A camping mat for your tent can also add a layer of comfort and insulation.
- Lighting: Hang up a camping light or lantern for illumination.
- Storage: Use gear lofts or pockets to keep your belongings organized and off the floor.
Troubleshooting Common Tent Setup Issues
Even experienced campers sometimes face challenges. Here are a few common issues and how to resolve them:
Tent Won’t Stand Up
Cause: Poles not fully inserted, clips not secured, or tent not properly staked if it’s not freestanding.
Solution: Double-check that poles are fully connected and that all clips are attached to the poles. Ensure stakes are driven in securely and at the correct angle.
Rainfly Won’t Fit Correctly
Cause: Rainfly is oriented incorrectly, or poles are not in their intended positions.
Solution: Remove the rainfly and re-drape it, paying close attention to any color-coding or labels that indicate the front or back. Make sure the poles are aligned with the corresponding attachment points on the tent body.
Water Pooling Under the Tent
Cause: Tent is set up in a low spot, or the footprint is larger than the tent floor and acting as a collection basin.
Solution: Move your tent to a more elevated, well-drained spot. If you’re using a separate tarp as a footprint, ensure it doesn’t extend beyond the edges of your tent floor.
Tent is Drafty or Too Hot
Cause: Improper ventilation, wind blowing directly in, or not using guylines to their full potential.
Solution: Adjust vents on the rainfly to control airflow. Use guylines to create a tighter seal against the wind. If it’s too hot, ensure you have good cross-ventilation by opening vents on opposite sides.
Conclusion
Setting up a tent is a fundamental camping skill that, with practice, becomes second nature. By following these steps – from choosing a prime campsite to the final stake-driven anchor – you’re well on your way to creating a secure and comfortable outdoor sanctuary. Remember, a little preparation and attention to detail can make a world of difference in your camping experience. So, next time you head out, confidently pitch your tent and enjoy the adventure! Happy camping!