
Setting up a Coleman tent is a straightforward process with these clear, step-by-step instructions. We cover everything from preparation to the final touches, ensuring a stress-free camping experience. With a little practice, you’ll be able to erect your Coleman tent quickly and efficiently, ready for any outdoor adventure.
Welcome, fellow adventurers! So, you’ve got a brand new Coleman tent, or perhaps you’re dusting off an old faithful for your next camping trip. That’s fantastic! Setting up camp is the first exciting step in any outdoor excursion. But if you’ve ever found yourself wrestling with poles and fabric, looking more confused than a bear in a library, this guide is for you. We’re going to break down exactly how to set up your Coleman tent, making it a breeze for both seasoned campers and absolute beginners.
By the end of this guide, you’ll have the confidence and knowledge to erect your Coleman tent efficiently, ensuring a cozy and secure shelter for your outdoor adventures. We’ll cover everything from selecting the perfect spot to properly packing it away, so you can spend less time struggling with your tent and more time enjoying nature. Let’s get started!
Key Takeaways
- Lay out all your components: Before you start, unpack your tent, poles, stakes, and rainfly to ensure everything is present and accounted for.
- Choose a suitable campsite: Select a flat, clear area away from hazards like dead trees or water runoff to ensure a safe and comfortable setup.
- Assemble the tent body: Follow the tent’s specific instructions, usually involving connecting poles and inserting them into grommets or sleeves.
- Attach the rainfly: Drape the rainfly over the tent body, aligning it correctly, and secure it to the tent poles and stake loops.
- Stake down the tent: Firmly drive stakes into the ground through the tent’s stake loops and guylines for stability and wind resistance.
- Proper storage is key: After use, ensure your tent is clean and completely dry before folding and storing it to prevent mildew and damage.
1. Preparation: The Foundation for Success
Before you even think about unfolding your tent, a little preparation goes a long way. This step is crucial for a smooth setup and ensures you have everything you need.
Unpack and Inspect
Open up your tent bag and carefully lay out all the components. You should typically find:
- The tent body (the main fabric shelter)
- Tent poles (often color-coded for easy assembly)
- Stakes (for securing the tent to the ground)
- The rainfly (for waterproofing and added protection)
- A carry bag
Take a moment to inspect everything for any damage, tears, or missing parts. If you notice anything amiss, now is the time to contact the retailer or Coleman for assistance. It’s also a good idea to familiarize yourself with your specific tent model’s instructions, which are usually found inside the tent bag or on a tag attached to the tent itself.
Gather Your Tools (Optional but Helpful)
While not strictly necessary for most Coleman tents, a few extra items can make setup easier, especially in challenging conditions:
- A small mallet or hammer: This makes driving stakes into harder ground much easier.
- Gloves: Protect your hands from splinters and rough fabric.
- A ground tarp or footprint: This protects the bottom of your tent from abrasion and moisture, extending its lifespan. While not included with every tent, it’s a worthwhile investment.
2. Choosing the Perfect Campsite
The location you choose for your tent can significantly impact your comfort and safety. Think of it as choosing the foundation for your temporary home.
Flat and Clear Ground
Look for a relatively flat area. Sleeping on a slope can be uncomfortable, and rain can pool in low spots. Clear the area of any rocks, twigs, sharp objects, or debris that could puncture your tent floor or make your sleeping surface lumpy. A little effort here prevents a lot of discomfort later.
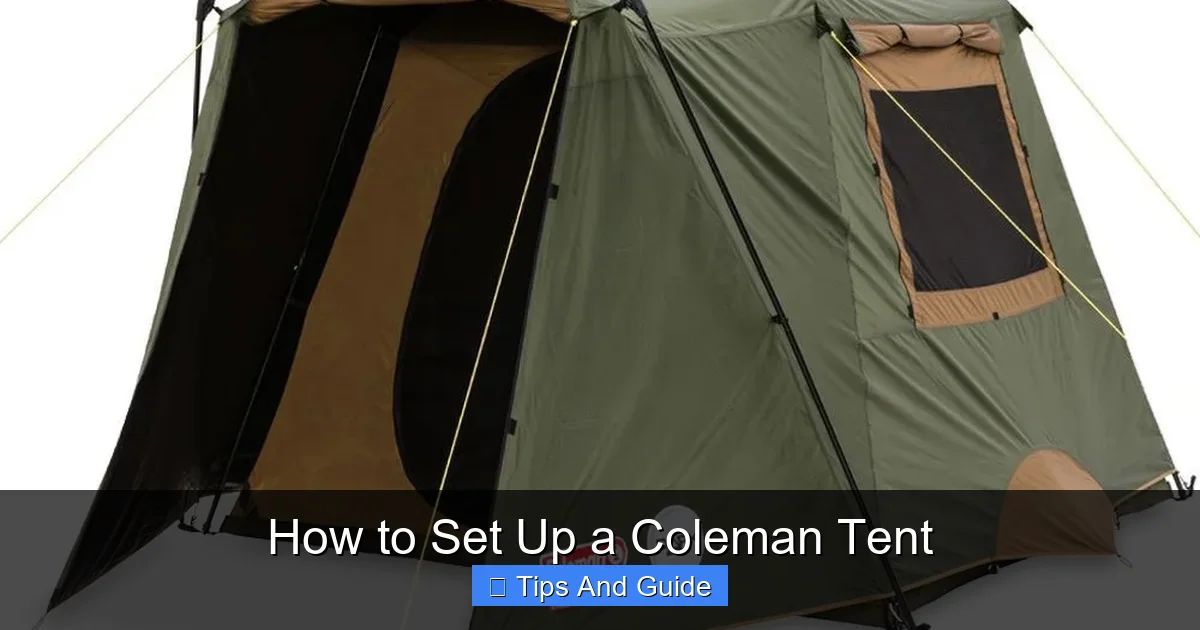
Visual guide about How to Set Up a Coleman Tent
Image source: cdn.snowys.com.au
Away from Hazards
Be mindful of your surroundings. Avoid setting up directly under dead trees or large branches that could fall. Also, steer clear of dry creek beds or areas that might flood if it rains heavily. Look for natural windbreaks, like bushes or small hills, but ensure they don’t pose a risk.
Consider Sun and Wind
Think about the direction of the sun. In hot weather, setting up so your tent entrance faces away from the morning sun can keep it cooler for longer. In colder weather, morning sun can help warm your tent. Consider prevailing wind direction; positioning your tent’s narrower end into the wind can reduce drafts.
3. Setting Up the Tent Body
This is where your tent starts to take shape! Most dome tents follow a similar pole-and-sleeve or clip-system structure.
Lay Out the Tent Floor
Unroll your tent body and lay it flat on your chosen campsite. Ensure the floor is oriented correctly, with the door(s) facing the direction you want. If you’re using a ground tarp or footprint, lay it down first, then place the tent on top of it.
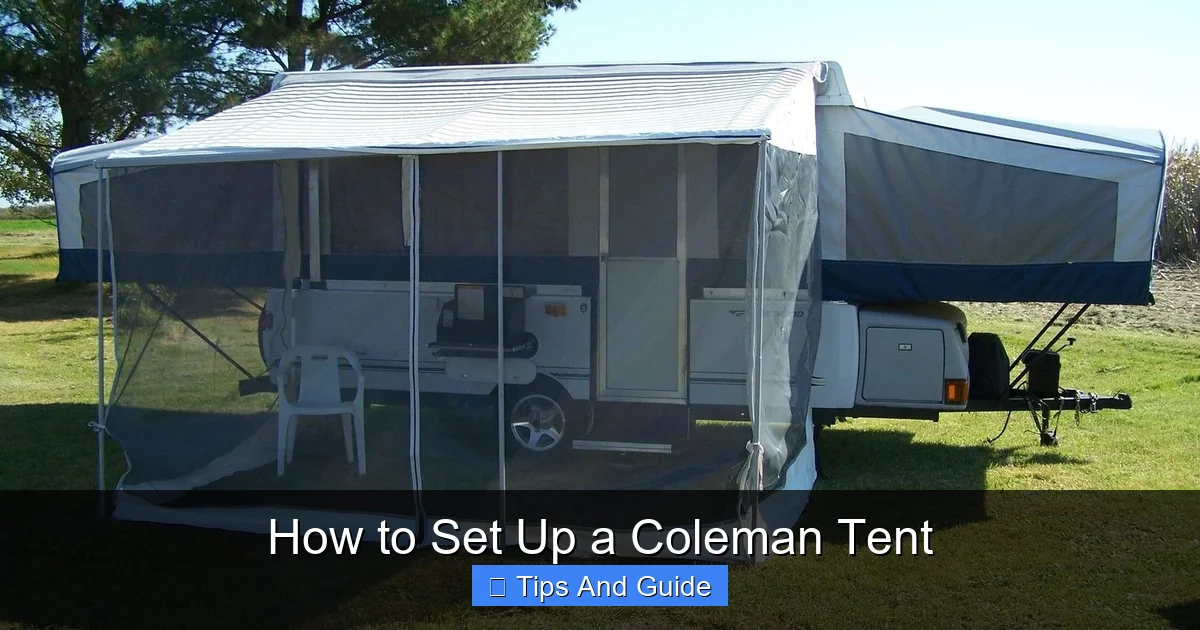
Visual guide about How to Set Up a Coleman Tent
Image source: i.pinimg.com
Assemble the Poles
Most tent poles are shock-corded, meaning they snap together easily when you align the sections. Connect all the pole sections for each pole until they form a single, sturdy rod. Pay attention to any color-coding on the poles and the tent sleeves or grommets – this is a major clue for proper assembly.
Insert Poles into Sleeves or Attach to Clips
This step can vary depending on your Coleman tent model. The most common methods are:
Method A: Poles Through Sleeves
Locate the fabric sleeves on the outside of your tent body. Carefully thread each pole through its corresponding sleeve. It’s often easier to thread the pole from one end and have a helper guide it from the other, or to gently bend the pole as you push it through.
Method B: Poles Connected by Clips
Some modern tents use a clip system. In this case, lay the poles across the tent body in the designated positions. Then, attach the tent fabric clips to the poles. This method is often faster.
Secure Poles to Tent Corners
Once the poles are threaded or clipped, you’ll need to secure them to the tent corners. Look for metal grommets (small rings) at each corner of the tent floor. Insert the end of the tent pole into these grommets. You might need to bend the pole slightly to fit. This tension is what gives the tent its dome shape.
Tip: If your tent has an X-shaped pole structure (common for 2-pole dome tents), you’ll often insert one pole into the corner grommets, then cross it over to the opposite corner. The second pole is threaded similarly. Ensure the poles are crossed correctly to create the dome shape.
With the poles in place, your tent should now stand up on its own, resembling a basic dome or tunnel.
4. Attaching and Securing the Rainfly
The rainfly is your tent’s primary defense against rain and dew. Proper attachment is essential for waterproofing and stability.
Drape the Rainfly
Carefully lift your rainfly and drape it over the erected tent body. Pay close attention to the orientation. The rainfly is designed to fit in a specific way, usually with the door opening(s) of the rainfly aligning with the door(s) of the tent body. Color-coding on the rainfly and tent can help with this.
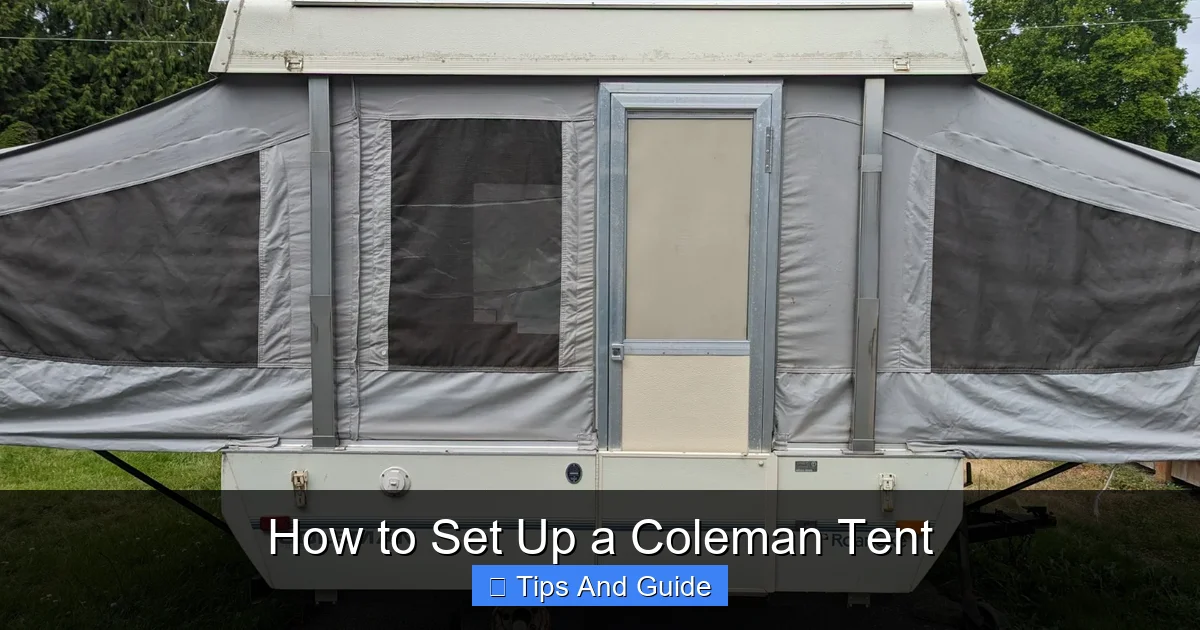
Visual guide about How to Set Up a Coleman Tent
Image source: res.cloudinary.com
Secure the Rainfly to the Poles or Tent Body
Most rainflies attach in a few key places:
- Buckles or Clips: Many Coleman tents use quick-release buckles or clips that attach the rainfly to the ends of the tent poles, usually at the corners.
- Velcro Straps: You’ll often find Velcro straps on the underside of the rainfly that wrap around the tent poles. These add extra support and help keep the rainfly taut.
- Tie-outs: Some rainflies have tie-out points that can be secured to the tent poles or directly to the tent body for added stability.
Ensure the rainfly is pulled taut and covers the tent body evenly. This prevents water from pooling and running into the tent.
5. Staking Down Your Tent
Staking is what keeps your tent anchored securely to the ground, especially in windy conditions.
Stake the Tent Corners
Locate the stake loops or grommets around the base of your tent. Insert a stake through each loop and drive it into the ground at an angle (about 45 degrees) pointing away from the tent. This angle helps the stake resist pulling out.
Tip: If the ground is very hard, you might need to use a rock or your mallet to gently tap the stakes in. For soft or sandy ground, you might need to use longer stakes or weigh them down with rocks.
Stake Out the Guylines
Most tents come with guylines – extra cords that attach to the tent or rainfly and extend outwards. These are crucial for stability in wind and for creating tension in the rainfly to prevent water from collecting. Stake out each guyline, ensuring they are taut and positioned to pull the rainfly away from the tent body, creating ventilation and preventing drips.
Tip: When staking guylines, imagine where the wind is coming from and position the guyline to best resist it. Some tents have adjustable guyline tensioners, which are very useful.
6. Final Touches and Interior Setup
With the tent structure secure, you’re almost there!
Open Vents
Most Coleman tents have built-in ventilation systems, often in the form of mesh windows or vents. Open these up to allow for airflow and reduce condensation inside the tent, especially if you’re camping in humid conditions or expect a lot of people inside.
Organize Your Interior
Bring your sleeping bags, pads, and any other gear inside. Many tents have interior pockets for storing small items like flashlights, phones, and keys. Make your sleeping area comfortable and functional.
Troubleshooting Common Issues
Even with the best intentions, things can sometimes go wrong. Here are a few common issues and how to fix them:
Tent Poles Won’t Go Through Sleeves
Problem: The poles are catching or bending.
Solution: Ensure you’re using the correct pole for the sleeve. Try gently twisting the pole as you push it through. If it’s a stubborn sleeve, try a different angle or have a helper guide it. Don’t force it, as this can tear the fabric.
Rainfly Not Fitting Properly
Problem: The rainfly seems too small or is misaligned.
Solution: Double-check that you have the rainfly oriented correctly. The door openings should match. Make sure all buckles or clips are attached, and that Velcro straps are secured. Sometimes, slightly adjusting the tension on the tent poles can help the rainfly settle into place.
Stakes Pulling Out
Problem: Stakes aren’t holding in soft ground.
Solution: Use longer stakes if possible. Try burying the stake horizontally in the ground, or place a rock on top of the stake to add weight. In very windy conditions, you may need to reinforce stakes with additional rocks or tie them to heavy objects.
Condensation Inside the Tent
Problem: The inside of the tent feels damp.
Solution: This is common, especially in humid weather or when multiple people are breathing inside. Ensure all vents are open for maximum airflow. If possible, pitch your tent away from direct water sources. Using a ground tarp can also help prevent moisture from seeping up from the ground.
Packing Up Your Coleman Tent
When your trip is over, proper packing is just as important as setting up.
Clean and Dry
The most crucial step is to ensure your tent is completely dry before packing it away. Hang it up, ideally outdoors if the weather permits, or in a large indoor space. Brush off any dirt, leaves, or debris. If it’s particularly dirty, you can gently wipe it down with a damp cloth (avoid harsh detergents).
Fold Systematically
Once dry, fold your tent logically. Often, folding it into sections that mirror how it was originally packed is easiest. Fold the tent body, then the rainfly, and roll them up together or separately. Wrap the poles and stakes together.
Store Properly
Place the folded tent, poles, and stakes back into their original carry bag. Store the bag in a cool, dry place, away from direct sunlight and extreme temperatures. Avoid storing heavy items on top of the tent bag, which could compress the fabric over time.
Conclusion
Setting up a Coleman tent doesn’t have to be a chore. With a little practice and by following these steps, you’ll become a pro in no time. From choosing the right spot to making sure every stake is firm, each step contributes to a comfortable and secure camping experience. Remember to always check your specific tent’s instructions, as models can vary. Now you’re ready to head out and make some memories under the stars! Happy camping!