
Setting up a canopy tent is a straightforward process when you follow the right steps. This guide breaks down the setup into simple stages, ensuring you can quickly enjoy the shade and shelter your canopy provides. From unfolding the frame to securing the canopy and adding weights, we cover everything you need for a successful setup. Mastering canopy tent setup means more time enjoying your outdoor activities!
Setting up a canopy tent might seem a little daunting at first, especially if it’s your first time. But don’t worry! With a few simple steps, you can have your canopy tent up and ready to provide shade and shelter in no time. This comprehensive guide will walk you through everything you need to know, from unboxing to securing your tent against the elements. We’ll cover the entire process, offering practical tips and advice to make your canopy tent setup as smooth as possible. Whether you’re heading to the beach, a sporting event, a backyard party, or a farmer’s market, knowing how to set up your canopy tent quickly and correctly is essential.
Key Takeaways
- Inspect Components Before Setup: Always check all parts of your canopy tent, including the frame, canopy fabric, and any accessories, before you begin to ensure everything is present and in good condition. This prevents delays and frustration during setup.
- Choose a Suitable Location: Select a flat, clear area free from hazards like overhead branches, sharp objects, or uneven ground. Ensure there’s enough space to fully extend the canopy and secure it properly.
- Unfold the Frame Carefully: Most canopy tents have a scissor-action frame. Gently pull the legs apart to extend the frame, ensuring the central hub rises smoothly. Avoid forcing any parts.
- Attach the Canopy Top: Drape the canopy fabric over the extended frame, aligning the corners and velcro straps. Pull it taut to ensure a snug fit before fully extending the legs.
- Extend the Legs and Lock in Place: Gradually extend each leg of the canopy. Most have push-button mechanisms or sliders to lock the height. Ensure each leg is securely locked at your desired height.
- Secure the Canopy with Stakes and Ropes: Use the provided stakes to anchor the canopy legs to the ground. For added stability, especially in windy conditions, attach guy ropes to the frame and stake them out away from the tent.
- Use Weights for Extra Stability: For surfaces where staking isn’t possible (like decks or pavement), use sandbags or water weights on each leg to prevent the canopy from blowing away.
Before You Start: Preparation is Key
Before you even think about unfolding your canopy, a little preparation goes a long way. This initial step ensures you have all the necessary components and a clear plan.
Unpack and Inspect All Components
Open the carrying bag and carefully remove all the parts. Lay them out so you can see everything. You should typically have:
- The main canopy fabric (the top).
- The collapsible frame (often referred to as the scissor-action mechanism).
- Legs and support poles.
- Stakes and guy ropes for anchoring.
- A carrying bag.
Take a moment to check for any damage. Look for tears in the fabric, bent or broken frame pieces, or missing parts. If you find anything wrong, contact the manufacturer immediately. It’s much easier to deal with issues before you’re out at your event and need the canopy!
Choose the Perfect Spot
Where you set up your canopy tent is crucial for its stability and your comfort. Consider these factors:
- Level Ground: A flat surface is essential. Uneven ground can cause the canopy to be lopsided, put stress on the frame, and make it harder to secure properly.
- Clearance: Make sure the area is free of overhead obstructions like low-hanging branches, power lines, or any other potential hazards. Also, ensure there’s enough space around the tent for people to walk and for the tent to be fully deployed without hitting anything.
- Wind Direction: If you anticipate wind, try to position the canopy so that the wind hits it from the side rather than the front or back, which can create more drag.
- Sun Exposure: Think about where the sun will be throughout the day and position your canopy for maximum shade coverage.
Step-by-Step Canopy Tent Setup
Now that you’re prepared, let’s get to the actual setup. Most canopy tents are designed for quick and easy assembly, often referred to as “pop-up” tents.
Step 1: Unfold the Frame
This is where the “pop-up” magic happens. Your canopy frame will likely be a central hub with legs that extend outward in a scissor-like fashion.
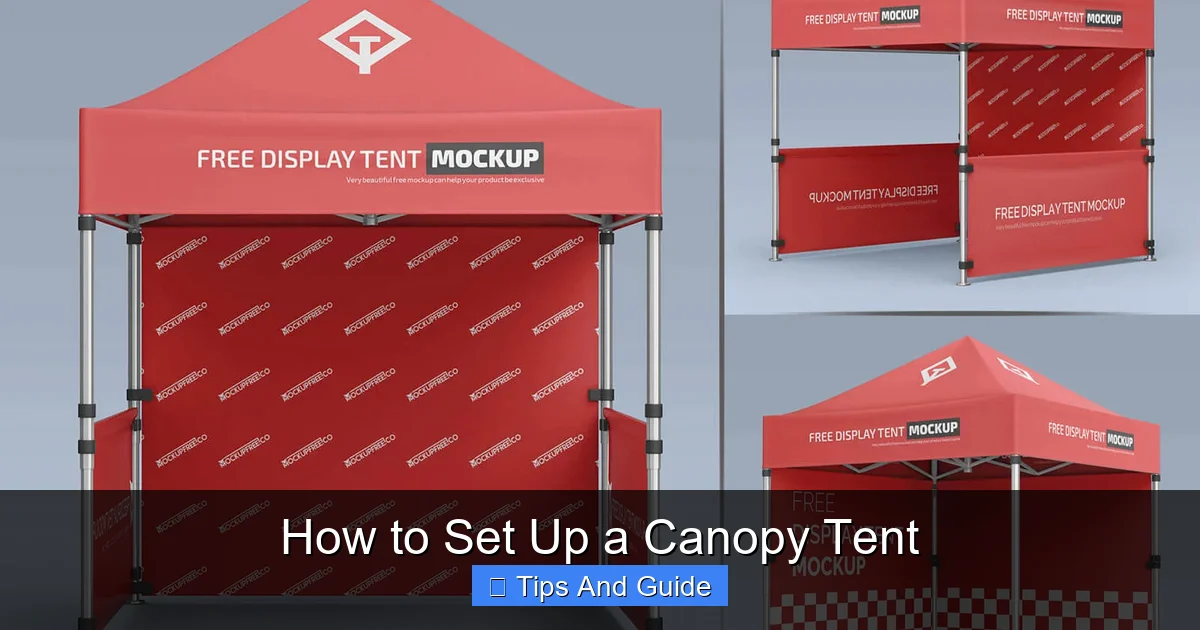
Visual guide about How to Set Up a Canopy Tent
Image source: goodmockups.com
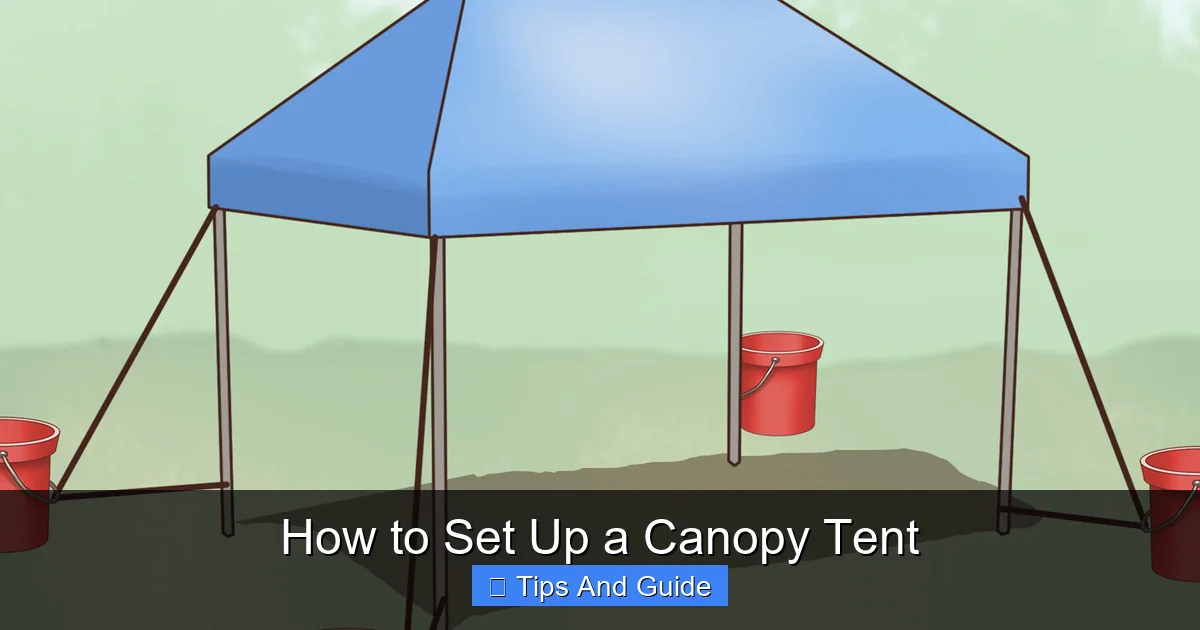
Visual guide about How to Set Up a Canopy Tent
Image source: wikihow.com
Gently Pull the Legs Apart
Start by placing the folded frame on your chosen spot. Grasp two opposite legs near the bottom and gently pull them apart. As you pull, you’ll see the frame begin to expand, and the central hub should start to rise.
Tip: Don’t force anything! If it feels stiff, check that no locking pins are engaged or that no parts are obstructed. Some frames have a small central release button or lever you might need to press.
Raise the Central Hub
Continue pulling the legs apart until the frame is partially extended. You’ll notice a central hub or peak where the fabric will eventually attach. Depending on your model, this hub may automatically rise as you pull the legs apart, or you might need to push it upwards manually. Once the frame is extended to a point where it stands on its own, but not fully, proceed to the next step.
Step 2: Attach the Canopy Top
With the frame partially extended, it’s time to put on the cover. This is much easier to do before the legs are fully extended.
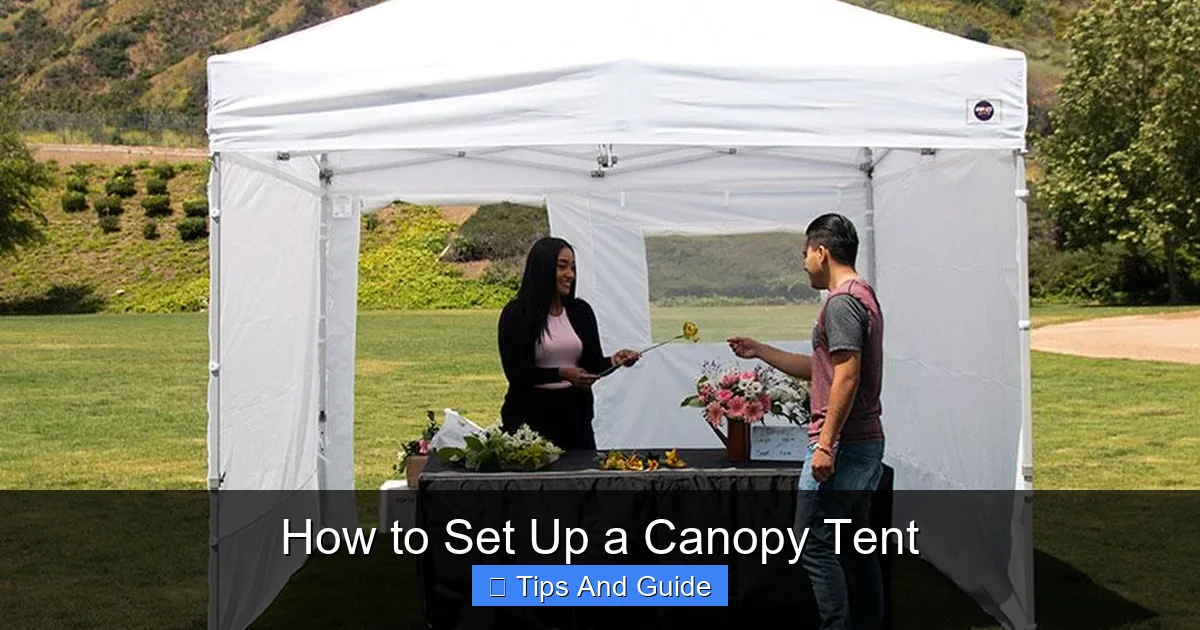
Visual guide about How to Set Up a Canopy Tent
Image source: impactcanopy.ca
Drape the Canopy Fabric Over the Frame
Take the folded canopy top and carefully unfold it. Drape it over the partially extended frame so that the center of the fabric rests on the central hub of the frame. Make sure the corners of the fabric are roughly aligned with the corners of the frame.
Secure the Velcro Straps
Most canopy tops have velcro straps or loops on the inside, located at each corner and along the sides. These straps are designed to attach to the frame legs and poles. Go around the canopy and securely fasten all the velcro straps. This will help keep the fabric taut and prevent it from shifting as you continue the setup.
Step 3: Extend the Legs to Full Height
Now it’s time to get your canopy to its full height and provide maximum coverage.
Extend Each Leg Gradually
Go to each leg of the canopy. You’ll typically find a mechanism to extend the legs, usually a push-button or a slider. For push-button mechanisms, press the button and pull the leg section down until it clicks into place at your desired height. For sliders, you might need to loosen a knob, slide the leg, and then retighten.
Important: Extend each leg incrementally. It’s best to extend all legs to the same height for a level canopy. Most canopies have multiple height settings. Choose the height that best suits your needs. For example, if you’re looking for a canopy with ample headroom, check out options for a best pop up tent you can stand up in.
Ensure Legs are Locked
Double-check that each leg is securely locked into its chosen position. A loose leg can cause the canopy to collapse or become unstable. You should hear a distinct ‘click’ when the mechanism locks properly.
Step 4: Anchor Your Canopy Tent
This is a critical step for safety and stability, especially if there’s any wind. Never skip this step!
Use Stakes for Ground Anchoring
Most canopy tents come with stakes. Locate the loops or holes at the bottom of each leg. Drive a stake through each loop and into the ground. Make sure the stakes are driven in deep enough to provide a firm hold. If the ground is hard, you might need a mallet or hammer to help drive them in.
Utilize Guy Ropes for Wind Protection
If your canopy came with guy ropes, attach them to the designated points on the frame (usually at the top corners or along the frame arms). Extend the ropes outwards and away from the canopy, staking them securely into the ground. This creates an additional layer of support and helps to pull the canopy fabric taut, reducing the surface area that wind can catch.
For events like farmers’ markets or craft shows, where stability is paramount, consider looking at what makes a best pop up tent for farmers market so reliable. Similarly, for outdoor parties, a sturdy canopy is key. If you’re hosting an event, you might want to explore options for a best pop up tent for party.
Step 5: Add Weights (If Necessary)
If you’re setting up on a surface where you can’t stake the tent, such as concrete, asphalt, or a wooden deck, weights are essential for stability.
Use Sandbags or Water Weights
Place sandbags or water weights on each leg of the canopy. Ensure they are heavy enough to counteract any wind forces. You can purchase specialized canopy weights, or use heavy objects like concrete blocks or large water containers. A common recommendation is at least 40-50 lbs per leg for moderate wind conditions.
Troubleshooting Common Setup Issues
Even with a simple setup, you might encounter a few snags. Here’s how to handle them:
Frame Won’t Extend Smoothly
Problem: The scissor mechanism is stiff or won’t move freely.
Solution: Check for any locking pins that might still be engaged. Ensure that the legs are aligned correctly and not twisted. Sometimes a little wiggling or a gentle push can free up a stuck joint. If it’s a persistent issue, the frame might need lubrication, or there could be a bent part.
Canopy Fabric is Sagging
Problem: The top is not taut and is drooping.
Solution: First, ensure all velcro straps are securely fastened to the frame. Then, check that all legs are extended to the same height and are properly locked. Sometimes, the canopy fabric needs a bit of stretching. If it’s a new tent, the fabric might just need a few setups to stretch out.
Canopy Feels Wobbly
Problem: The tent feels unstable and sways easily.
Solution: This is almost always an anchoring issue. Make sure your stakes are driven deep and securely. If using guy ropes, ensure they are taut and staked out properly. If on a hard surface, add more weight to the legs. Never assume a canopy is stable without proper anchoring or weighting.
Packing Up Your Canopy Tent
Packing up is essentially the reverse of setting up, but with a few extra considerations to keep your canopy in good condition.
Detach Anchoring and Weights
First, remove all stakes, guy ropes, and weights. Make sure the area around the canopy is clear.
Retract the Legs
Carefully unlock each leg and retract them to their shortest position. Ensure the buttons or sliders are fully engaged in their retracted state.
Collapse the Frame
With the legs retracted, the frame will naturally want to fold back up. Gently push the central hub downwards or pull the legs inwards. It should fold back into its original compact state. If it’s stiff, double-check that all locking mechanisms are released.
Fold the Canopy Top
Once the frame is collapsed, carefully fold the canopy fabric. Try to fold it neatly to prevent creases and make it easier to store.
Store in the Bag
Place the collapsed frame and folded canopy fabric into the carrying bag. Zip it up securely. Make sure no part of the frame is sticking out, as this could damage the bag or the tent during transport.
Final Tips for Canopy Tent Success
* Read the Manual: Every canopy tent is slightly different. Always read the manufacturer’s specific instructions.
* Practice at Home: If you have time, practice setting up and taking down your canopy tent in your backyard before your first event. This will save you stress on the day.
* Consider Accessories: Depending on your needs, you might want to invest in accessories like sidewalls for extra protection from sun, rain, or wind, or a best pop up tent heater for cooler weather.
* Regular Maintenance: After use, clean your canopy fabric and frame, especially if it’s been exposed to dirt or moisture. Ensure it’s completely dry before storing to prevent mold and mildew.
* Be Mindful of Weather: While canopy tents offer protection, they are not designed for severe weather. High winds, heavy rain, or thunderstorms can damage or blow away even well-anchored tents. If the weather turns severe, it’s often best to take the tent down. If you’re worried about wind, exploring a best pop up tent for wind might be a good idea.
Conclusion
Setting up a canopy tent is a valuable skill for anyone who enjoys outdoor activities. By following these step-by-step instructions and keeping our practical tips in mind, you can confidently set up your canopy tent quickly and efficiently. Remember to always prioritize safety by anchoring your tent securely, and enjoy the comfort and convenience your canopy provides for all your outdoor adventures. Happy sheltering!