
Setting up a camping tent might seem daunting, but with this guide, you’ll be a pro in no time! We’ll walk you through each step, from choosing the right spot to securing your shelter. Learn essential techniques and troubleshooting tips to ensure a comfortable and secure camping experience.
So, you’re ready for an adventure! Camping is an amazing way to connect with nature and de-stress. But before you can relax by the campfire, you need to set up your home away from home: your tent. Many people find tent setup a bit intimidating at first, but it’s actually quite straightforward once you know the steps. This guide will teach you everything you need to know to set up your camping tent with confidence, from choosing the perfect spot to securing it against the elements. By the end, you’ll be pitching a tent like a seasoned pro.
Key Takeaways
- Choose the Right Campsite: Select a flat, well-drained area away from hazards like dead trees or ant hills.
- Organize Your Tent Components: Lay out all parts of your tent and identify poles, stakes, and the rainfly before starting.
- Lay Out the Tent Body: Spread the tent body flat on your chosen spot, ensuring it’s oriented correctly with the door facing the desired direction.
- Assemble the Poles: Connect the tent poles according to their specific design, paying attention to color-coding or labels.
- Insert Poles and Raise the Tent: Thread the poles through the tent sleeves or attach them to clips, then gently lift to erect the tent structure.
- Stake Down the Tent: Secure the tent to the ground using stakes, angling them away from the tent for maximum holding power.
- Attach the Rainfly: Drape the rainfly over the tent and secure it to the poles and tent body, ensuring proper tension and ventilation.
Step 1: Choose Your Campsite Wisely
The foundation of a great camping trip starts with choosing the right spot for your tent. A good location can make the difference between a peaceful night’s sleep and a frustrating one.
Assess the Ground
Look for a spot that is as flat and level as possible. Sleeping on a slope is uncomfortable and can cause you to slide down during the night. Also, consider the drainage. Avoid low-lying areas that might collect water if it rains. If possible, choose a spot that’s slightly elevated.
Check for Hazards
Scan your surroundings for potential dangers. Keep an eye out for:
- Dead trees or branches (widowmakers): These can fall and cause serious injury or damage to your tent.
- Ant hills or insect nests: Nobody wants an unexpected infestation.
- Rocky or root-filled ground: These can puncture your tent floor or make sleeping uncomfortable.
- Water sources: While a nearby stream can be pleasant, camping too close can attract more insects and is often prohibited for environmental reasons.
Consider the Sun and Wind
Think about where the sun will be throughout the day. In hot weather, some shade can be a lifesaver. In cooler weather, morning sun can help warm up your tent. Also, consider prevailing winds. Positioning your tent’s entrance away from the wind can reduce drafts.
Clear the Area
Once you’ve found the ideal spot, take a few minutes to clear the immediate area where your tent will be. Remove any small rocks, twigs, pinecones, or sharp debris that could damage your tent floor or make sleeping uncomfortable. This simple step can save you a lot of hassle later.
Step 2: Unpack and Organize Your Tent
Before you start wrestling with poles, it’s crucial to get organized. This saves time and prevents frustration, especially if you’re setting up in fading light.
Lay Out All Components
Carefully unpack your tent from its bag. Lay out all the pieces so you can see them clearly. This typically includes:
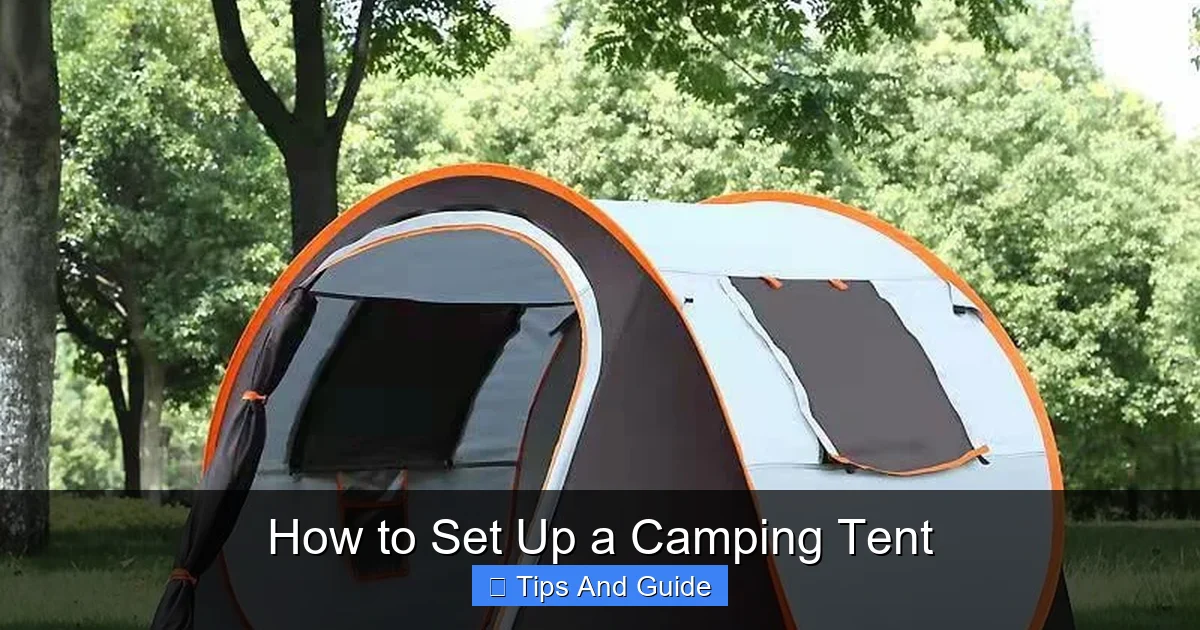
Visual guide about How to Set Up a Camping Tent
Image source: i5.walmartimages.com
- The tent body
- The rainfly
- Tent poles
- Stakes
- Guylines (if separate)
- Any extra gear like a footprint or ground tarp
Identify and Inspect
Familiarize yourself with each part. Check for any damage, such as tears, broken poles, or missing stakes. If you find any issues, it’s best to address them before your trip. Make sure all poles are present and that the shock cord inside them is intact.
Understand Your Tent’s Design
Different tents have different setup methods. Many modern tents use color-coded poles and sleeves or clips. Take a moment to look at your tent’s instructions or diagrams, often printed on the stuff sack or inside the tent itself. Knowing how the poles are meant to connect and where they go will speed up the process.
Step 3: Lay Out the Tent Body
This is where your tent starts to take shape. Properly positioning the tent body is key.
Find the Door
Identify the main door of your tent. You’ll want to orient this so it faces the direction you prefer, perhaps towards a scenic view or away from prevailing winds.
Visual guide about How to Set Up a Camping Tent
Image source: moderncampground.com
Spread it Flat
Carefully spread the tent body out on the cleared campsite. Ensure it’s laid flat, without any major wrinkles or twists. If you’re using a footprint or ground tarp (highly recommended to protect your tent floor), place it underneath the tent body now. Make sure the footprint is slightly smaller than the tent floor so it doesn’t channel water underneath.
Step 4: Assemble the Tent Poles
Tent poles are the skeleton of your tent. Assembling them correctly is essential for a sturdy structure.
Connect the Sections
Most tent poles are segmented and connected by a shock cord running through them. Simply pull the sections apart slightly and then push them together to form a complete pole. You’ll feel them “snap” into place. Ensure each segment is fully connected.

Visual guide about How to Set Up a Camping Tent
Image source: thecrazyoutdoormama.com
Follow Color Coding
Many tents use a color-coding system to match poles with specific sleeves or grommets on the tent body. For example, red poles might go into red sleeves. Refer to your tent’s instructions if you’re unsure. The goal is to create the framework that will support the tent fabric.
Step 5: Insert Poles and Raise the Tent
This is often the most exciting step, as your tent begins to stand on its own.
Thread Through Sleeves or Attach to Clips
There are two main methods for attaching poles to tents:
- Sleeves: Carefully slide the poles through the fabric sleeves sewn onto the tent body. Go slowly to avoid snagging the fabric. Sometimes, you might need to bend a pole to get the end into a grommet or pocket at the other end.
- Clips: Some tents have fabric clips that attach to the poles once the poles are positioned. This method is generally faster than threading sleeves.
Bend and Secure
Once the poles are in place, you’ll often need to bend them to fit into grommets, pockets, or clips at the corners of the tent. This creates tension and gives the tent its shape. Be careful not to force the poles, especially if they feel like they’re going in the wrong direction. Gently bend them until they seat properly.
Raise the Tent
With the poles in place, the tent should naturally want to stand up. You might need to gently lift and push the tent upwards as you secure the pole ends. Have a helper hold one side while you secure the other, if possible.
Step 6: Stake Down the Tent
Staking is crucial for keeping your tent secure and stable, especially in windy conditions. It also helps maintain the tent’s shape and tension.
Locate Stake Points
Your tent will have loops or grommets around its base. These are where you insert the stakes.
Angle Your Stakes
Insert the stakes into the ground at an angle, typically about 45 degrees, pointing away from the tent. This provides the strongest hold. Push them in as far as you can. If the ground is hard, you might need to use a rock or a mallet (though a sturdy rock often works just fine).
Use All Stake Points
Don’t skip any stake points! Each one contributes to the tent’s stability. Ensure the tent fabric is pulled taut and free of slack.
Step 7: Attach the Rainfly
The rainfly is your tent’s waterproof shield. It’s vital for keeping you dry and can also provide ventilation.
Drape the Rainfly
Carefully drape the rainfly over the erected tent. Make sure it’s oriented correctly – the door of the rainfly should align with the door of your tent. The rainfly is usually designed to cover the tent body and have vents.
Secure the Rainfly
Most rainflies attach to the tent poles or the tent body using buckles, Velcro straps, or ties. Secure these points first. Then, use the attached guylines to further tension the rainfly. Pull the guylines away from the tent and stake them down. Proper tension on the rainfly is essential to prevent water pooling and to ensure adequate airflow.
Check Ventilation
Many rainflies have vents that you can open or close. Opening these vents helps reduce condensation inside your tent, which is crucial for a comfortable camping experience. You can learn more about setting up the best pop up tent for camping by checking out our comprehensive guides.
Step 8: Final Touches and Adjustments
You’re almost there! A few final checks will ensure your tent is ready for occupancy.
Tension Check
Walk around your tent and gently pull on the guylines and tent edges. Ensure everything is taut. A well-tensioned tent will be more stable in wind and less prone to flapping. If you are looking for a tent that is easy to set up in windy conditions, consider exploring options for the best pop up tent for wind.
Inside Inspection
Once inside, check for any protruding poles or sharp objects that might damage your sleeping gear. Make sure the zippers work smoothly. If you’re bringing a comfortable sleeping surface, now is a good time to set up your best camping mattress for tent or sleeping pads.
Add Gear
Now you can bring in your sleeping bags, pillows, and any other camping essentials. Consider using a footprint to protect the tent floor from wear and tear. You might also want to organize your gear using storage pockets or by hanging items. Don’t forget to consider lighting; a good best camping light for tent can make a big difference after dark.
Troubleshooting Common Tent Setup Issues
Even with practice, you might encounter a few snags. Here are some common problems and how to fix them.
Tent Poles Won’t Fit
Problem: The poles seem too long or won’t bend into place.
Solution: Double-check that you are using the correct poles for the correct sleeves or clips. Ensure the segments are fully connected. Sometimes, a pole might be slightly twisted; try rotating it to see if it fits better. Refer to your tent’s instructions.
Rainfly Won’t Cover Properly
Problem: The rainfly doesn’t align with the tent doors or is too loose/tight in some areas.
Solution: Make sure you have the rainfly oriented correctly. Check that all buckles, straps, and Velcro are attached as designed. Adjust the tension on the guylines. If it’s still not fitting, re-check that the tent poles are correctly seated and the tent body is properly tensioned.
Stakes Won’t Go In
Problem: The ground is too hard for the stakes.
Solution: Use a rock to gently hammer the stakes in. If you have a mallet, use that. If the ground is extremely rocky or compacted, try repositioning the tent slightly to a softer spot if possible. In very tough conditions, some campers use heavy rocks to secure the tent corners instead of stakes.
Condensation Inside the Tent
Problem: Moisture is forming on the inside walls of the tent.
Solution: This is often due to poor ventilation. Open the vents on your rainfly fully. Try to avoid touching the tent walls, as body heat and breathing can contribute to condensation. If you have a rainfly that separates from the tent body, ensure there’s good airflow between them. For this reason, many prefer a well-designed best pop up tent waterproof model which also allows for good ventilation.
Conclusion
Setting up a camping tent is a fundamental skill for any outdoor enthusiast. By following these step-by-step instructions, you can ensure your tent is erected correctly, providing a safe, comfortable, and dry shelter for your adventures. Remember to choose your campsite wisely, organize your gear, and take your time. With a little practice, you’ll find tent setup becomes an easy and even enjoyable part of the camping experience. Happy camping!