
Don’t let a leaky tent ruin your camping trip! This comprehensive guide provides step-by-step instructions on how to effectively re-waterproof your tent, ensuring you stay dry and comfortable in any weather. Learn how to clean, identify leaks, and apply waterproofing treatments for lasting protection. Extend the life of your tent and enjoy your outdoor adventures with confidence!
How to Re Waterproof a Tent
Camping is an incredible way to connect with nature, experience new places, and create lasting memories. But the enjoyment of any camping trip hinges on one critical factor: staying dry. A well-maintained, waterproof tent is your sanctuary against the elements. Over time, however, even the best tents can lose their water-repellent qualities due to wear and tear, UV exposure, and general use. This guide will walk you through the essential steps to re-waterproof your tent, ensuring you remain snug and dry on your future adventures. We’ll cover everything from cleaning and inspection to application and maintenance.
Key Takeaways
- Thorough Cleaning is Crucial: Always start by thoroughly cleaning your tent to remove dirt, debris, and mildew, which can prevent waterproofing treatments from adhering properly.
- Inspect for Damage: Before re-waterproofing, carefully inspect your tent for any rips, tears, or seam damage that need to be repaired first.
- Choose the Right Waterproofing Product: Select a waterproofing spray or sealant specifically designed for tent fabrics (nylon, polyester, canvas) to ensure compatibility and effectiveness.
- Apply Evenly and Test: Apply the waterproofing agent in thin, even coats, and allow adequate drying time between applications. A simple water test will confirm if the treatment has been successful.
- Don’t Forget the Seams: Pay special attention to seams, as these are common areas where water can penetrate. Use seam sealer for added protection.
- Proper Drying and Storage: After treatment, ensure your tent is completely dry before storing it to prevent mold and mildew growth, which can degrade the fabric and its waterproofing.
Why Re-Waterproof Your Tent?
Tent manufacturers apply a Durable Water Repellent (DWR) coating to the fabric, and often seam tape, to keep water out. Over time, this coating wears off. Factors like abrasion from being packed and unpacked, exposure to sunlight, dirt, and even certain cleaning products can degrade this protective layer. When water no longer beads up and rolls off the fabric but instead soaks in, it’s a clear sign your tent needs a refresh. Re-waterproofing not only keeps you dry but also protects the tent fabric from mildew and further damage, extending its lifespan. It’s a proactive measure that can save you from a soggy, uncomfortable experience and the cost of buying a new tent sooner than necessary.
Step 1: Preparation is Key
Before you can effectively re-waterproof your tent, proper preparation is crucial. This involves gathering your supplies and preparing your workspace.
Gather Your Supplies
Having everything you need on hand will make the process much smoother. Here’s what you’ll likely need:

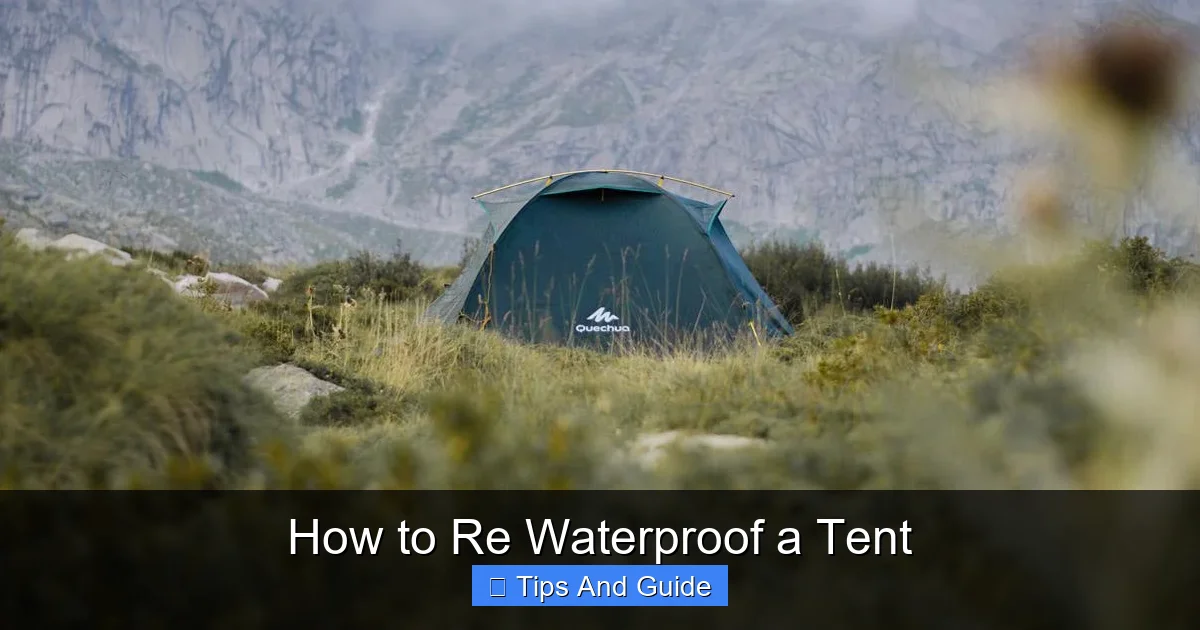
Visual guide about How to Re Waterproof a Tent
Image source: besttentreviews.com
- Tent Cleaner: A mild, specialized tent cleaner or a gentle, unscented soap. Avoid harsh detergents.
- Waterproofing Treatment: Choose a product specifically designed for outdoor fabrics like nylon, polyester, or canvas. These come in spray or liquid/paste forms. Common brands include Nikwax, Scotchgard, and Granger’s.
- Seam Sealer: If your tent seams show signs of leakage or wear.
- Soft Brushes or Sponges: For cleaning.
- Clean Cloths or Towels: For wiping and drying.
- Bucket or Basin: For washing.
- Water Source: A hose or tap.
- Gloves: To protect your hands from the cleaning and waterproofing solutions.
- Mask: If you’re sensitive to fumes from waterproofing sprays.
- Drop Cloth or Tarp: To protect the ground if you’re working outdoors.
Choose Your Workspace
Find a well-ventilated area. If possible, work outdoors on a calm, dry day. A garage with open doors or a large, covered patio can also work. Lay down a drop cloth or tarp to protect the surface from cleaning agents and waterproofing treatments.
Step 2: Thoroughly Clean Your Tent
A clean tent is essential for the waterproofing treatment to adhere properly. Dirt, grime, and mildew can create barriers that prevent the treatment from working effectively.
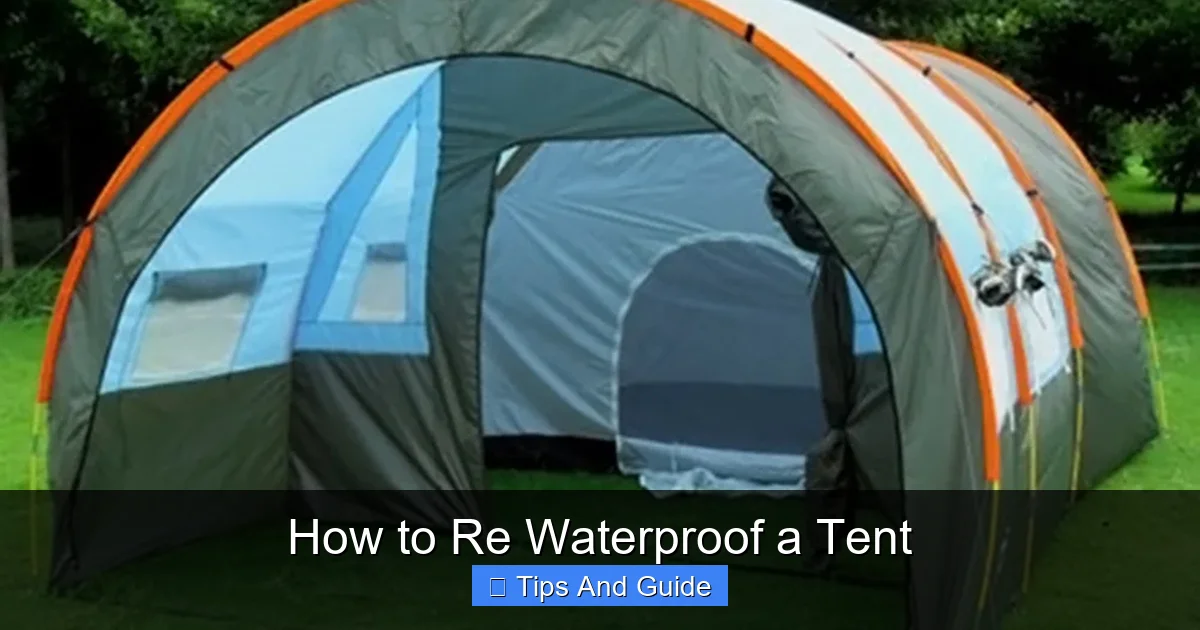
Set Up Your Tent
Pitch your tent completely, just as you would when camping. This allows you to access all surfaces and seams easily and ensures you’re treating the tent in its natural form, not bunched up.
Visual guide about How to Re Waterproof a Tent
Image source: kevmrc.com
Initial Brushing and Wiping
Start by brushing off any loose dirt, leaves, or cobwebs. Use a soft brush or a dry cloth. Pay attention to areas that tend to accumulate debris.
Washing the Fabric
Follow the instructions on your chosen tent cleaner. Generally, you’ll mix the cleaner with water in a bucket. Use a sponge or soft cloth to gently wash the tent fabric. Work in sections, ensuring you don’t miss any areas. For stubborn stains or mildew, you might need a slightly more concentrated solution or a dedicated mildew remover, but always test on an inconspicuous area first.
Tip: If using soap, ensure it’s unscented and mild. Strong detergents can strip away any remaining DWR. Rinse thoroughly to remove all soap residue.
Rinsing
Rinse the tent meticulously with clean water. Use a hose on a gentle setting or a bucket of clean water. Ensure all soap residue is washed away, as any leftover suds can interfere with the waterproofing application.
Drying
Allow the tent to air dry completely. This can take several hours, or even a full day, depending on the weather. It’s critical that the tent is bone dry before proceeding to the waterproofing step. Hanging it up or leaving it pitched in a well-ventilated area is ideal.
Step 3: Inspect for Damage and Repair
While your tent is clean and dry, it’s the perfect time to conduct a thorough inspection for any damage that needs repair before you apply waterproofing.
Check for Rips and Tears
Carefully examine the tent fabric, especially around stress points like guy-out loops, zippers, and pole sleeves. Look for any small holes, tears, or worn areas.
Visual guide about How to Re Waterproof a Tent
Image source: instudio.mabangapp.com
Inspect Seams
Run your fingers along all the seams. Check if the stitching is intact and if the seam tape (if present) is peeling or damaged. Seams are a common weak point for water ingress.
Zipper and Pole Condition
Ensure zippers are functioning smoothly and haven’t pulled away from the fabric. Check the poles and connectors for any cracks or damage.
Perform Repairs
Small rips and tears can often be repaired with a patch kit or strong fabric tape designed for outdoor gear. For seam issues, you’ll need to reapply seam sealer. If zippers are damaged beyond repair, consider professional repair or replacement.
Example: If you find a small tear in the flysheet, clean the area around it, then apply a patch from your tent repair kit according to its instructions. For seams, remove any old, peeling tape and apply a new layer of seam sealer.
Step 4: Apply the Waterproofing Treatment
This is the core step of re-waterproofing your tent. The method will depend on the type of product you’ve chosen.
Choose the Right Product
Waterproofing Sprays: These are easy to use and good for applying a light, even coat to the entire tent fabric. They are excellent for DWR renewal.
Waterproofing Liquids/Pastes: These often provide a more durable and potentially thicker coating. They might be better for older tents or fabrics that have lost significant water repellency.
Always read the product label to ensure it’s suitable for your tent’s material (e.g., nylon, polyester, canvas). For a tent that’s in good condition but needs a DWR refresh, a spray is usually sufficient. If the fabric feels like it’s absorbing water even after cleaning, a liquid treatment might be more beneficial. Consider looking into the best budget waterproof tent options if you’re considering an upgrade, but for existing tents, renewal is key.
Prepare Your Workspace (Again)
Ensure your tent is pitched or laid out flat in your well-ventilated workspace. If using a spray, you might want to protect the inside of the tent from overspray by closing windows and doors.
Application Process
For Waterproofing Sprays:
H3: Spray Application
- Shake the can well.
- Hold the can about 6-8 inches away from the fabric.
- Apply in long, even strokes, working in sections. Overlap each stroke slightly to avoid missed spots.
- Ensure you cover the entire exterior fabric of the tent, including the flysheet, floor, and even the inner tent walls if desired (though the primary focus is usually the flysheet and floor).
- Wipe away any excess drips immediately with a clean cloth.
- Allow the first coat to dry according to the product instructions.
- Apply a second, light coat if recommended by the manufacturer, ensuring even coverage.
For Waterproofing Liquids/Pastes:
H3: Liquid/Paste Application
- Follow the manufacturer’s instructions carefully. Some require dilution with water, others are applied neat.
- Use a sponge, cloth, or applicator pad to apply the liquid or paste evenly over the fabric.
- Work in manageable sections, applying a thin, uniform layer.
- Avoid over-application, which can lead to a sticky or uneven finish.
- Allow the treatment to soak into the fabric as directed.
- Some products may require gentle brushing to ensure even distribution.
- Remove any excess product before it dries.
Focus on Seams
Seams are critical points for water penetration. After applying the main waterproofing treatment, pay extra attention to them. If you have seam sealer, apply it generously along the inside or outside of each seam. Ensure it flows into the stitching. Wipe away any excess immediately.
Tip: For tents made of synthetic materials, ensure the fabric is not too cold, as this can affect the spray’s adhesion. A warmer fabric surface often leads to better results.
Step 5: Drying and Curing
Proper drying and curing are just as important as the application itself. This allows the waterproofing treatment to bond effectively with the fabric.
Air Dry Completely
Once the waterproofing treatment is applied, allow the tent to air dry completely. This might take 24-48 hours, depending on the product and humidity. Do not pack up or use the tent while it is still damp or sticky.
Curing Time
Some waterproofing products require a curing period for the treatment to reach its full effectiveness. Check the product instructions for specific curing times. During this period, avoid exposing the tent to harsh conditions or heavy moisture if possible.
Step 6: Testing Your Work
After your tent has fully dried and cured, it’s time to test your re-waterproofing efforts.
The Water Test
Pitch your tent again, ideally in an area where you can observe water runoff. Gently spray the tent with a hose or use a watering can. Watch how the water behaves. On a properly waterproofed tent, water should bead up and roll off the fabric. If you see water soaking into the fabric or forming large, flat patches, you may need to apply another coat of waterproofing treatment to those areas.
Tip: Pay close attention to seams and stress points during the water test. These are the areas most likely to fail first.
Step 7: Maintenance and Storage
To keep your tent waterproof for as long as possible, proper maintenance and storage are essential.
Regular Cleaning
After each camping trip, clean your tent to remove dirt and debris. A simple wipe-down or rinse is often sufficient. Address any spills or stains promptly.
Proper Drying Before Storage
This cannot be stressed enough: always ensure your tent is completely dry before storing it. Dampness leads to mildew, which damages the fabric and its waterproofing. If you come home from a trip and the tent is damp, pitch it in your yard or hang it up indoors to dry thoroughly.
Store in a Cool, Dry Place
Store your tent loosely in its stuff sack or a breathable storage bag. Avoid tightly packing it into its original small bag for long periods, as this can crease the fabric and damage the coating. Keep it in a cool, dry location away from direct sunlight and extreme temperatures.
Periodic Reapplication
Depending on how often you use your tent and the conditions it’s exposed to, you may need to re-waterproof it every 1-3 years. Watch for signs that water is no longer beading up effectively.
Troubleshooting Common Issues
* Waterproofing Not Adhering: This usually happens if the tent wasn’t clean or dry enough. Try re-cleaning and re-applying.
* Sticky or Uneven Finish: You may have applied too much product. Some products can be rinsed off or gently wiped with a damp cloth after drying, but check product instructions. For some, you might need to wait for it to wear off slightly.
* Persistent Leaks: If despite re-waterproofing, you still have leaks, it might indicate a more significant issue like fabric degradation or damage that requires professional repair or a new tent. Consider options for the best pop-up tent waterproof if it’s time for a replacement.
Conclusion
Re-waterproofing your tent is a rewarding DIY project that will significantly enhance your camping comfort and extend the life of your gear. By following these steps, you can restore your tent’s protective barrier, ensuring it performs reliably season after season. A dry tent means happy campers, and with a little effort, you can guarantee that dryness for all your future outdoor excursions. So, get your tent ready, grab your supplies, and embrace the adventure with confidence, knowing you’re protected from the elements.