
Installing a self-adhesive one-way door tent is a straightforward process. This guide will walk you through each step, ensuring a professional and effective application for added privacy. We’ll cover everything from preparation to finishing touches, so you can enjoy your new, secure space.
How to Put Self Adhesive One Way Door Tent On
Welcome to our comprehensive guide on applying a self-adhesive one-way door tent! If you’re looking to enhance privacy, control light, or simply add a unique aesthetic to a doorway, you’ve come to the right place. These innovative tents are designed for easy installation, offering a quick solution without the need for messy glues or complex tools. Whether you’re looking to create a temporary privacy screen or a more permanent fixture, this guide will equip you with all the knowledge you need to achieve a flawless finish.
We’ll cover everything from understanding what a one-way door tent is to the final touches that ensure your application is both functional and attractive. Get ready to transform your doors with this simple yet effective solution.
Key Takeaways
- Thorough surface preparation is crucial: Clean and dry the door thoroughly to ensure optimal adhesion of the self-adhesive one-way door tent.
- Measure twice, cut once: Precisely measure your door and the tent material to avoid waste and ensure a perfect fit.
- Start from one edge and work across: Gradually peel the backing and apply the tent slowly, smoothing out bubbles as you go.
- Use a squeegee or credit card: This tool is essential for pressing out air bubbles and ensuring a smooth, wrinkle-free finish.
- Trim excess material carefully: Use a sharp utility knife for clean edges and a professional look.
- Allow proper curing time: Let the adhesive set undisturbed for the recommended period before using the door.
Understanding the Self Adhesive One Way Door Tent
Before we dive into the installation process, let’s quickly clarify what a self-adhesive one-way door tent is and why you might want one. Essentially, it’s a specially designed film or material that adheres to the surface of a door using a strong, pre-applied adhesive backing. The “one-way” aspect means that from one side, you can see out, while from the other, it appears opaque, offering significant privacy. This is particularly useful for:
- Privacy: Preventing unwanted views into a room or from outside.
- Light Control: Blocking or diffusing sunlight.
- Aesthetics: Adding a decorative element to a plain door.
- Security: Creating a subtle barrier that deters casual observation.
The self-adhesive nature makes it a DIY-friendly option, suitable for various door types, including those on sheds, garages, or even interior doors where privacy is a concern.
Step 1: Gather Your Tools and Materials
Having the right tools on hand before you start will make the entire process smoother and more efficient. Here’s what you’ll need:
- The Self-Adhesive One Way Door Tent: Ensure you have the correct size for your door.
- Measuring Tape: For accurate door measurements.
- Sharp Utility Knife or Box Cutter: For trimming excess material.
- Squeegee or Credit Card: To smooth out the film and remove air bubbles. A felt-edged squeegee is ideal.
- Cleaning Supplies: Mild soap, water, and a lint-free cloth or paper towels.
- Rubbing Alcohol (Optional but recommended): For a final degreasing of the surface.
- Spray Bottle with Water and a Drop of Dish Soap (Optional): This can be a lifesaver for repositioning the film if needed, especially for larger applications.
- Scraper or Razor Blade (Optional): For removing any stubborn residue from the door.
- Ladder or Step Stool (If necessary): To reach the top of the door safely.
Having all these items ready will prevent you from having to pause your work to find something you forgot.
Step 2: Prepare the Door Surface
This is arguably the most critical step for a successful and long-lasting application. A clean, smooth, and dry surface is essential for the adhesive to bond properly.
Clean the Door Thoroughly
Start by cleaning the door thoroughly. Use a mild soap and water solution to remove any dirt, grime, dust, or old residue. Pay close attention to the edges and any nooks or crannies.
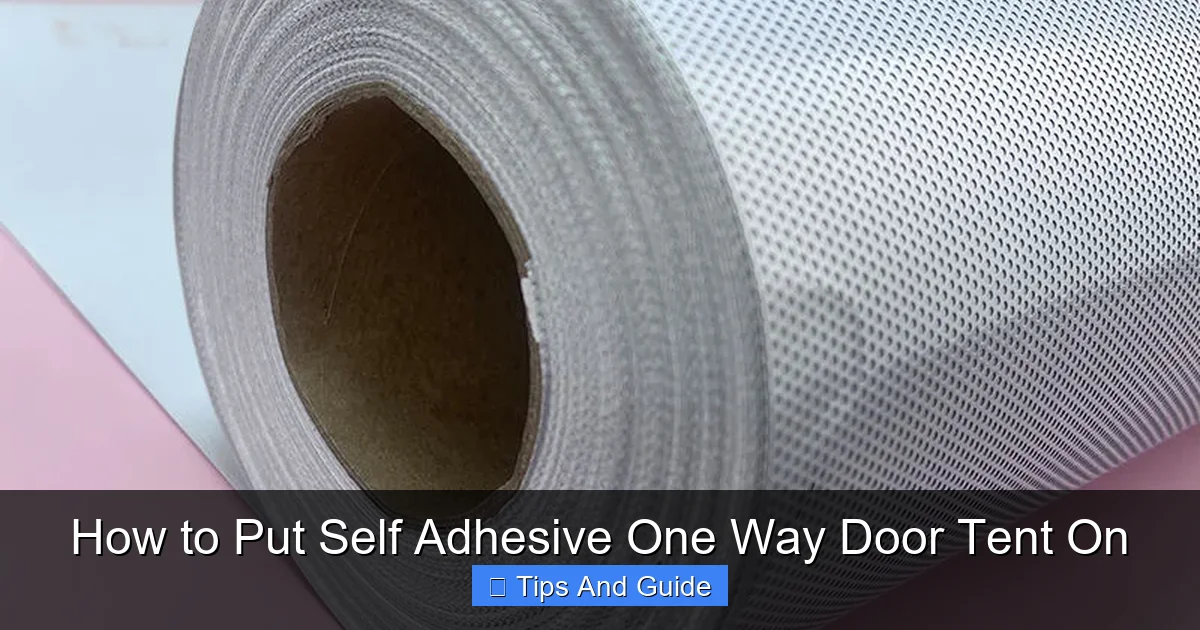
Visual guide about How to Put Self Adhesive One Way Door Tent On
Image source: kenteerwrap.com
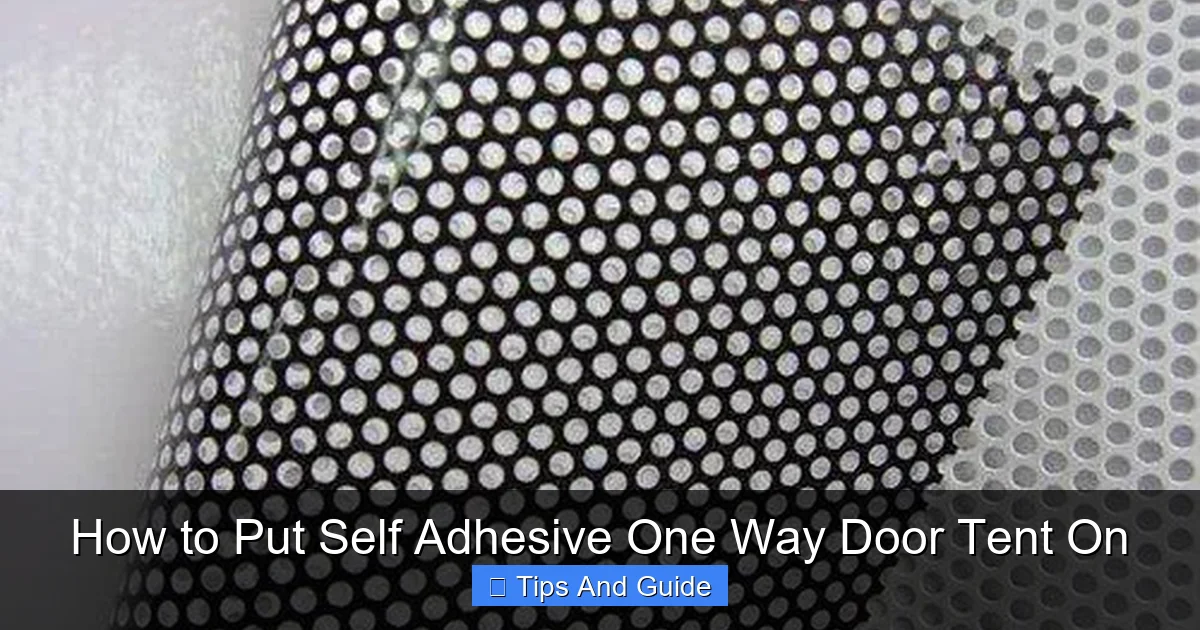
Visual guide about How to Put Self Adhesive One Way Door Tent On
Image source: 5.imimg.com
Dry the Door Completely
After cleaning, dry the door completely with a lint-free cloth. Ensure there is absolutely no moisture left, as water can interfere with the adhesive.
Degrease the Surface (Recommended)
For an even better bond, lightly wipe down the door surface with rubbing alcohol. This removes any lingering oils or residues that might prevent the adhesive from sticking firmly. Allow the alcohol to evaporate completely.
Tip: If your door has any old paint flakes, stickers, or other imperfections, gently remove them. Smooth surfaces lead to a smoother application.
Step 3: Measure and Cut the Tent Material
Accurate measurements are key to getting a neat, professional-looking finish. Don’t skip this step!
Measure the Door
Using your measuring tape, carefully measure the width and height of the area you want to cover on the door. Be precise. If you are covering the entire door, measure from edge to edge.
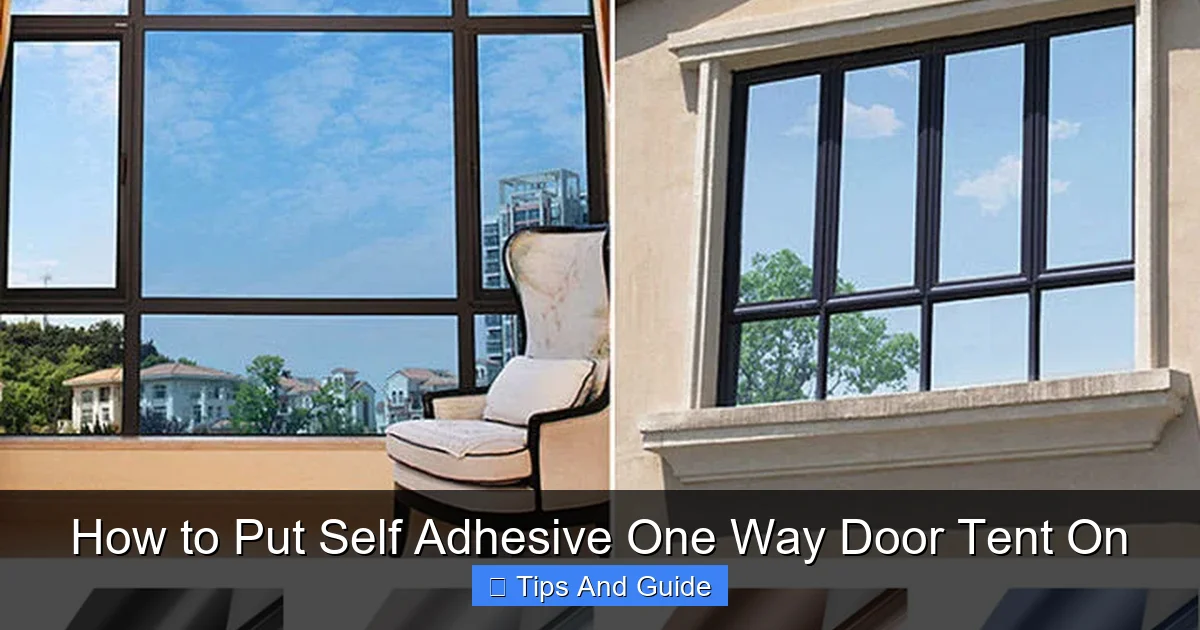
Visual guide about How to Put Self Adhesive One Way Door Tent On
Image source: img.lazcdn.com
Add a Small Margin
It’s generally a good idea to add a small margin (about 1-2 inches or 2-5 cm) to each measurement. This extra material will be trimmed off later for a perfectly flush finish. It’s always better to have a little extra to work with than to be short.
Cut the Tent
Lay the self-adhesive one-way door tent flat on a clean surface, with the backing paper facing up. Using your measurements, mark the cut lines. Carefully cut the material using your sharp utility knife or box cutter. Ensure your cuts are straight and clean.
Example: If your door is 36 inches wide and 80 inches high, you might cut your tent material to 38 inches wide and 82 inches high. This gives you a 1-inch overlap on each side.
Step 4: Apply the Self Adhesive One Way Door Tent
Now for the main event! Take your time with this step to ensure a smooth, bubble-free application.
Peel Back a Small Section of the Backing
Start at one corner or edge of the tent material. Carefully peel back a small section (about 2-3 inches or 5-7 cm) of the paper backing, exposing the adhesive. Do not peel off the entire backing at once.
Align the Tent
Position the exposed adhesive edge of the tent onto the corresponding edge of your door. Ensure it is straight and aligned as you want it. This is where your pre-measurements pay off.
Gradually Apply and Smooth
With one hand holding the tent in place, use your other hand to slowly peel away more of the backing paper as you press the tent onto the door. Simultaneously, use your squeegee or credit card to smooth the tent down, working from the center outwards. This action helps to push out any air bubbles that might form underneath.
Tip: If you are using the optional water and dish soap mixture, lightly mist the door surface before applying the tent. This allows you to slide the tent into its correct position before the adhesive fully grabs.
Work in Sections
Continue this process, gradually peeling the backing and smoothing the tent onto the door, working in small, manageable sections. Always work from the center outwards to push air towards the edges.
Step 5: Remove Air Bubbles
Even with careful application, you might end up with a few stubborn air bubbles. Don’t worry; most can be fixed.
Use the Squeegee
For small bubbles, try firmly pressing them with your squeegee, working from the center of the bubble towards its edge. This often forces the trapped air out.
For Persistent Bubbles
If a bubble won’t budge, you can carefully lift the tent slightly (if you used the soapy water method or if the adhesive isn’t too strong yet) back to the bubble. Then, re-smooth the area with the squeegee. Alternatively, for very small, stubborn bubbles, you can sometimes use a fine-tipped pin to gently prick the bubble and then smooth it down.
Caution: Be very careful when pricking bubbles. Do it gently and only if absolutely necessary, as it can create a small, visible imperfection.
Step 6: Trim Excess Material
Once the tent is applied and smoothed, it’s time to neaten up the edges.
Use a Sharp Blade
Using your sharp utility knife or box cutter, carefully trim away any excess tent material from the edges of the door. Follow the natural lines of the door frame for a clean, precise cut.
Score and Snap (Optional)
For very straight, long cuts, you can score the material with your knife several times and then gently bend the excess material away to create a clean break. However, a direct cut is usually sufficient.
Tip: Ensure your blade is sharp. A dull blade can tear the material or leave a ragged edge.
Step 7: Final Inspection and Curing
You’re almost done! A final check ensures everything looks as it should.
Inspect for Imperfections
Carefully examine the applied tent for any missed bubbles, wrinkles, or lifting edges. Address any issues you find using the methods described earlier.
Allow Adhesive to Cure
Most self-adhesive materials require a curing period for the adhesive to reach its maximum strength. Check the manufacturer’s instructions for the recommended curing time. During this period, avoid excessive touching, cleaning, or stressing the applied tent.
Example: Many films recommend 24-72 hours for full adhesion. During this time, be gentle with the door.
Troubleshooting Common Issues
Even with the best intentions, you might encounter a few hiccups. Here’s how to handle them:
Problem: The tent is wrinkling excessively.
Solution: This often happens if you’re trying to apply too large a section at once or if the surface isn’t perfectly smooth. Try peeling back the tent to the start of the wrinkle and re-applying it more slowly, ensuring you are using the squeegee from the center outwards. If you used the soapy water method, you have more leeway for repositioning.
Problem: Air bubbles keep reappearing.
Solution: Ensure you are pressing firmly with the squeegee to push air to the edges. If a bubble is persistent and you’ve tried everything else, gently piercing it with a fine pin and then smoothing it might be your only option. Ensure the pinhole is very small and on the edge of the bubble.
Problem: The adhesive isn’t sticking well in a particular spot.
Solution: This usually points to insufficient surface preparation. If possible, gently lift the tent from that area, re-clean the door surface with rubbing alcohol, let it dry completely, and then reapply the tent firmly, pressing down with the squeegee.
Problem: The tent tore during application or trimming.
Solution: For small tears, you might be able to patch them with a small piece of the same tent material if you have any spare. For larger tears, you might need to start over with a new piece of tent material.
Conclusion
Congratulations! You’ve successfully learned how to put a self-adhesive one-way door tent on your door. By following these steps diligently, from thorough preparation to careful application and final inspection, you can achieve a professional-looking result that enhances your privacy and space. Remember, patience and attention to detail are your best friends during this process. Enjoy the added privacy and the new look of your door! If you’re looking to further enhance your outdoor living space or camping setup, exploring options like the best camping kitchen tent or finding the best pop up tent on amazon could be your next adventure.