
Printing your own table tents can be a cost-effective way to display information at events, promotions, or in your establishment. This comprehensive guide walks you through every step, from designing your table tents to choosing the right printing method. You’ll learn about design considerations, different paper types, and essential printing techniques to ensure your table tents make a great impression.
How to Print Table Tents
Table tents are fantastic tools for advertising, informing, or simply decorating. Whether you’re promoting a special offer at a restaurant, sharing event details, or adding a branded touch to a trade show booth, well-designed and properly printed table tents make a big impact. But how do you go from a great idea to a finished table tent in your hands? This comprehensive guide will walk you through the entire process, from initial design concepts to the final print. We’ll cover everything you need to know to create professional, eye-catching table tents that get noticed.
Key Takeaways
- Understand Your Purpose: Clearly define what your table tent will communicate and who your audience is to guide your design and content.
- Design for Impact: Use high-resolution images, clear fonts, and a logical layout to create a visually appealing and easy-to-read table tent.
- Choose the Right Paper: Select a sturdy cardstock that can stand up on its own and withstand handling, considering finishes like gloss or matte.
- Consider Printing Options: Decide between professional printing services for quality and volume, or DIY printing for smaller, urgent needs.
- Proofread Meticulously: Always double-check all text and design elements for errors before sending your table tents to print.
- Folding and Assembly: Ensure your design accounts for the creases and folds needed to make the table tent stand upright.
Step 1: Define Your Table Tent’s Purpose and Audience
Before you even think about design software or paper types, it’s crucial to understand *why* you need a table tent and *who* you want to reach. This foundational step will guide every subsequent decision.
What Message Do You Want to Convey?
Is it a daily special at a cafe? A new product launch? Contact information for an event? A reminder about a rule? Knowing your primary message helps you prioritize content and ensures clarity.
Who Is Your Target Audience?
Are you speaking to hungry diners, potential business partners, event attendees, or hotel guests? Tailor your language, tone, and visual style to resonate with them. For instance, a restaurant might use vibrant colors and appealing food images, while a business conference might opt for a more professional, understated design.
What Is the Setting?
Will the table tent be on a busy restaurant table, a quiet hotel desk, or a crowded event space? This influences the size and visibility you’ll need. A busy environment might require larger fonts and bolder graphics.
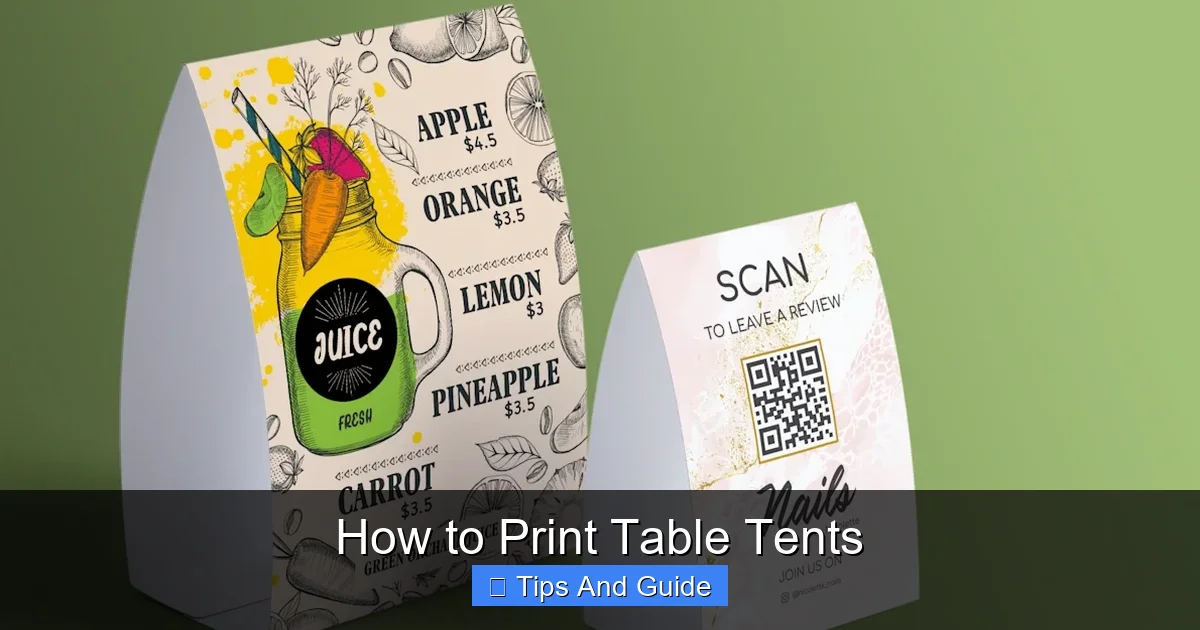
Step 2: Design Your Table Tent

Visual guide about How to Print Table Tents
Image source: boxesgen.com
This is where your creative vision comes to life. A good design is clear, attractive, and effectively communicates your message.
Choose Your Design Software or Tool
There are many options available, ranging from professional-grade software to user-friendly online tools:
- Professional Design Software: Adobe Photoshop, Adobe Illustrator, and Affinity Designer offer the most flexibility and control. These are ideal if you have design experience or are working with a professional designer.
- User-Friendly Online Design Tools: Platforms like Canva, Adobe Express, and VistaCreate are excellent for beginners. They offer pre-made templates, drag-and-drop interfaces, and a vast library of design elements.
- Word Processors/Presentation Software: For very simple designs, programs like Microsoft Word or PowerPoint can be used, though they offer limited design capabilities for print.
Determine the Table Tent Size and Style
Table tents come in various standard sizes and shapes. Common styles include:
- Tri-Fold Table Tents: These are the most common and offer three panels for information. They stand up well and provide ample space.
- Bi-Fold Table Tents: Simpler than tri-folds, these have two panels and are often used for less information-heavy messages.
- Unique Shapes: Custom shapes can be eye-catching but may increase printing costs.
Standard sizes often range from 4″ x 6″ to 5″ x 7″ (when unfolded). Check with your printer for their preferred dimensions or standard templates.
Gather Your Content and Visuals
- Text: Write clear, concise copy. Use headlines to grab attention and bullet points for easy readability. Keep sentences short.
- Images: Use high-resolution photos or graphics. Blurry or pixelated images will make your table tent look unprofessional. Ensure you have the rights to use any images.
- Logo and Branding: Include your logo and brand colors to maintain consistency.
Layout and Typography
- Hierarchy: Make your most important information the most prominent. Use font size, weight, and color to guide the viewer’s eye.
- Readability: Choose fonts that are easy to read from a distance. Avoid overly decorative fonts for body text. A common practice is to use one font for headings and another for body text.
- White Space: Don’t overcrowd your design. Ample white space (or negative space) makes your content easier to digest and your table tent look more polished.
- Color Scheme: Use colors that align with your brand and evoke the desired mood. Be mindful of contrast to ensure text is legible.
Account for Folds and Bleed
This is a critical step for print.
- Crease Lines: Most design software allows you to add guides for where the folds will be. Ensure no important text or elements are too close to these lines, or they might be cut off or look awkward when folded.
- Bleed: This is an extra margin of color or imagery that extends beyond the trim line. Printers require bleed (typically 1/8 inch or 3mm) to ensure that when the paper is cut to its final size, there are no unprinted white edges. Always extend your background colors and images into the bleed area.
Step 3: Prepare Your File for Printing
Visual guide about How to Print Table Tents
Image source: tbgprint.com
Once your design is finalized, you need to prepare it so it’s ready for the printing process.
Save in the Correct File Format
The most common and recommended file format for professional printing is PDF (Portable Document Format).
- Why PDF? PDFs preserve font information, image quality, and layout. They are universally compatible and less prone to formatting errors than other file types like JPG or PNG when used for print.
- Export Settings: When exporting your PDF, choose high-quality settings. Look for options like “Press Quality” or “High Quality Print.” Ensure the color mode is set to CMYK (Cyan, Magenta, Yellow, Black), which is standard for professional printing, rather than RGB (Red, Green, Blue), which is for screens.
Check Resolution
For printed materials, images and graphics should have a resolution of at least 300 dots per inch (DPI) at the final print size. Lower resolutions will appear pixelated or blurry. If you’re using online design tools, they often handle this automatically when you select a print option.
Double-Check Color Mode
As mentioned, use CMYK for printing. If your design was created in RGB, convert it to CMYK before exporting the final PDF. Be aware that colors might shift slightly during conversion.
Review Trim, Bleed, and Safe Area
- Trim Line: This is the final size of your table tent after it’s cut.
- Bleed Area: This extends beyond the trim line, ensuring no unprinted edges.
- Safe Area: This is the area within the trim line where all important text and graphics should reside. Anything outside the safe area risks being cut off or too close to the edge.
Most professional printers will provide templates with these guides clearly marked.
Step 4: Choose Your Printing Method
Visual guide about How to Print Table Tents
Image source: cms.cloudinary.vpsvc.com
You have several options for getting your table tents printed, each with its pros and cons.
Professional Printing Services
This is the most popular choice for businesses and organizations that need high-quality, consistent results, especially for larger quantities.
- Benefits: Superior print quality, wider range of paper options and finishes, professional advice, bulk discounts.
- When to Choose: For marketing campaigns, ongoing restaurant needs, events with many attendees, or when a polished, professional look is paramount.
- Finding a Printer: Look for local print shops or online printing companies. Compare prices, turnaround times, and customer reviews. Popular online options include Vistaprint, Shutterfly (for smaller runs), Staples Print, and many others.
DIY Printing (Home or Office Printer)
This option is best for very small quantities, urgent needs, or when budget is a significant constraint.
- Benefits: Immediate availability, lower cost for small runs, full control over the printing process.
- Challenges: Limited paper choices (most home printers can only handle standard cardstock weights), potential for lower print quality and color accuracy, time-consuming for larger quantities, requires scoring and folding expertise.
- Paper Choice for DIY: Use a sturdy cardstock specifically designed for inkjet or laser printers. Many craft stores and office supply stores carry this.
- Scoring and Folding: For a clean fold, it’s highly recommended to “score” the paper along the fold line before folding. This is done with a bone folder or even the back of a butter knife and a ruler. This creates a crease that prevents cracking and makes the fold neater.
Step 5: Select Paper and Finishing Options
The material your table tent is printed on significantly impacts its durability, appearance, and perceived value.
Paper Types
The most common choice is cardstock.
- Cardstock: This is thicker and more rigid than regular paper, essential for a table tent that needs to stand on its own.
- Weight: Measured in pounds (lb) or points (pt). For table tents, aim for a weight of at least 65 lb or 13 pt. Heavier cardstock (e.g., 80 lb, 100 lb, or 14 pt, 16 pt) will be more durable and professional-looking.
- Coated vs. Uncoated:
- Coated (Glossy, Matte, Silk): These have a surface coating that affects the sheen and texture. Glossy offers a bright, vibrant look. Matte provides a sophisticated, glare-free finish. Silk offers a smooth, subtle sheen.
- Uncoated: These have a more natural, absorbent feel. They are good for a rustic look but can show smudges more easily.
Finishing Options
These can enhance the look and durability.
- Lamination: A clear plastic film applied to the surface. It adds significant durability, water resistance, and a professional sheen (gloss or matte). It’s excellent for high-traffic areas or frequent handling.
- UV Coating: A liquid coating that is cured by UV light. It provides a high-gloss, protective finish that makes colors pop. It’s less durable than lamination but often more cost-effective for a sleek look.
- Die-Cutting: Used for custom shapes. Your table tent would be cut out with a custom-shaped die.
Step 6: Place Your Order or Print
Once you’ve finalized your design, chosen your paper, and selected your finishing options, it’s time to get your table tents printed.
For Professional Printing Services
- Upload Your File: Most online printers have an easy-to-use upload system on their website. Follow their instructions carefully regarding file format, bleed, and resolution.
- Specify Options: Clearly select your desired paper type, weight, size, quantity, and any finishing options.
- Review Proofs: If offered, always request a digital or physical proof. A digital proof (PDF) lets you check the layout and colors on your screen. A physical proof is ideal for critical jobs as it shows the actual paper stock and print quality. Proofreading is absolutely critical at this stage.
- Approve and Wait: Once you’re satisfied with the proof, approve your order. Production and shipping times will vary by provider.
For DIY Printing
- Load Paper Correctly: Ensure your cardstock is loaded into your printer correctly, following your printer’s manual.
- Print Settings: Use the highest print quality setting available on your printer. Select the correct paper type (e.g., “Cardstock,” “Heavyweight Paper”) from the printer driver’s settings.
- Print a Test Sheet: Always print one copy first to check for alignment, color accuracy, and any potential issues.
- Score and Fold: Once printed, carefully score along the designated fold lines and fold your table tents.
Troubleshooting Common Issues
Even with careful planning, you might encounter a few hiccups.
Color Differences
If your printed colors don’t match what you saw on screen, it’s often due to the difference between RGB (for screens) and CMYK (for print), or calibration differences in your monitor. Using a professional printer with proofs can help mitigate this.
Poor Print Quality (DIY)
Ensure your printer’s ink levels are adequate and the print heads are clean. Using the correct print settings for your paper type is also vital.
Creased or Cracked Folds (DIY)
This usually happens when folding without scoring. Always score your cardstock before folding for clean, crisp edges.
Text Cut Off or Misaligned
This is typically a bleed or safe area issue. Double-check your design file and printer templates for correct margins.
Conclusion
Printing table tents doesn’t have to be complicated. By following these steps, from defining your purpose to choosing the right printing method, you can create effective and professional table tents that elevate your brand or message. Whether you’re a seasoned designer or a beginner, this guide provides the knowledge to navigate the process with confidence. Remember to focus on clear design, quality materials, and meticulous proofreading to ensure your table tents make the best possible impression. Happy printing!