
Discover how to create a magical blanket tent for endless hours of fun. This guide offers simple, step-by-step instructions to build a cozy fort using common household items. Perfect for rainy days or backyard adventures, you’ll learn how to create a stable structure and a comfortable space. Get ready for imaginative play with your new DIY blanket tent!
Welcome, aspiring fort architects and indoor adventurers! Are you ready to transform your living room or backyard into a magical hideaway? Making a tent with blankets is a timeless activity that sparks imagination, provides a cozy retreat, and offers hours of entertainment for both kids and adults. Forget expensive store-bought forts; with a few simple household items, you can construct your very own personal sanctuary.
This comprehensive guide will walk you through everything you need to know about how to make a tent with blankets. We’ll cover gathering your materials, building a sturdy structure, adding comfort, and even some tips for making your blanket tent extra special. So, grab your favorite blankets and let’s get building!
Key Takeaways
- Gather your supplies: Collect blankets, pillows, chairs, and securing items like clothespins or heavy books.
- Choose a stable base: Utilize furniture like chairs, sofas, or tables to create the framework for your tent.
- Drape and secure: Carefully spread blankets over the furniture, ensuring they overlap to create walls and a roof.
- Add structural support: Use additional chairs, broomsticks, or even clothes drying racks to prevent sagging.
- Accessorize for comfort: Bring in pillows, sleeping bags, and camping mattresses for ultimate coziness.
- Consider lighting: Employ safe, battery-operated camping lights to illuminate your fort.
- Troubleshoot common issues: Learn how to fix sagging blankets or unstable walls for a secure fort.
Why Build a Blanket Tent?
Before we dive into the “how,” let’s talk about the “why.” Blanket tents are more than just piles of fabric; they are gateways to adventure. They offer a sense of security and privacy, making them perfect for reading, playing pretend, or simply enjoying some quiet time. For children, a blanket tent is a canvas for their imagination, becoming a castle, a spaceship, a secret base, or anything else their minds can dream up. For adults, it can be a nostalgic trip back to childhood or a fun way to create a unique reading nook. Plus, it’s an incredibly budget-friendly way to create a special space.
Step 1: Gathering Your Supplies
The beauty of making a blanket tent is that it requires common items you likely already have around your house. The more variety you have, the more creative you can get!
Essential Items:
- Blankets: This is your primary building material. A mix of sizes and weights is ideal. Lighter blankets are easier to drape, while heavier ones can provide more structure and warmth. Think bed sheets, throws, quilts, duvets, and even large towels.
- Support Structures: You need something to hold your blankets up. The most common and easiest are:
- Chairs (dining chairs, armchairs, folding chairs)
- Sofas and couches
- Tables (coffee tables, dining tables)
- Beds
- Fasteners: These are crucial for keeping your blankets in place and preventing your tent from collapsing.
- Clothespins
- Binder clips
- Safety pins (use with caution, especially with children)
- Chip clips
- Heavy books or objects (to weigh down edges)
Optional Items for Extra Comfort and Fun:
- Pillows and Cushions: For flooring and lounging.
- Sleeping bags: For ultimate coziness inside.
- String or Rope: Can be used to tie blankets to furniture legs or create more elaborate roof structures.
- Broomsticks or Mops: Can act as tent poles to create height or support sagging areas.
- Clothes drying racks: These can be surprisingly sturdy and useful as internal supports.
- Battery-operated lights: String lights, fairy lights, or a flashlight. *Never use candles or mains-powered lights inside a blanket tent due to fire hazards.* For safe illumination, consider battery-operated camping lights.
- Books and toys: To fill your new space.
Step 2: Choosing Your Location
Where you build your blanket tent can make a big difference in its stability and overall feel.
Indoor Options:
- Living Room: This is often the most spacious area and offers plenty of furniture like sofas, chairs, and coffee tables to work with.
- Bedroom: A bed can be a fantastic anchor point for a blanket tent, especially for smaller, cozier designs.
- Hallway: If you have a long hallway, you can use chairs on either side to create a long, tunnel-like fort.
Outdoor Options:
- Backyard: Use patio furniture, lawn chairs, or even trees as support. Ensure the ground is relatively flat.
- Under a Canopy or Gazebo: If you have a camping canopy tent or gazebo, you can add blankets to create a more enclosed and cozy space.
Tip: When choosing a spot, consider how much space you need. Do you want a small nook or a large play area? Also, think about where the sunlight will be if you’re building outdoors during the day.
Step 3: Building the Framework
This is where your tent starts to take shape. The goal is to create a stable structure that can hold the weight of your blankets.
Using Furniture as Anchors:
Arrange your chairs, sofas, or tables to form the basic shape of your tent. For example:
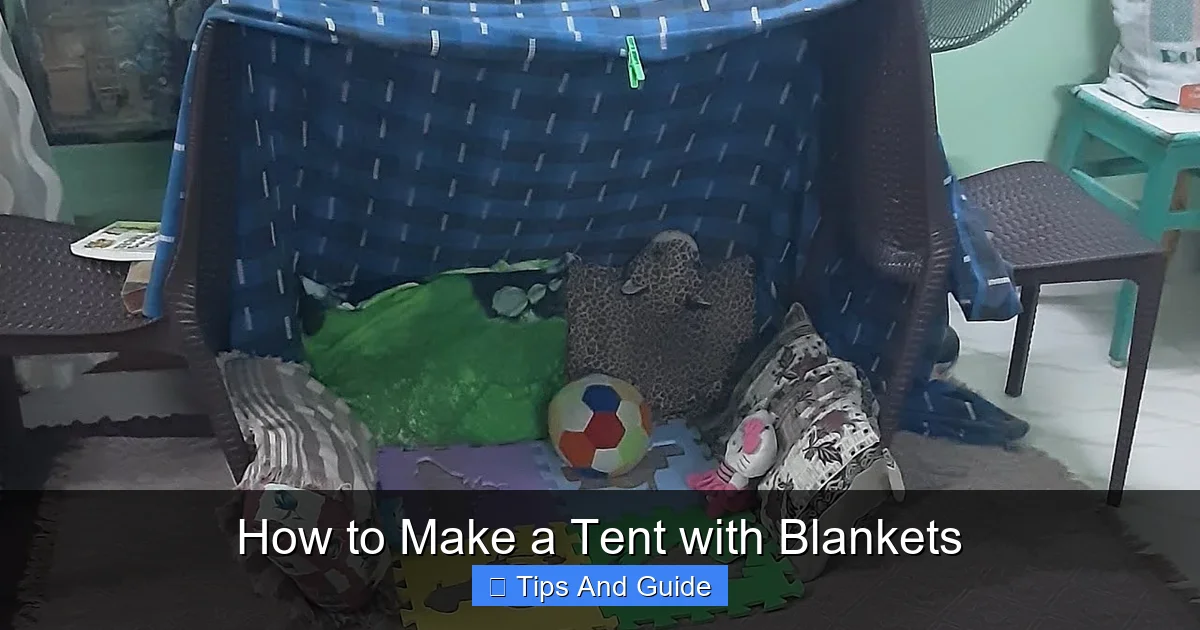
Visual guide about How to Make a Tent with Blankets
Image source: i.ytimg.com
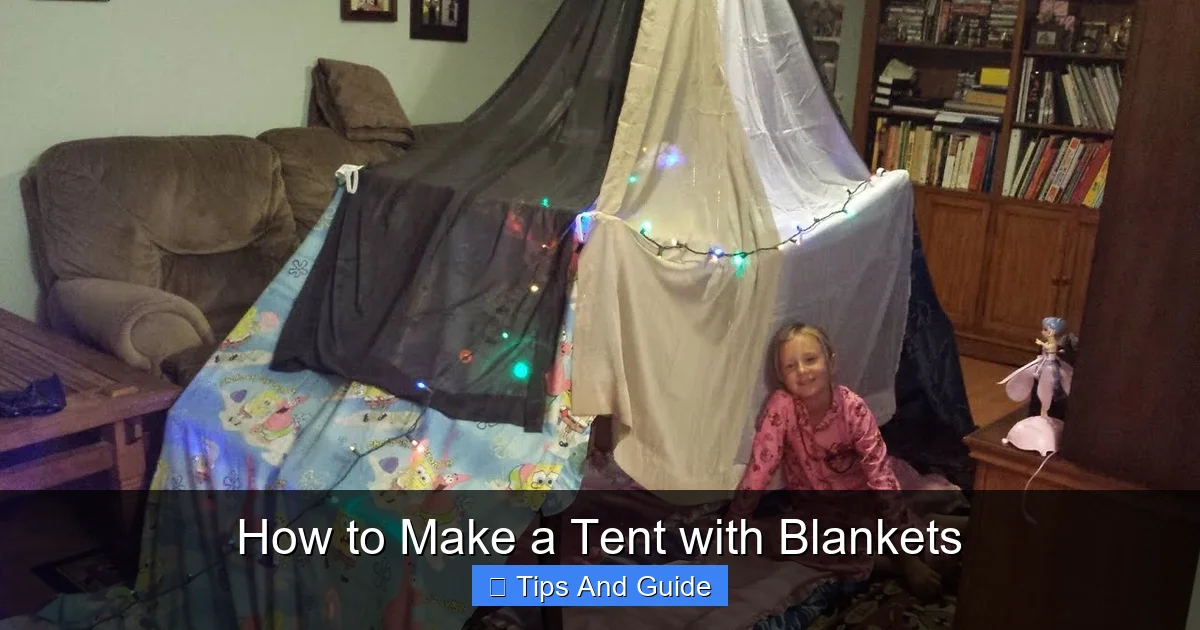
Visual guide about How to Make a Tent with Blankets
Image source: i.ytimg.com
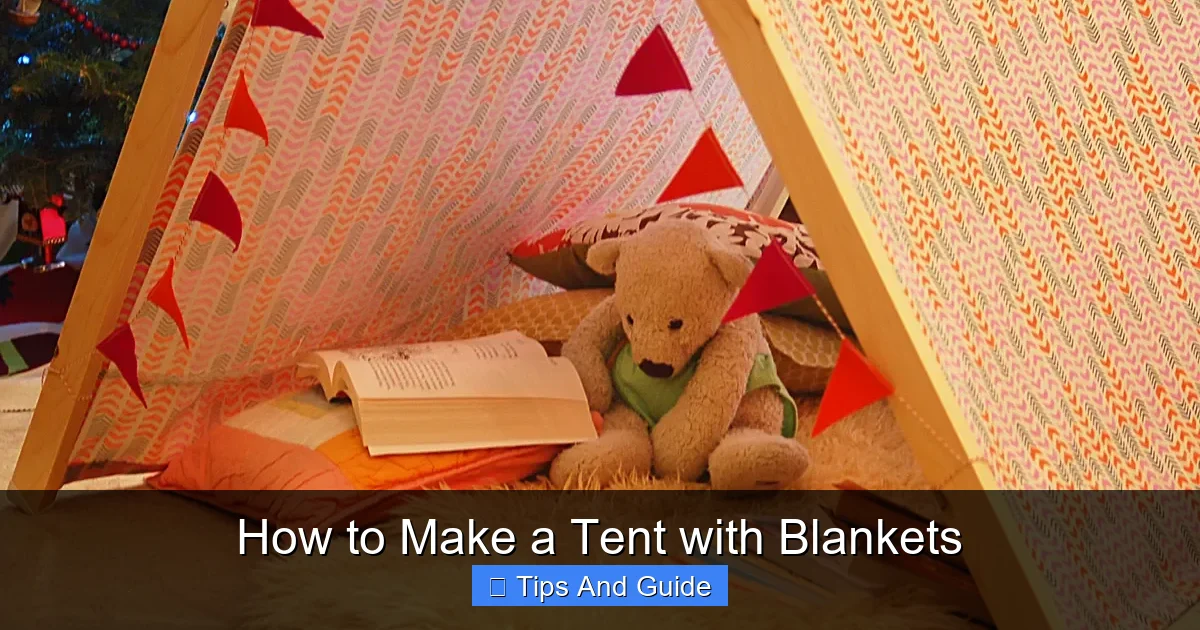
Visual guide about How to Make a Tent with Blankets
Image source: i0.wp.com
- Using Chairs: Place four chairs in a square or rectangle, facing outwards. The backs of the chairs will serve as the pillars for your tent.
- Using a Sofa and Chairs: Position a sofa against a wall and use chairs opposite it to create the width.
- Using Tables: A coffee table can be a great central support, with chairs placed around it. A larger dining table can create a more extensive ceiling.
Creating Height and Span:
If your furniture isn’t tall enough or spread out enough, consider using other items:
- Broomsticks or Mops: You can lean broomsticks against the tops of chairs or furniture to create more height or span a wider gap. Secure them with string or tape if necessary.
- Clothes Drying Racks: These can be excellent for creating taller walls or supporting a roof section.
Tip: Ensure your framework is stable before you start adding blankets. Give it a gentle nudge to check for wobbling.
Step 4: Draping the Blankets
Now for the fun part – making it look like a tent!
Covering the Structure:
Start draping your blankets over the framework you’ve created. Aim to overlap the blankets to avoid gaps. Think about which blanket will be your “roof” and which will be your “walls.”
- Roof: Lay your largest or most opaque blanket over the top, letting it sag slightly in the middle if needed to create a more tent-like shape.
- Walls: Drape blankets down the sides, making sure they reach the floor to enclose the space.
Securing the Blankets:
This is where your fasteners come in handy.
- Clothespins and Clips: Use these to attach blankets to the tops and legs of chairs, or to other blankets where they overlap.
- Heavy Books: Place heavy books on the edges of blankets that lie on the floor to keep them from shifting.
- Safety Pins: For a more permanent hold (during construction), you can carefully safety pin blankets together or to furniture.
- Tying: If using string or rope, tie blankets around furniture legs or poles for extra security.
Tip: Don’t worry if it’s not perfect at first. You can adjust the blankets as you go to fill gaps and create the desired shape.
Step 5: Adding Comfort and Functionality
Once the basic structure is up, it’s time to make your blanket tent a cozy haven.
Flooring:
Make the inside comfortable for sitting or lying down.
- Lay down extra blankets, comforters, or even your camping bed or camping cot if you have one.
- Scatter pillows and cushions generously for a soft base.
Entrance and Exit:
Decide where your “door” will be. You can leave a gap between two blankets or create a flap that can be opened and closed.
- For a flap door, you can tie back one side of a blanket with a piece of string.
Lighting:
Illuminate your fort safely.
- Place battery-operated fairy lights along the edges for a magical glow.
- A small flashlight can be useful for reading.
- Ensure all lights are cool to the touch and never use anything that gets hot.
Decoration:
Personalize your space!
- Hang drawings or photos inside.
- Bring in your favorite stuffed animals or toys.
- Add snacks and drinks (with adult supervision!).
Step 6: Testing and Reinforcing
Before you fully move in, do a quick test run.
Gentle Entrance:
Carefully crawl into your tent. Does it feel sturdy? Are there any areas that look like they might collapse?
Reinforcing Weak Spots:
- Sagging Roof: If the roof is sagging, try adding another support underneath (like a broomstick or a strategically placed pillow). You can also add more clips to pull the blanket tighter.
- Wobbly Walls: Use more clips or heavy books to secure the edges of your wall blankets.
- Gaps: Overlap blankets further or use smaller towels or throws to fill any light leaks or drafts.
Troubleshooting Common Blanket Tent Problems
Even the best blanket tents can encounter a few hiccups. Here are some common issues and how to fix them:
Problem: Blankets keep slipping off.
Solution: Use more fasteners! Try different types of clips, ensure they are gripping the fabric firmly, and don’t be afraid to use heavy books to weigh down edges. You can also try tying blankets to furniture legs with string.
Problem: The tent is too dark inside.
Solution: If you want more light, consider using lighter-colored or thinner blankets for the roof. Alternatively, ensure your battery-operated lights are strategically placed and bright enough. For a bright, airy feel, you might consider a cabin tent with a screen room, but for a DIY blanket fort, this is your best bet.
Problem: The tent is too small.
Solution: Re-evaluate your framework. Can you spread the chairs further apart? Can you incorporate another piece of furniture like a small table or another chair? Sometimes, simply rearranging your supports can create more space.
Problem: The tent smells musty.
Solution: This usually happens if the blankets haven’t been aired out recently. If possible, take the blankets outside for a few hours to air them out. If the tent is staying up for a while, open it up daily to allow for ventilation.
Creative Ideas to Elevate Your Blanket Tent
Once you’ve mastered the basic construction, why not add some extra flair?
- Themed Forts: Choose a theme like a fairy castle, a pirate ship, or an outer-space spaceship and decorate accordingly.
- Multiple Rooms: If you have enough space and furniture, you can create interconnected blanket tents using a doorway or tunnel.
- Window Effects: Use sheerer or colored fabric for a “stained glass” window effect.
- “Flooring” Upgrade: If you want something a bit more substantial than blankets, consider a camping mat for the floor.
Conclusion
Building a blanket tent is a fantastic way to foster creativity, encourage imaginative play, and create a personal sanctuary. It’s an activity that proves you don’t need fancy equipment to have a world of fun. By following these simple steps, you can construct a sturdy, comfortable, and magical blanket tent that will provide hours of enjoyment. So, gather your materials, unleash your inner architect, and get ready to crawl into your very own cozy creation. Happy fort building!