
Learn to create professional name tents in Microsoft Word with this easy-to-follow guide. We’ll walk you through the entire process, from setting up your document to printing your finished name tents. You’ll discover how to design custom templates for any event, making your gatherings more organized and polished.
Welcome to our comprehensive guide on creating name tents in Microsoft Word! Whether you’re organizing a conference, hosting a dinner party, planning a classroom activity, or need to label seats at a meeting, name tents are an indispensable tool. They add a professional touch, help attendees find their spots, and make introductions smoother.
Many people think creating custom name tents requires fancy software or design skills, but that’s simply not true! Microsoft Word, a program most of us already have, is perfectly capable of producing professional-looking name tents. In this guide, you’ll learn everything you need to know, from the very first steps of setting up your document to the final fold of your printed creation. We’ll cover designing from scratch, using tables for structure, formatting text, and printing tips to make your life easier. Get ready to create personalized name tents that will impress your guests and colleagues!
Key Takeaways
- Design from Scratch or Use Templates: You can either build your name tent design from the ground up in Word or leverage pre-made templates for a quicker start.
- Master Table Layouts: Tables are your best friend for creating the structured layout of a name tent, allowing for easy text placement and formatting.
- Precise Sizing and Folding: Understanding how to set document dimensions and account for the fold is crucial for a perfectly formed name tent.
- Customization Options are Endless: From fonts and colors to adding logos and borders, Word offers extensive tools to personalize your name tents.
- Print Efficiently: Learn tips for printing multiple name tents on a single page and how to fold them correctly for a professional finish.
- Troubleshoot Common Issues: Get solutions for common problems like misaligned text or incorrect sizing to ensure your name tents look great.
Setting Up Your Word Document for Name Tents
Before you start typing, it’s important to set up your Word document correctly. This ensures your name tent will have the right dimensions and fold properly.
Choosing the Right Paper Size
Most name tents are designed to be printed on standard letter-size paper (8.5 x 11 inches). This is usually the default setting in Word, but it’s always good to check.
To verify or change your page size:
- Go to the Layout tab on the Ribbon.
- Click on Size.
- Select Letter (8.5″ x 11″).
Setting Custom Margins
Having adequate margins prevents your text or design elements from getting too close to the edges, which can look unprofessional and make folding difficult. For name tents, smaller margins are often preferred to maximize print space.
To adjust your margins:
- Go to the Layout tab.
- Click on Margins.
- Select Narrow or choose Custom Margins to set your own values (e.g., 0.5 inches on all sides).
Understanding Name Tent Dimensions
A standard folded name tent typically measures about 3.5 inches tall and 8.5 inches wide when folded. This means you’ll be working with a layout that is twice as wide when unfolded, so approximately 8.5 inches tall and 17 inches wide in your document. However, we will use a table to manage this, and Word’s page layout will guide us.
Creating the Name Tent Structure with Tables
The easiest and most effective way to create the layout for a name tent in Word is by using tables. Tables provide the perfect grid for organizing text and ensuring symmetry.
Inserting a Table
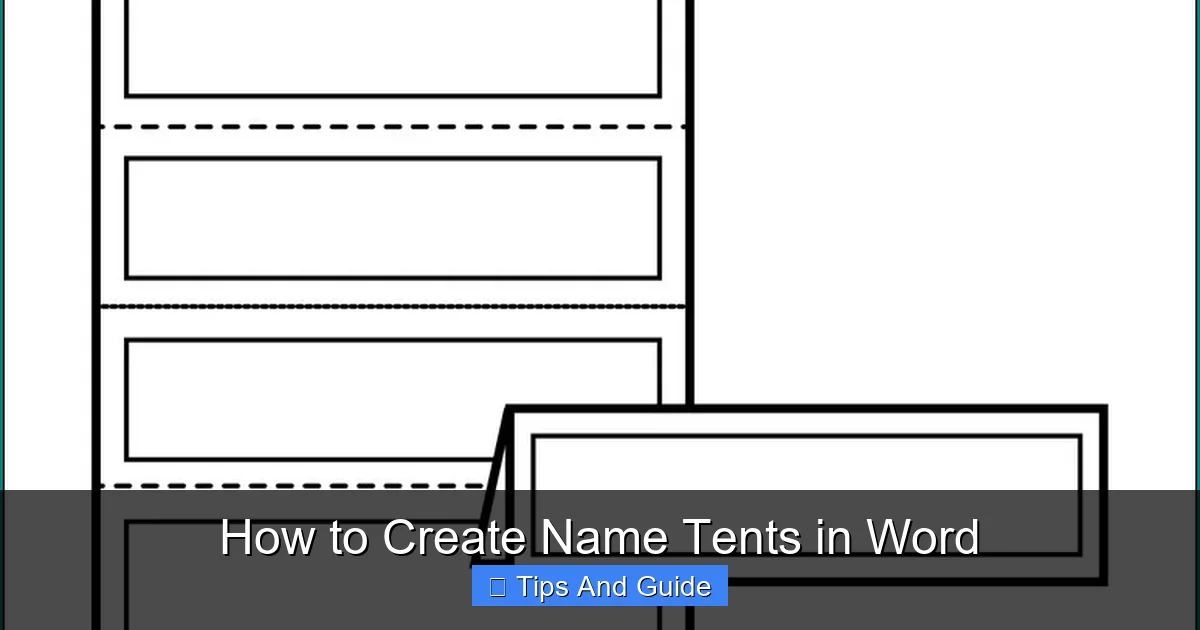
We’ll create a simple table that represents one unfolded name tent.
To insert a table:
Visual guide about How to Create Name Tents in Word
Image source: bogiolo.com
- Go to the Insert tab.
- Click on Table.
- Hover over the grid to select 1 column and 2 rows. Click to insert.
This will give you a table with two cells stacked vertically. Each cell will represent one side of your unfolded name tent.
Adjusting Table Dimensions
Now, we need to make this table fit the proportions of an unfolded name tent.
To adjust table size:
- Click anywhere inside the table. The Table Tools tabs (Design and Layout) will appear.
- Go to the Layout tab under Table Tools.
- In the Cell Size group, set the Height to around 4.25 inches and the Width to 8.5 inches. This is half of the total width for an unfolded tent, ensuring that when folded, each side is 4.25 inches tall and 8.5 inches wide, making the folded tent 4.25 inches tall and 4.25 inches wide (which is then folded in half again to stand). A common size for a folded tent is about 3.5 inches high by 8.5 inches wide, so we’ll aim for a layout that accommodates this when folded. Let’s adjust the height to 3.5 inches and the width to 8.5 inches for the cell representing one half of the tent. Then we will duplicate it. So, set the Height to 3.5 inches and the Width to 8.5 inches.
- Crucially, select the entire table (click the small cross icon that appears at the top-left corner of the table when you hover over it).
- In the Cell Size group on the Layout tab, click Distribute Rows and then Distribute Columns to ensure consistency.
- Then, with the entire table selected, go to the Table Properties (right-click anywhere in the table and select Table Properties). Under the Row tab, check “Specify height” and set it to 3.5 inches. Under the Column tab, check “Preferred width” and set it to 8.5 inches. Ensure “Allow row to break across pages” is unchecked if you’re not planning to span across pages.
This creates a single, unfolded name tent segment that is 3.5 inches tall and 8.5 inches wide.
Duplicating for Multiple Tents
To print multiple name tents on one page, you’ll duplicate this structure.
To duplicate:
- Click and drag to select the entire table (the one with 1 column and 2 rows).
- Copy it (Ctrl+C or Cmd+C).
- Paste it multiple times (Ctrl+V or Cmd+V) onto your page. You’ll likely want to arrange these side-by-side to fit efficiently on an 8.5×11 inch page.
A common layout is to have two unfolded name tents side-by-side. This means you’ll have a table with 2 columns and 2 rows.
Let’s restart with a layout for two tents side-by-side:
- Insert a new table: Insert tab > Table > select a 2×2 grid (2 columns, 2 rows).
- Select the entire table.
- Go to Table Properties. Under the Column tab, set the preferred width for each column to 8.5 inches. Under the Row tab, set the preferred height for each row to 3.5 inches.
- Click OK.
Now you have a template for two unfolded name tents, each 8.5 inches wide and 3.5 inches tall. When printed and folded, each tent will stand up.
Designing Your Name Tents
With the structure in place, it’s time to add your content and design elements.
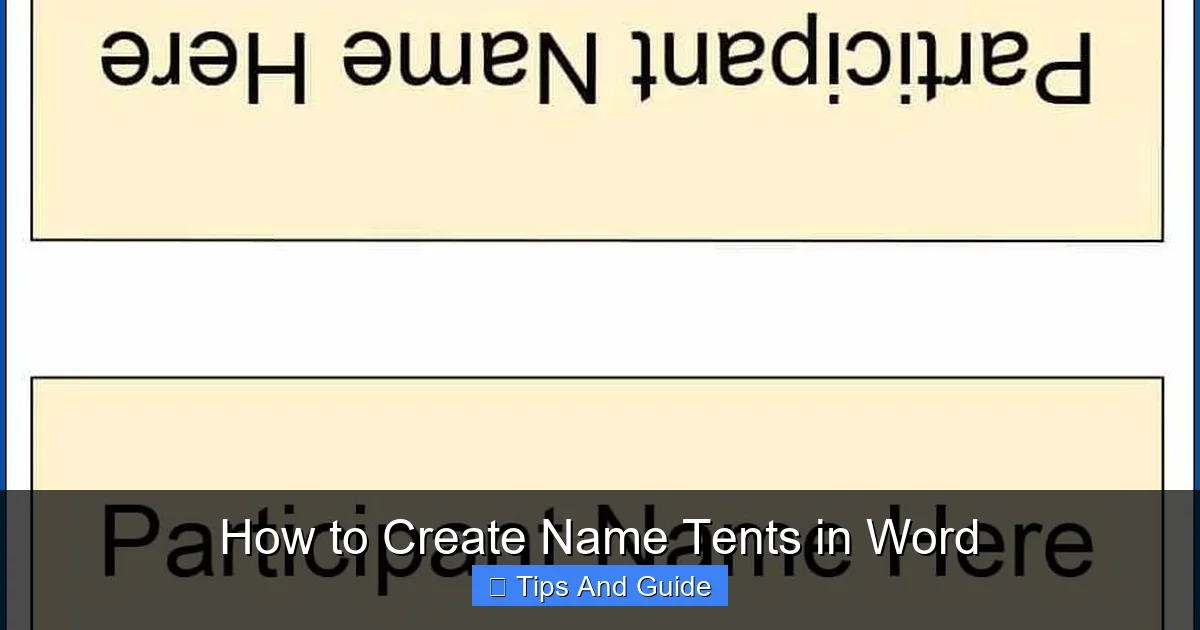
Adding Names and Titles
This is the most important part! You’ll add the name and, optionally, the title or affiliation of the person.
To add text:
Visual guide about How to Create Name Tents in Word
Image source: templateral.com
- Click inside a table cell.
- Type the name. Press Enter to go to a new line within the same cell.
- Type the title or affiliation.
Formatting Text
Make your names stand out! Word offers many formatting options.
To format text:
- Select the text you want to format (e.g., a name).
- Go to the Home tab.
- Use the Font group to change the font type, size, color, and style (bold, italics).
Tips for formatting:
- Use a clear, readable font. Sans-serif fonts like Arial, Calibri, or Verdana are usually good choices.
- Make the name larger than the title.
- Center your text for a balanced look. To center text within a cell: Select the text, right-click, choose Cell Alignment, and select the center alignment option. Alternatively, with the text selected, go to the Layout tab under Table Tools and choose the center alignment button.
Adding Logos and Graphics
You can make your name tents more engaging by adding logos or simple graphics.
To insert graphics:
- Click where you want to insert the graphic within a cell.
- Go to the Insert tab.
- Click Pictures and choose This Device… to select a logo file from your computer.
- Resize and Position: Once inserted, select the image. Use the handles to resize it. Right-click the image, go to Wrap Text, and choose In Front of Text or Tight so you can move it freely within the cell. You might need to adjust cell padding to make space.
Using Borders and Shading
Subtle borders or shading can add a professional touch.
To add borders:
- Select the table cells you want to format.
- Go to the Table Design tab.
- In the Borders group, click the dropdown arrow and choose Borders and Shading….
- Here, you can select border styles, colors, and widths. Apply them to specific sides or the entire table.
To add shading:
- Select the table cells.
- Go to the Table Design tab.
- Click the Shading dropdown and choose a color.
Advanced Design Tips
Want to elevate your name tent design? Here are a few more ideas.
Creating a Template
If you need to create name tents for multiple events, saving your layout as a template is a great idea.
To save as a template:
Visual guide about How to Create Name Tents in Word
Image source: heritagechristiancollege.com
- Once you have your layout designed, go to File > Save As.
- Choose a location.
- In the Save as type dropdown menu, select Word Template (*.dotx).
- Give your template a descriptive name and click Save.
Now, when you want to create new name tents, you can open this template, and it will create a new document without altering your original template.
Using Themes and Styles
Word’s themes and styles can help maintain a consistent look across your name tents, especially if you’re using them for a large event.
To apply a theme:
- Go to the Design tab.
- In the Document Formatting group, click Themes.
- Browse and select a theme that fits your event’s color scheme and style.
You can then adjust individual font styles or colors within the theme as needed.
Ensuring the Fold Line
The table structure we created naturally allows for the fold. When you print the page with two side-by-side name tents, you will fold it in half down the middle, between the two tent sections. For a tent with text on both sides, you would print the content for the front in one set of cells and the content for the back in the other set of cells. For a simple, single-sided tent that stands, you’ll just need to ensure the fold line is clear.
Printing Your Name Tents
Printing is the final step, and a few considerations can make it smoother.
Printing Multiple Tents per Page
We’ve already set up our table to print two unfolded name tents side-by-side on a standard letter-sized page. When you print, Word will automatically scale this to fit the page.
Checking Print Preview
Always use the Print Preview feature before hitting the print button.
To use Print Preview:
- Go to File > Print.
- The left pane shows you a preview of how your document will look on paper.
- Check that everything is aligned correctly and fits within the page boundaries.
Paper Choice
While standard printer paper works, using slightly heavier cardstock will make your name tents more durable and professional-looking. Aim for a weight between 65 lb and 110 lb cover stock. Ensure your printer can handle the paper weight.
Folding Your Name Tents
After printing, carefully fold each name tent in half along the center line. A ruler and a bone folder (or the edge of a credit card) can help create a crisp, clean crease.
Troubleshooting Common Name Tent Issues
Sometimes, things don’t go exactly as planned. Here are solutions to common problems.
Text is Misaligned
If your text isn’t centered or aligned as you intended, re-check your cell alignment settings. Ensure you’ve selected the text and applied the correct alignment from the Home tab or the Table Layout tab. Also, ensure the text within the cell is not set to wrap in a way that distorts its position.
Table Borders Don’t Print
Sometimes, printer settings can affect border printing. Ensure that “Print background colors and images” is checked in Word’s print options.
- Go to File > Options.
- Select Display.
- Under Printing options, check the box for Print drawings created in Word.
- Go back to File > Print. Make sure “Print all background colors and images” is selected in the settings.
Name Tents Don’t Fold Evenly
This is usually a printing or paper issue. Ensure your printer isn’t skewing the paper. If using cardstock, make sure it’s not too thick for your printer. Manually creasing with a ruler after printing often solves uneven folds.
Names are Cut Off
This usually means your text is too large, or your margins/cell size are too small. Re-select the text and reduce the font size. You may also need to increase the height of your table rows slightly in Table Properties. If you’re adding graphics, ensure they aren’t pushing the text too far into the margin. This is where thinking about the best camping equipment for tents comes into play – careful planning prevents issues!
Getting Multiple Copies
For events with many attendees, you’ll need many name tents. Instead of manually copying and pasting each time, you can use Word’s Mail Merge feature if you have your guest list in an Excel spreadsheet or Word table. This automates the process of creating personalized name tents for everyone. While we haven’t detailed Mail Merge here, it’s a powerful tool for mass customization.
Conclusion
Creating professional-looking name tents in Word is entirely achievable with a little planning and the right steps. By utilizing tables for structure, mastering text formatting, and paying attention to printing details, you can produce name tents that are both functional and aesthetically pleasing. These simple yet effective tools can significantly enhance the organization and professionalism of any event. So, the next time you need to label seats or introduce guests, remember that Word is your powerful ally in creating custom name tents with ease. Happy designing and happy printing!