
Discover how to tackle tent mold with our easy-to-follow guide. We’ll walk you through identifying mold, choosing the right cleaning solutions, and applying them safely to restore your tent to its former glory. Learn essential prevention tips to keep mold at bay for future adventures.
Tent mold is a camper’s worst nightmare. That musty smell and unsightly black or green patches can ruin your gear and even pose health risks. But don’t despair! With the right approach, you can effectively clean tent mold and revive your beloved shelter. This guide will equip you with everything you need to know to tackle tent mold, from identifying it to preventing its return.
We’ll cover the best cleaning methods, the safest solutions to use, and crucial steps for drying and storing your tent. By the end of this guide, you’ll be confident in your ability to rescue your tent from the clutches of mold and get it ready for your next outdoor escapade.
Key Takeaways
- Identify Tent Mold Early: Recognize the distinct smell and visual signs of mold on your tent fabric before it spreads.
- Choose the Right Cleaning Solution: Select a mold remover suited for tent materials, such as diluted vinegar, specialized tent cleaners, or mild soap.
- Test in an Inconspicuous Area: Always test your chosen cleaning solution on a small, hidden spot of the tent to ensure it doesn’t damage or discolor the fabric.
- Gentle Cleaning is Key: Use soft brushes and avoid harsh scrubbing to prevent damage to waterproof coatings and tent seams.
- Thorough Rinsing is Crucial: Ensure all cleaning residue is completely rinsed away to prevent re-growth and fabric degradation.
- Dry Your Tent Completely: Air dry your tent thoroughly in a well-ventilated area, preferably in direct sunlight, to eliminate all moisture.
- Prevent Future Mold Growth: Implement proper storage techniques, ensure ventilation, and dry your tent after every use to keep mold at bay.
Understanding Tent Mold
Before we dive into cleaning, it’s important to understand what tent mold is and why it forms. Mold is a type of fungus that thrives in dark, damp, and humid environments. Tents, often packed away while still wet after a camping trip, provide the perfect breeding ground for mold spores.
What Does Tent Mold Look Like and Smell Like?
Tent mold typically appears as small, fuzzy spots that can be black, green, gray, or even white. The most common sign, however, is a distinct musty, earthy smell, often described as damp or stale. This odor is usually more noticeable when you unpack your tent.
Why Does Mold Grow on Tents?
Several factors contribute to mold growth on tents:
* Moisture: This is the primary culprit. If a tent is packed away wet, even slightly damp, mold spores have the moisture they need to germinate and grow. This can happen from rain, dew, condensation, or even humidity.
* Lack of Ventilation: When stored in a sealed bag or container without airflow, moisture can get trapped, creating an ideal environment for mold.
* Dirt and Debris: Organic matter like leaves, dirt, and food particles on the tent fabric can provide nutrients for mold.
* Warmth: Mold thrives in warmer temperatures, making summer months or storage in hot garages a concern.
* Sunlight: While sunlight can kill mold, a tent stored in a dark, damp place is more susceptible.
How to Clean Tent Mold: A Step-by-Step Guide
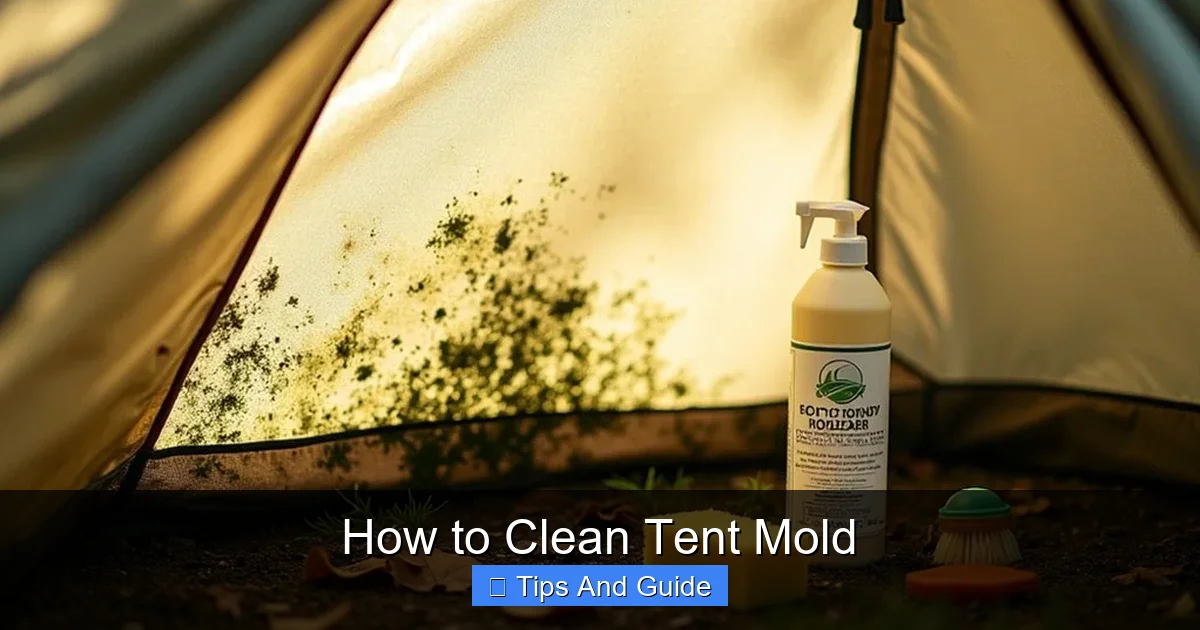
Visual guide about How to Clean Tent Mold
Image source: besttentreview.com
Cleaning tent mold requires a methodical approach. Safety for both you and your tent is paramount. Follow these steps carefully for the best results.
Step 1: Prepare Your Cleaning Area and Gear
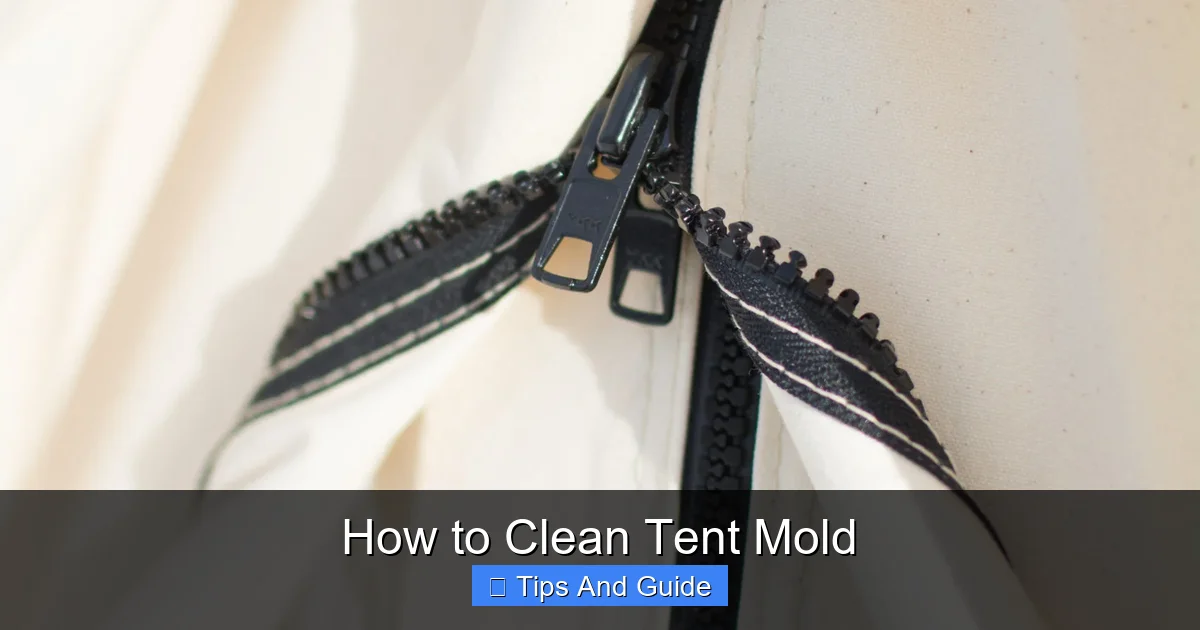
Visual guide about How to Clean Tent Mold
Image source: stouttent.com
Before you begin, gather all necessary supplies and set up a suitable workspace.
Gather Your Supplies
You’ll need:
* Protective Gear: Gloves and a mask are essential to avoid inhaling mold spores.
* Cleaning Solutions: We’ll discuss specific options later, but have your chosen cleaner ready.
* Soft Brushes: A soft-bristled brush, a toothbrush for small areas, or a sponge. Avoid stiff brushes that can damage the fabric.
* Buckets or a Tub: For mixing solutions and rinsing.
* Clean Water: For rinsing.
* Towels or Microfiber Cloths: For drying.
* Optional: A hose with a gentle spray nozzle.
Choose a Suitable Workspace
Find an area where you can spread out your tent and work without causing a mess. An outdoor space like a driveway, patio, or a clean garage floor is ideal. Ensure good ventilation.
Step 2: Inspect the Tent for Mold
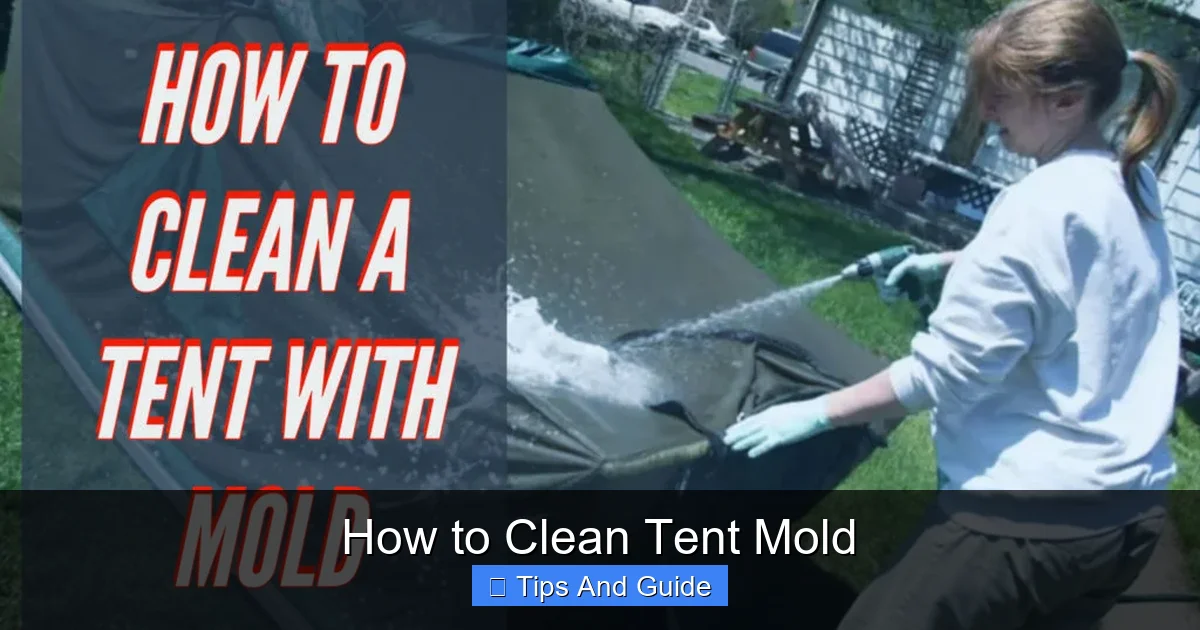
Visual guide about How to Clean Tent Mold
Image source: beingnomadic.com
Carefully examine your tent, paying close attention to seams, corners, and areas that tend to stay damp. Look for discoloration and smell for that distinct musty odor.
Step 3: Test Your Cleaning Solution
This is a critical step to prevent damage.
H3: Choose a Gentle Cleaner
Start with the mildest option. Common and effective cleaners for tent mold include:
* Diluted White Vinegar: A 1:1 mixture of white vinegar and water is a natural and effective mold killer. Vinegar is acidic and can break down mold.
* Mild Soap and Water: For very light mold, a gentle dish soap or specific tent cleaner diluted in water might suffice.
* Commercial Tent Cleaners: Many outdoor gear brands offer specialized cleaners designed for tents. Follow their instructions carefully.
* Lemon Juice: Similar to vinegar, its acidity can help. Mix with water.
* Baking Soda Paste: Mix baking soda with water to form a paste for scrubbing stubborn spots.
H3: Perform a Spot Test
Apply a small amount of your chosen cleaning solution to an inconspicuous area of the tent, such as an inside hem or a hidden corner. Let it sit for the recommended time (or a few minutes), then rinse and let it dry. Check for any discoloration, fading, or damage to the fabric. If the test area is fine, you can proceed.
Step 4: Apply the Cleaning Solution
Once you’ve confirmed your cleaner is safe, it’s time to tackle the mold.
H3: Mix Your Solution
If using vinegar, mix equal parts white vinegar and water in a bucket or spray bottle. If using soap, dilute it according to product instructions.
H3: Gentle Application
* For overall mold: You can gently sponge or spray the diluted solution onto the affected areas. Avoid saturating the fabric unless necessary and recommended by the cleaner’s instructions.
* For stubborn spots: Dip a soft brush into the solution and gently scrub the moldy areas. Work in small sections.
* Important: Do not use bleach. Bleach can damage the fabric, weaken seams, and destroy waterproof coatings. It can also react with other chemicals, producing toxic fumes.
Step 5: Scrubbing and Cleaning
Be patient and gentle during this process.
H3: Work Methodically
Start from the top of the tent and work your way down. This prevents spreading spores to already cleaned areas.
H3: Gentle Scrubbing Technique
Use your soft brush or sponge to gently scrub the mold away. For seams and tight spots, a toothbrush can be very effective. The goal is to lift the mold, not to scrub away the tent material. If mold is deeply ingrained, you might need to repeat the cleaning process or let the solution sit for a bit longer, but always be mindful of the fabric’s integrity.
Step 6: Rinse Thoroughly
This step is crucial to remove all traces of mold and cleaning solution.
H3: Use Clean Water
Rinse the tent thoroughly with clean, cool water. A hose with a gentle spray is ideal for this. Ensure water flows through the fabric and rinses away all the soap or vinegar residue.
H3: Check for Lingering Mold
As you rinse, inspect the tent for any remaining mold spots. You may need to reapply the cleaning solution and scrub gently if any persist.
Step 7: Dry the Tent Completely
Drying is arguably the most important step to prevent mold from returning.
H3: Air Dry in Sunlight
The best way to dry your tent is to hang it up outdoors in direct sunlight. Sunlight is a natural disinfectant and helps to kill any remaining mold spores. Spread the tent out as much as possible, opening doors and windows to maximize airflow.
H3: Ensure Full Dryness
This can take several hours, or even a full day, depending on the weather. Make sure every part of the tent is bone dry – the fabric, seams, zippers, and poles. Any lingering moisture will lead to mold regrowth. If the weather is not cooperating, you can try drying it indoors in a well-ventilated room, but it will take much longer and you must ensure constant airflow.
Step 8: Inspect and Treat Poles and Zippers
Don’t forget the accessories.
H3: Clean Tent Poles
Mold can sometimes grow on tent poles, especially if they have been stored dirty or wet. Wipe them down with a damp cloth and a little of your chosen cleaning solution, then dry them thoroughly.
H3: Clean Zippers and Other Hardware
Dirt and moisture can accumulate in zippers. Clean them with a brush and a little soapy water, then rinse and dry. Ensure they are working smoothly. Lubricating them afterwards with a zipper lubricant can be beneficial.
Step 9: Post-Cleaning Inspection and Protection
After cleaning and drying, give your tent a final inspection.
H3: Final Check
Look for any remaining mold spots or signs of damage. Ensure all parts are clean and dry.
H3: Consider a Waterproofing Treatment
If your tent’s waterproof coating seems to have been affected by the mold or cleaning process, you might consider reapplying a waterproofing treatment. This will help protect your tent from future moisture penetration.
Preventing Tent Mold: Proactive Steps
The best way to deal with tent mold is to prevent it from forming in the first place. These proactive measures will save you a lot of trouble.
1. Always Dry Your Tent Completely
This is the golden rule. After every camping trip, no matter how short, set up your tent at home and let it air dry thoroughly before storing it. Even a hint of dampness can lead to mold. If you can’t dry it at home, at least air it out as much as possible before packing it away.
2. Store Your Tent Properly
* Breathable Storage: Never store your tent in a sealed plastic bag or container. Use the mesh sack it came with, or a breathable fabric bag. This allows air to circulate and moisture to escape.
* Cool and Dry Location: Store your tent in a cool, dry place, away from direct sunlight and extreme temperature fluctuations. An attic or damp basement is not ideal. A temperature-controlled closet or garage is better.
3. Clean Your Tent Regularly
Before storing your tent, brush off any dirt, leaves, or debris. A quick clean can prevent organic matter from becoming a food source for mold. For significant dirt, a gentle wash is recommended.
4. Ventilate Your Tent When Possible
During camping trips, especially in humid conditions or if condensation is an issue, open tent vents and doors as much as weather permits to promote airflow. This can help prevent moisture buildup inside.
5. Be Mindful of Condensation
Condensation can form inside your tent overnight, even if it hasn’t rained. This is due to body heat and breathing. Good ventilation is key to managing this. If you’re camping in a damp environment, consider using a small, portable fan like one of the best camping fans for tents to improve circulation inside.
6. Inspect Before and After Use
A quick visual inspection before and after each trip can catch potential issues early. Check for any unusual smells or signs of wear and tear.
Troubleshooting Common Tent Mold Issues
Sometimes, despite your best efforts, you might encounter a stubborn mold problem.
What if the Mold is on the Tent Floor?
Tent floors are often made of a thicker, more waterproof material. You can use the same cleaning solutions but be extra diligent in scrubbing and rinsing. Ensure the floor dries completely; it’s often the hardest part to get bone dry.
What if the Mold Has Stained the Tent Fabric?
Some deep-set mold stains may be permanent, especially on lighter-colored tents. While cleaning can remove the mold itself, the discoloration might remain. Focus on removing the mold to prevent further damage and health risks. A waterproofing treatment can sometimes help to mask minor stains by providing a more uniform appearance.
Can I Use a Pressure Washer?
Absolutely not. A pressure washer will almost certainly damage your tent’s fabric, seams, and waterproof coatings. Always use gentle cleaning methods.
What About Odor Removal?
If the musty odor persists even after cleaning and drying, you can try leaving the tent outdoors in fresh air and sunlight for a few days. You can also place a deodorizer, like activated charcoal or baking soda, inside the tent for a few days with the door closed (ensure it’s sealed so it doesn’t spill).
Conclusion
Dealing with tent mold can seem daunting, but it’s a manageable problem with the right knowledge and approach. By following these step-by-step instructions, you can effectively clean your tent and restore it to its former glory. Remember, the key is gentle cleaning, thorough rinsing, and complete drying.
More importantly, by adopting good storage habits and ensuring your tent is always dry after use, you can prevent mold from becoming an issue in the future. A well-maintained tent is a happy tent, ready for countless adventures. So, get out there and enjoy the great outdoors, knowing your shelter is clean and ready!