
A musty tent can ruin a camping trip. This guide provides a comprehensive, step-by-step process to effectively clean your tent and eliminate that unpleasant odor. We’ll cover everything from preparing your tent to deep cleaning and proper drying techniques, ensuring your next outdoor adventure is fresh and enjoyable.
Camping is an incredible way to connect with nature, but the experience can quickly sour if you pull out your tent only to be greeted by that unmistakable musty smell. That damp, mildewy odor isn’t just unpleasant; it can also indicate the presence of mold or mildew, which can damage your tent over time. Fortunately, getting rid of a musty tent smell is a manageable task. This comprehensive guide will walk you through everything you need to know about how to clean a musty tent, ensuring your outdoor adventures are always fresh and inviting.
We’ll cover the reasons behind that musty smell, the supplies you’ll need, and a detailed, step-by-step cleaning process. We’ll also offer tips on proper drying and storage to prevent the problem from recurring. Get ready to say goodbye to that stuffy scent and hello to breathable, fresh-smelling camping gear!
Key Takeaways
- Identify the Source: The first step is to understand *why* your tent smells musty, often due to moisture and lack of ventilation.
- Gentle Cleaning Solutions: Use mild soap or specialized tent cleaner; harsh chemicals can damage waterproofing and fabrics.
- Thorough Rinsing is Crucial: Ensure all soap residue is completely washed away to prevent future mildew growth and fabric degradation.
- Proper Drying is Paramount: Air drying in a well-ventilated area is essential; never pack away a damp tent.
- Deodorizing Techniques: Baking soda, activated charcoal, and sunlight are natural deodorizers that can help absorb lingering smells.
- Storage Matters: Storing your tent in a cool, dry place, loosely packed, is key to preventing mustiness in the first place.
Why Does My Tent Smell Musty?
Before we dive into cleaning, let’s understand what causes that unpleasant odor. The primary culprit is moisture. When a tent is packed away while still damp, moisture gets trapped inside. This creates a perfect breeding ground for mold and mildew, which produce that characteristic musty smell.
Factors that contribute to a musty tent include:
- Improper Drying: Not fully drying your tent after a trip, especially if it rained or there was heavy dew.
- Damp Storage: Storing your tent in a humid environment like a basement, garage, or shed.
- Spills and Leaks: Accidental spills or leaks that weren’t cleaned up properly.
- Dirt and Grime: Accumulated dirt can hold moisture and encourage microbial growth.
Understanding these causes is the first step to preventing future problems and effectively tackling the current one.
Gathering Your Cleaning Supplies
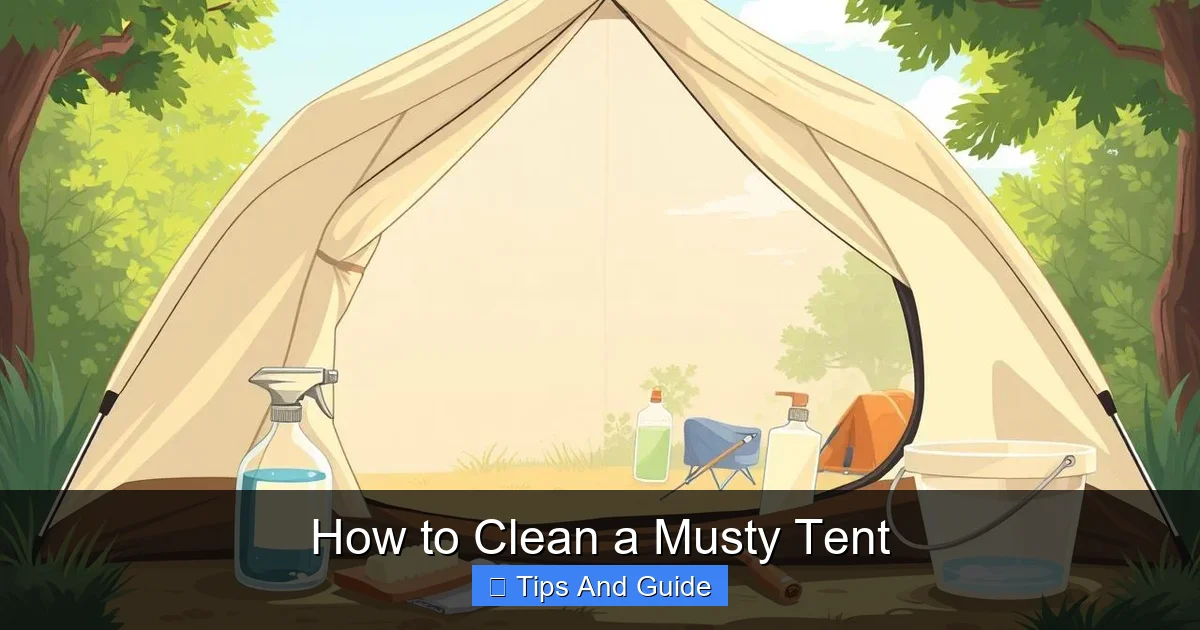
Visual guide about How to Clean a Musty Tent
Image source: besttentreviews.com
Having the right tools and supplies makes the cleaning process much smoother. Here’s what you’ll likely need:
- Mild Soap: A gentle dish soap or a specialized tent cleaner. Avoid harsh detergents, as they can strip waterproofing.
- Soft Brushes or Sponges: For scrubbing without damaging the fabric.
- Bucket or Hose: For rinsing.
- Clean Towels or Microfiber Cloths: For drying.
- Baking Soda or White Vinegar: For deodorizing (optional).
- Waterproof Gloves: To protect your hands.
- Large, Flat Area: For air drying.
Step-by-Step Guide to Cleaning a Musty Tent

Visual guide about How to Clean a Musty Tent
Image source: besttentreviews.com
Now, let’s get down to business. Follow these steps to bring your tent back to life.
Step 1: Prepare Your Tent for Cleaning
Visual guide about How to Clean a Musty Tent
Image source: besttentreviews.com
Before you start scrubbing, it’s important to prepare your tent.
Empty and Inspect
- First, completely empty your tent. Remove all sleeping bags, pads, cooking gear, and any other items.
- Lay the tent flat and inspect it thoroughly. Look for any visible mold or mildew spots, tears, or damage. Note any areas that seem particularly affected by the musty smell.
Set Up Your Cleaning Station
- Choose a suitable location for cleaning. If you have a large yard, you can set up the tent there. If not, a spacious bathroom or laundry room with good ventilation can work.
- If cleaning outdoors, make sure the weather is favorable – a sunny, breezy day is ideal for drying later.
Step 2: Initial Cleaning and Debris Removal
This step focuses on removing loose dirt and debris.
Shake it Out
- Hang the tent up if possible, or lay it flat and give it a good shake. This will dislodge dirt, leaves, sand, and other loose debris that might be trapped in the seams and corners.
- Use a soft brush to gently sweep away any remaining dry dirt from the inside and outside of the tent fabric. Pay attention to the floor and seams.
Clean Out Poles and Stakes
- While you’re at it, clean your tent poles and stakes. Wipe them down with a damp cloth to remove dirt and grime. Ensure they are completely dry before reassembling or storing.
Step 3: Washing the Tent Fabric
This is where you’ll tackle the musty smell directly.
Mild Soap Solution
- In a bucket, mix a small amount of mild soap (like a few drops of dish soap) with cool or lukewarm water. Alternatively, use a specialized tent cleaner according to the product instructions.
- Do NOT use hot water, as it can damage the fabric or coatings.
Gentle Scrubbing
- Dip a soft sponge or brush into the soapy water.
- Gently scrub the inside and outside of the tent fabric. Work in sections, focusing on any stained areas or spots where the musty smell seems strongest.
- Be careful not to scrub too aggressively, especially on delicate fabrics or coated areas like the rainfly’s waterproofing.
Rinse Thoroughly
- This is a critical step. You need to rinse *all* of the soap residue out of the tent. Soap left behind can attract dirt and moisture, leading to future problems.
- If cleaning outdoors, use a hose on a gentle setting. Rinse from top to bottom, ensuring water flows out of all seams and corners.
- If cleaning indoors, use a showerhead or a bucket of clean water. You may need to repeat the rinsing process multiple times to ensure all soap is gone. Squeeze sections of the fabric gently to help release trapped soap.
Step 4: Deodorizing Stubborn Smells (Optional)
If the musty smell persists after washing, you can try these natural deodorizing methods.
Baking Soda Treatment
- Baking soda is an excellent natural deodorizer.
- After rinsing the tent but while it’s still damp, liberally sprinkle baking soda over the entire interior surface.
- Let it sit for a few hours, or even overnight, to absorb odors.
- Afterward, gently brush or vacuum the baking soda off. Then, give the tent another thorough rinse and proceed to drying.
White Vinegar Solution
- White vinegar is another effective odor neutralizer.
- Mix a solution of one part white vinegar to ten parts water in a spray bottle.
- Lightly spray the inside of the tent. Let it sit for about 30 minutes.
- Rinse the tent very thoroughly afterward, as lingering vinegar can also have its own strong smell. You might need to rinse more than once to completely remove the vinegar scent.
Step 5: Drying the Tent
Proper drying is absolutely essential. Never pack away a damp tent.
Air Dry Outdoors
- The best way to dry a tent is to set it up outdoors in a well-ventilated area, ideally in direct sunlight.
- Open all doors and windows to maximize airflow.
- Ensure the tent is fully erected so that air can circulate through all parts.
- If sunlight is intense, you might want to consider a spot with partial shade to prevent UV damage to the fabric over extended periods, though a few hours of direct sun can help kill residual mold spores.
Indoor Drying (If Necessary)
- If you can’t dry it outdoors, set it up indoors in a well-ventilated room.
- Use fans to increase air circulation around the tent.
- Open all vents and doors.
- This method takes longer and requires constant monitoring to ensure it dries completely.
Check for Dryness
- Feel the fabric, seams, and zippers carefully. It must be completely dry to the touch. Any hint of dampness means it needs more time.
- Pay special attention to the floor and corners, as these areas tend to hold moisture the longest.
Step 6: Re-Waterproofing (Optional but Recommended)
Over time, washing can sometimes affect the DWR (Durable Water Repellent) coating on your tent. If your tent isn’t beading water effectively anymore, consider re-waterproofing.
Apply a Water Repellent Spray
- Once your tent is completely dry, you can apply a fabric-specific water repellent spray.
- Follow the product instructions carefully. Typically, you’ll spray it evenly onto the exterior fabric, let it soak in, and then wipe off any excess.
- This step is particularly important for the rainfly.
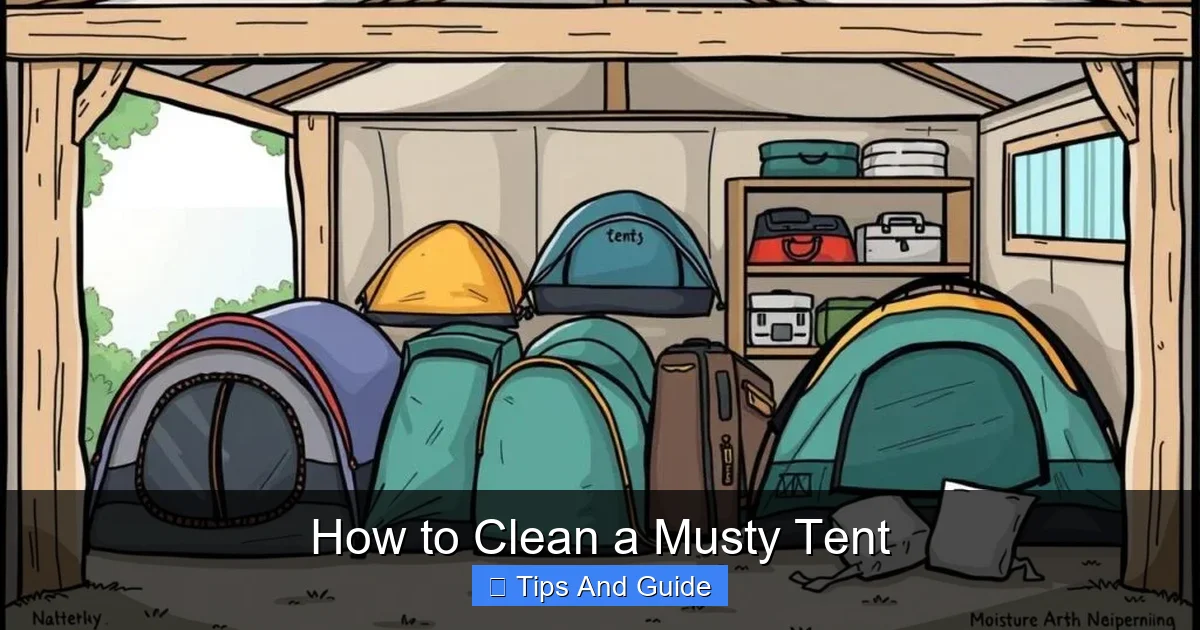
Step 7: Proper Storage to Prevent Future Mustiness
Preventing the musty smell from returning is as important as cleaning it in the first place.
Store Loosely Packed
- Never store your tent tightly packed in its stuff sack.
- Instead, loosely stuff it into its storage bag or a larger canvas bag. This allows for some air circulation and prevents creases from becoming permanent.
Choose a Dry Location
- Store your tent in a cool, dry place. Avoid humid environments like basements, garages, or sheds if they tend to be damp.
- A closet in a climate-controlled part of your home is ideal.
Occasional Airing Out
- Even when stored properly, it’s a good idea to take your tent out once or twice a year and let it air out for a day. This helps prevent any residual moisture from becoming an issue and keeps the fabric fresh. If you’re considering new camping gear, checking out guides for the best camping lights for tent can also ensure good visibility and help with spotting potential issues early.
Troubleshooting Common Issues
* Persistent Odor: If the smell won’t go away, you might have deeper mold growth. Consider a more concentrated vinegar solution or a specialized tent cleaner designed for mildew. If all else fails, it might be time to consider a new tent, especially if it’s an older model.
* Fabric Damage: If you notice tears or holes during cleaning, repair them promptly with a tent repair kit. For minor issues with zippers, a bit of lubrication can often help.
* Waterproofing Issues: If re-waterproofing doesn’t restore performance, the tent’s coating might be too degraded.
Conclusion
Cleaning a musty tent might seem like a daunting task, but with the right approach, it’s entirely achievable. By following these steps, you can effectively eliminate unpleasant odors, extend the life of your tent, and ensure that your future camping trips are filled with the crisp, fresh air you crave. Remember, prevention is key, so always dry your tent thoroughly and store it properly. A well-maintained tent is a happy tent, ready for many more adventures under the stars. Happy camping!