
Discover how to build your own tarp tent, a versatile and cost-effective shelter. This comprehensive guide walks you through selecting the right materials, mastering various setup techniques, and adding essential features for a comfortable and durable outdoor experience. Learn to create a personalized camping solution that suits your needs, from minimalist shelters to more robust setups.
Building your own tarp tent can be a rewarding and practical endeavor. Whether you’re a seasoned backpacker looking for a lightweight shelter or a budget-conscious camper wanting a custom setup, a tarp tent offers incredible versatility. In this guide, we’ll walk you through everything you need to know to construct your own durable and functional tarp tent. You’ll learn about the best materials, essential accessories, and a variety of popular setup configurations. Get ready to embrace the simplicity and adaptability of tarp tent camping!
Key Takeaways
- Choose the right tarp: Opt for a durable, waterproof tarp made from materials like silnylon or silpoly, with reinforced grommets for secure tie-outs.
- Essential accessories: Gather sturdy stakes, strong cordage (like paracord), and potentially trekking poles or adjustable poles for support.
- Master basic configurations: Learn simple setups like the A-frame, lean-to, and diamond fly for quick and effective shelter.
- Secure your tarp: Properly tensioning the tarp and staking it securely is crucial for wind resistance and water runoff.
- Consider ground protection: Use a footprint or ground cloth to protect the tarp floor and add insulation.
- Enhance comfort: Add features like bug netting, a built-in floor, or vestibules to customize your tarp tent.
- Practice makes perfect: Familiarize yourself with different setups and practice in your backyard before heading into the wilderness.
Why Build a Tarp Tent?
Tarp tents, also known as tarp shelters or tarps, are a fantastic alternative to traditional tents. They are often lighter, more versatile, and significantly more affordable. Their minimalist design means fewer poles and less fabric, making them ideal for ultralight backpacking or for those who enjoy a closer connection to nature. Plus, building your own allows you to tailor the shelter precisely to your needs.
Choosing Your Tarp
The heart of your tarp tent is, of course, the tarp itself. Selecting the right one is paramount to your comfort and protection from the elements.
Tarp Material
The most common and recommended materials for a good tarp are:
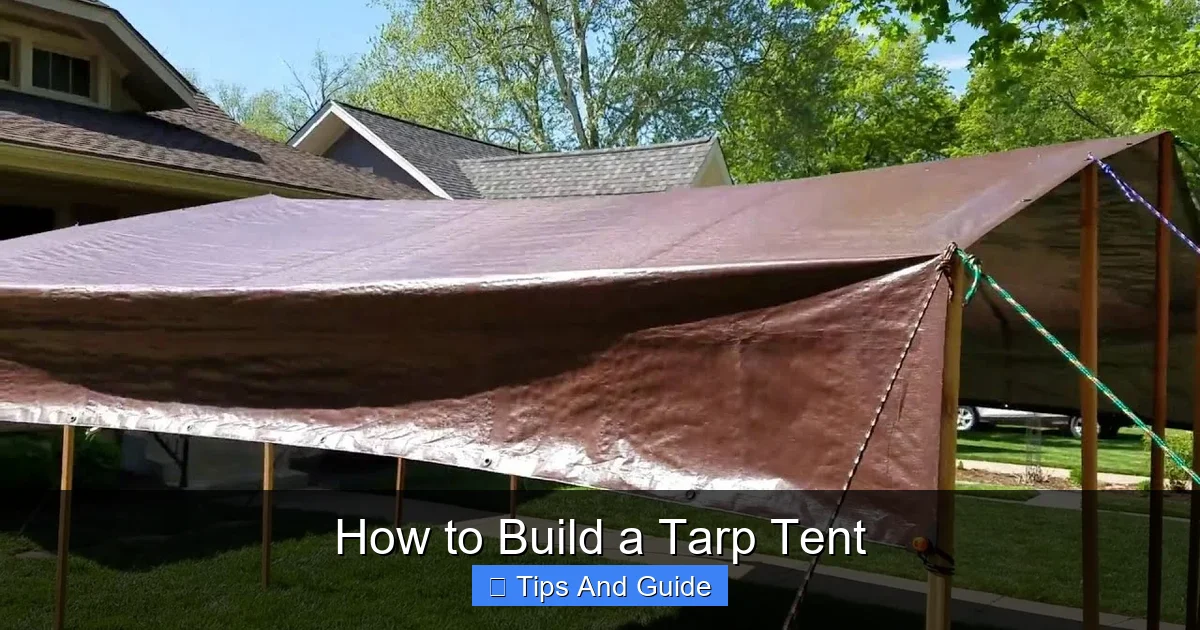
Visual guide about How to Build a Tarp Tent
Image source: i.ytimg.com
- Silnylon (Silicone-impregnated Nylon): Lightweight, strong, and highly waterproof. It has excellent tear resistance but can stretch when wet.
- Silpoly (Silicone-impregnated Polyester): Also lightweight and waterproof, but it stretches less than silnylon when wet and is generally more UV resistant.
- Cuben Fiber (DCF): Extremely lightweight and strong, but also very expensive. It’s a top-tier choice for ultralight enthusiasts.
Avoid tarps made from cheap polyethylene (like painter’s tarps) as they are heavy, prone to ripping, and offer poor UV protection.
Tarp Size and Shape
Tarps come in various sizes and shapes. Common rectangular sizes range from 8×10 feet to 10×12 feet. Hexagonal or catenary-cut tarps (with curved edges) are also popular as they create a tauter pitch and shed water more effectively.
- For solo use: An 8×10 or 9×10 foot tarp is usually sufficient.
- For two people: Aim for a 10×12 foot tarp or larger.
Grommets and Tie-Outs
Look for a tarp with sturdy, well-reinforced grommets along the edges and corners. These are crucial for attaching your cordage and stakes. Some tarps also feature additional tie-out loops for more setup options. Ensure these are securely attached and reinforced.
Essential Gear for Your Tarp Tent
Beyond the tarp, you’ll need a few key items to construct and secure your shelter.
Cordage
Strong, durable cordage is essential. Paracord (550 cord) is a popular choice due to its strength and versatility. You’ll need at least 50-100 feet, depending on your setup. Consider bringing a few lengths of different sizes and types for various purposes.
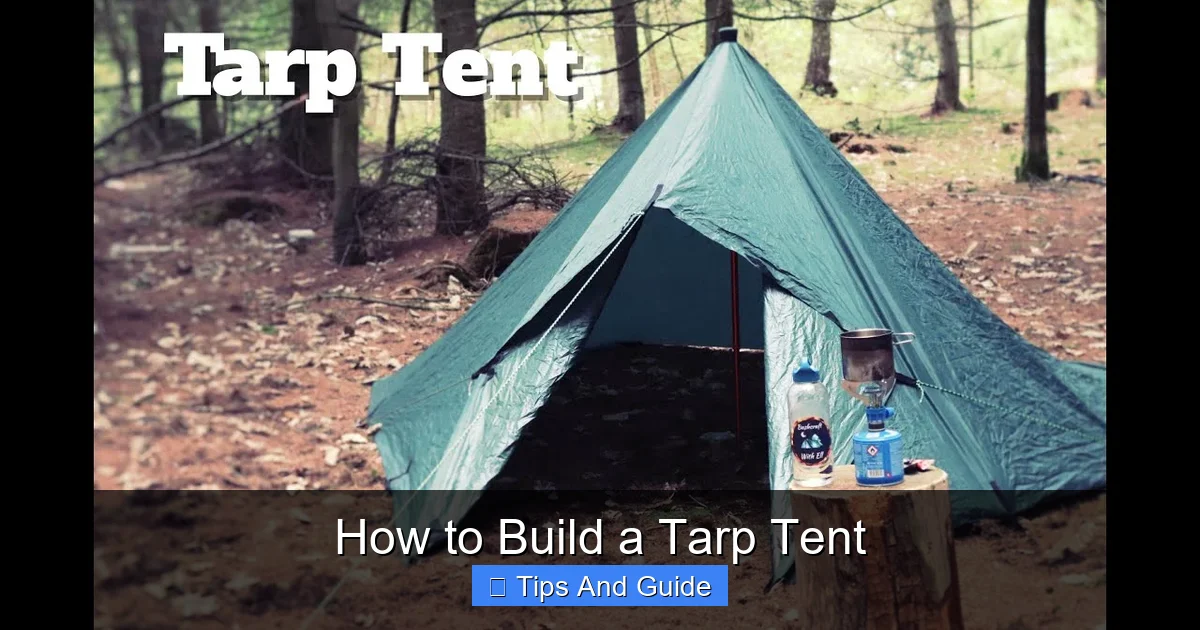
Visual guide about How to Build a Tarp Tent
Image source: i.ytimg.com
Stakes
Sturdy stakes are vital for anchoring your tarp. Aluminum or titanium stakes are lightweight and durable. The type of stake you choose might depend on the ground conditions you expect.
- Y-beam or V-stakes: Excellent for general-purpose use and hold well in most soil types.
- Sand stakes: Longer and wider to provide better grip in sandy conditions.
- Peg stakes: Good for hard-packed ground or rocky terrain.
Support Poles (Optional but Recommended)
While many tarp tents can be pitched using trees or trekking poles, dedicated tarp poles or adjustable hiking poles can significantly improve the stability and headroom of your shelter. These allow you to create an A-frame or other configurations without relying on natural anchor points.
Footprint or Ground Cloth
To protect the bottom of your tarp from abrasion and moisture, and to add a layer of insulation, use a footprint or ground cloth. This can be a dedicated footprint designed for a specific tarp shape, or simply a piece of durable plastic or a lightweight tarp cut to size. When choosing a camping mat for your tent, consider its size and durability.
Popular Tarp Tent Configurations
The beauty of a tarp tent lies in its adaptability. Here are a few common and effective ways to pitch your tarp.
1. The A-Frame (or Ridge Line) Setup
This is one of the most common and stable configurations, resembling a traditional tent.
How to set it up:
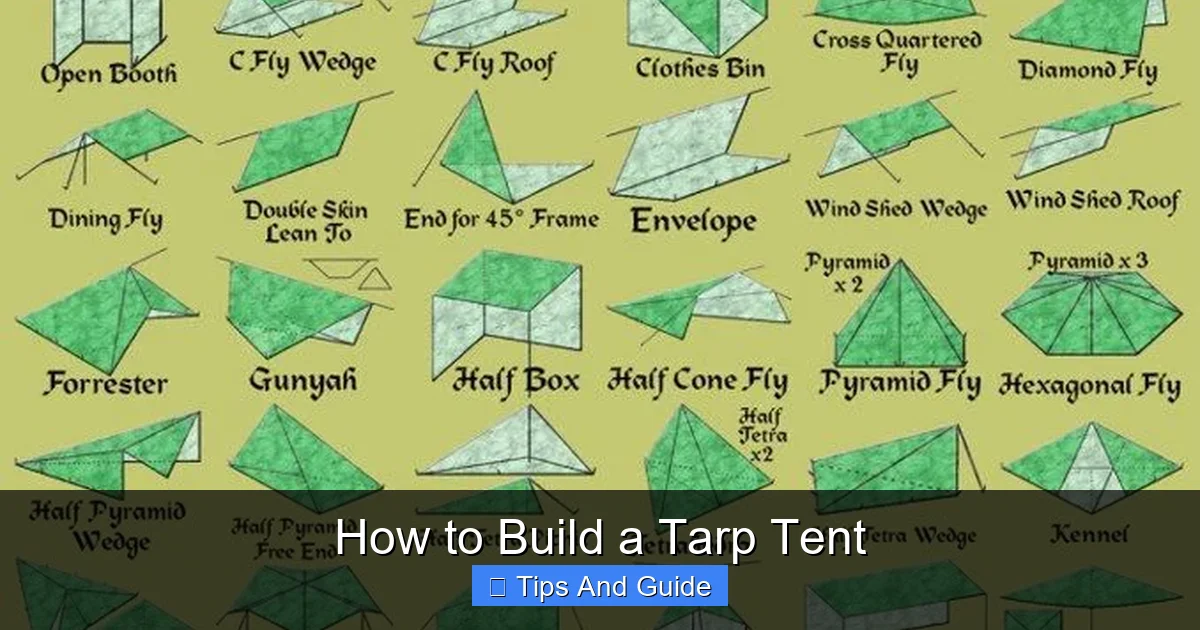
Visual guide about How to Build a Tarp Tent
Image source: i.pinimg.com
- Find anchor points: Identify two sturdy trees or use two adjustable poles spaced about the length of your tarp.
- Run a ridgeline: If using trees, tie a cord between them. If using poles, attach the ridgeline cord to the top of each pole.
- Drape the tarp: Drape your tarp over the ridgeline so it’s centered.
- Stake out the sides: Pull the sides of the tarp taut and stake them to the ground. Use the grommets or tie-out loops.
- Tension: Adjust the cordage to create a tight pitch. Ensure the ridgeline is taut.
Tips: Use trekking poles as your support if trees aren’t available. This setup provides excellent wind and rain protection. Ensure your ridgeline is high enough to give you adequate headroom.
2. The Lean-To Setup
This is a simple and quick setup, offering protection from wind and rain coming from one direction.
How to set it up:
- Choose a support: Use a single tree, a rock face, or a pole at one end.
- Attach the ridgeline: Tie one edge of the tarp to your support at a height that allows for comfortable entry.
- Stake the opposite edge: Pull the opposite edge of the tarp taut to the ground and stake it securely.
- Stake the sides: Stake out the side edges for added stability.
Tips: This is great for a quick shelter from rain or for creating a shaded area. Position it so the prevailing wind and rain come from the unsupported side.
3. The Diamond Fly Setup
This is a minimalist setup that uses a single pole or tree at one end and stakes at the other.
How to set it up:
- Stake the front corners: Stake out two corners of the tarp to the ground.
- Elevate the back: Use a pole or tree to lift the rear corner of the tarp.
- Tie out the back corner: Tie a cord from the elevated corner to a stake or another anchor point.
- Stake the remaining corner: Pull the final corner taut and stake it to the ground.
Tips: This setup is very light and compact. It offers good protection from rain but can be less effective against wind from the open side. It’s a good option for ultralight campers.
4. The Pyramid Setup
This setup uses a single pole in the center to create a sturdy, freestanding-like structure.
How to set it up:
- Place the pole: Stand your pole in the center of where you want your shelter.
- Drape the tarp: Drape the tarp over the pole, ensuring it’s centered.
- Stake out the corners: Pull each corner of the tarp out and stake them to the ground.
- Tension the sides: Use guylines from the side tie-outs to further tension the structure and increase stability.
Tips: This creates a roomy interior for its size. It’s a good option if you don’t have trees or need a freestanding shelter. For very large tarps, you might need a slightly thicker pole or additional support.
Advanced Tarp Tent Techniques and Features
Once you’ve mastered the basic setups, you can explore ways to enhance your tarp tent.
Creating a Built-in Floor
Many people add a floor to their tarp tent for comfort and to keep bugs out.
- Sew a floor: You can sew a bathtub-style floor from waterproof fabric to the edges of your tarp.
- Use a separate groundsheet: Lay a dedicated groundsheet inside your tarp structure.
- Bivy sack integration: A bivy sack can be used inside your tarp setup for added bug protection and a sealed sleeping environment.
Adding Bug Protection
If bugs are a concern, you can integrate bug netting.
- Bug net walls: Some commercially available tarps have zip-on bug netting walls.
- DIY netting: You can create your own bug netting enclosure using lightweight mesh and tie-outs.
- Bug bivy: Using a bug bivy inside your tarp setup is another effective solution.
Vestibule Creation
A vestibule provides extra protected space for gear.
- Pitching with an overlap: Some setups naturally create a vestibule by pitching one end lower than the other.
- Using extra cordage: You can manipulate the tarp with additional cordage and stakes to form a covered area.
Tips for a Successful Tarp Tent Trip
* Practice, Practice, Practice: Set up your tarp tent in your backyard or a local park before you go camping. This will help you get familiar with different pitches and identify any potential issues.
* Site Selection: Choose a flat, well-drained area for your campsite. Look for natural anchor points like trees if your setup relies on them. Be mindful of overhead hazards like dead branches.
* Tension is Key: A taut pitch is crucial for water runoff and wind resistance. Take the time to adjust your guylines and stakes properly.
* Ventilation: Even with a tarp, airflow is important to reduce condensation. Position your tent to allow for cross-breezes if possible.
* Ground Insulation: The ground can suck warmth from your body. Ensure you have a good camping mattress or sleeping pad for insulation.
* Consider Lighting: Having a good light source is essential for navigating your tent at night. Check out our guide on the best camping lights for your tent.
* Weather Awareness: Be prepared for changing weather conditions. A well-pitched tarp can handle a surprising amount of rain and wind, but always check the forecast. For colder weather, consider a camping heater for tent.
Troubleshooting Common Tarp Tent Issues
* Sagging Tarp: This usually means your ridgeline or guylines are not tight enough. Re-tension everything.
* Water Pooling: The tarp is likely not pitched taut enough, or the slope isn’t sufficient for water to run off. Adjust tension and pitch angle.
* Windy Conditions: Ensure all stakes are firmly in the ground and all guylines are taut. Consider pitching the lowest profile side into the wind. For very windy areas, a more aerodynamic pitch is recommended.
* Condensation: Improve ventilation by opening vents (if applicable) or adjusting the pitch to allow more airflow.
Conclusion
Building and using a tarp tent is an incredibly versatile and rewarding way to experience the outdoors. It empowers you with a customizable shelter that can be adapted to almost any situation. By selecting the right materials, practicing different pitches, and paying attention to essential details like tension and site selection, you can create a reliable and comfortable home away from home. So grab a tarp, some cordage, and start experimenting. Your next adventure might just be sheltered by your own creation!