
Building a tent for your camping trip is an essential skill. This guide provides step-by-step instructions to help you set up your tent quickly and efficiently. We cover everything from selecting the perfect campsite to properly dismantling your tent, ensuring a smooth and enjoyable outdoor experience. Mastering tent assembly will make your adventures more comfortable and stress-free.
# How Do You Build a Tent
Welcome, outdoor enthusiasts! So, you’re ready to embrace the great outdoors, but the thought of wrestling with fabric and poles fills you with a little dread? Don’t worry! Building a tent is a fundamental skill for any camper, hiker, or festival-goer. It’s not as complicated as it might seem, and with a little practice and this comprehensive guide, you’ll be a tent-building pro in no time.
In this guide, we’ll walk you through every step, from choosing the ideal location to securely pitching your shelter. We’ll demystify the process, offering practical tips and troubleshooting advice to ensure your tent stands strong against the elements and provides a cozy haven for your adventures. Get ready to learn how to build a tent that’s stable, comfortable, and ready for whatever nature throws your way!
Key Takeaways
- Preparation is Key: Always unpack and inspect your tent components before heading out to ensure everything is present and in good condition.
- Site Selection Matters: Choose a flat, well-drained spot away from potential hazards like dead trees or water sources.
- Follow Manufacturer Instructions: Each tent is different; always refer to the specific instructions provided by the manufacturer for optimal setup.
- Systematic Assembly: Assemble the tent poles first, then attach them to the tent body, and finally secure the rainfly for complete protection.
- Proper Anchoring: Use all provided stakes and guylines to secure your tent firmly, especially in windy conditions, to prevent damage and discomfort.
- Ventilation is Crucial: Ensure good airflow to reduce condensation inside the tent, which can make your sleeping area damp.
- Efficient Dismantling: Clean and dry your tent thoroughly before packing to prolong its lifespan and prevent mildew.
Before You Begin: Preparation is Paramount
Before you even think about unfolding your tent, a little preparation goes a long way. This initial step can save you a lot of frustration and ensure your camping trip starts on the right foot.
Unpack and Inspect
The first thing you should do when you get your tent, or before you head out on a trip, is to unpack it completely. Lay out all the components: the tent body, the rainfly, the poles, the stakes, and any guylines or repair kits.
Check for damage. Look for any rips, tears, or broken zippers. Ensure all poles are intact and the elastic cord inside them is still functional. Make sure you have all the necessary stakes and that they aren’t bent.
Read the instructions. Every tent is a little different. While the general principles of building a tent are similar, the specific way your poles connect or how your rainfly attaches might vary. Take a few minutes to read the manufacturer’s instructions. You might even want to do a practice setup in your backyard before your trip. This is also a great time to familiarize yourself with the setup process if you’re looking for a new tent, perhaps one of the best pop-up tent reviews can help guide your decision.
Gather Your Tools
While most tents come with everything you need, a few extra items can make the process smoother:
- A Mallet or Hammer: For driving stakes into harder ground. Be careful not to use excessive force, as this can bend your stakes.
- A Ground Tarp or Footprint: This optional but highly recommended item protects the bottom of your tent from abrasion and moisture. It also makes cleanup easier.
- Gloves: If you’re setting up in rough terrain or cold weather, gloves can protect your hands.
Choosing the Perfect Campsite
Where you pitch your tent can significantly impact your comfort and safety. A little thought goes a long way in selecting a good spot.
Look for Flat Ground
This is crucial for a good night’s sleep. Sleeping on an incline can be uncomfortable and may even cause you to roll out of your sleeping bag. Avoid dips or hollows where water can collect if it rains. A slightly elevated spot is often ideal.
Visual guide about How Do You Build a Tent
Image source: builditapp.com
Consider Drainage
Rain is a reality of camping. You want to pitch your tent on ground that drains well. Avoid areas that look swampy or have standing water, especially after rain. Look for sandy or gravelly soil, which tends to drain better than heavy clay.
Be Aware of Your Surroundings
Overhead hazards: Steer clear of dead trees or large branches that could fall during high winds or storms. This is often referred to as “widowmakers.”
Wind protection: If wind is a concern, look for a spot that offers some natural protection, like behind a cluster of trees or a large rock. However, don’t pitch your tent directly under trees that might drop limbs or sap.
Water sources: While it might be convenient to be close to a stream or lake, pitching too close can mean dealing with more insects, potential flooding, and it’s often not permitted by park regulations for environmental reasons.
Sun and Shade: Consider the sun’s path. If you’re camping in a hot climate, pitching your tent in the shade will keep it cooler during the day. If you’re in a cooler climate, some morning sun can help warm up your tent.
Setting Up Your Tent: A Step-by-Step Guide
Now for the main event! Follow these steps to build your tent. Remember, practice makes perfect, and the more you do it, the faster and easier it will become.
Step 1: Lay Out the Footprint (Optional but Recommended)
If you’re using a footprint or ground tarp, spread it out on your chosen campsite. Ensure it’s laid flat and the correct side is up if it has one.
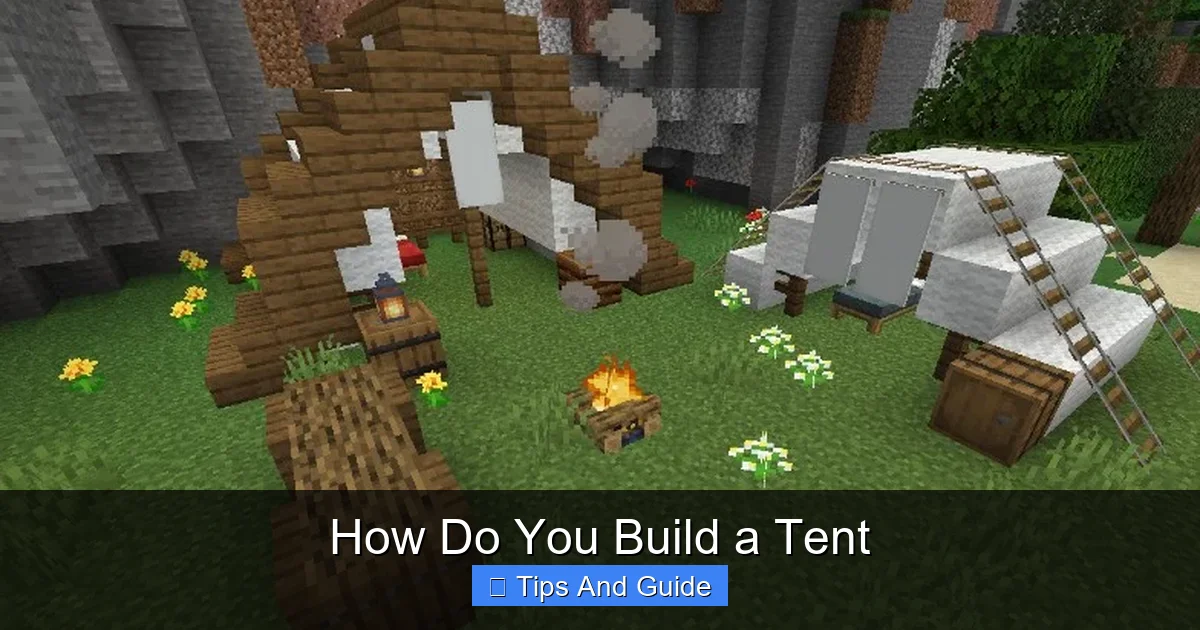
Visual guide about How Do You Build a Tent
Image source: diamondlobby.com
Tip: The footprint should be slightly smaller than the tent floor. If it extends beyond the tent, it can collect rainwater and channel it under your tent.
Step 2: Position the Tent Body
Carefully unfold the tent body and lay it on top of the footprint. Make sure the door(s) are facing the direction you want them to. Smooth out any wrinkles to ensure the tent is positioned as intended.
Step 3: Assemble the Tent Poles
Tent poles are typically segmented and connected by an elastic cord. Locate the sections and begin to connect them by inserting the ends into each other. The elastic cord will help guide them into place.
Tip: Don’t force the poles together. If they feel stiff, gently twist them as you connect them. Avoid bending the poles excessively, as this can weaken them.
Step 4: Insert Poles into the Tent Sleeves or Clips
This is where tents can differ the most. Some tents have sleeves that the poles slide through, while others use clips that attach to the poles.
For Tents with Sleeves:
Carefully slide the assembled poles through the designated sleeves on the tent body. Start at one end and gently push or pull the pole through. You may need to bend the pole slightly to guide it through.
Tip: Work slowly and deliberately. If you encounter resistance, check to ensure the pole is aligned correctly within the sleeve. Sometimes it helps to have a second person to feed the pole.
For Tents with Clips:
Lay the poles across the tent body according to the manufacturer’s diagram. Then, attach the clips that are sewn onto the tent fabric onto the poles. Start from the center and work your way outwards, or vice versa, depending on the tent design.
Tip: Many modern tents use a color-coding system. The poles and the corresponding attachment points on the tent might be color-coded to make this step intuitive.
Step 5: Secure the Tent Corners and Raise the Structure
Once the poles are in place, you’ll need to secure them to the tent body and raise the structure. Look for grommets, loops, or pockets at the corners of the tent floor.
Insert the ends of the poles into these designated points. This will likely cause the tent to start taking shape. You might need to bend the poles to fit. This is where the tent starts to stand up on its own. For example, if you’re looking for a tent that sets up easily, you might be interested in exploring thebest pop-up tent on the market, which are designed for minimal effort.
Step 6: Attach the Rainfly
The rainfly is your tent’s waterproof outer layer, providing protection from rain and wind. Drape the rainfly over the tent body. Ensure that the door(s) of the rainfly align with the door(s) of the tent body.
Tip: Pay attention to the orientation of the rainfly. It usually has a specific front and back to ensure proper coverage and ventilation. Check the labels or diagrams.
Step 7: Secure the Rainfly
Most rainflies attach to the tent poles or the tent body with clips, buckles, or Velcro straps. Secure these connections.
Then, use the stakes to anchor the rainfly. You’ll find loops or tabs around the base of the rainfly. Pull the rainfly taut and insert a stake through each loop, driving it into the ground at an angle away from the tent.
Step 8: Stake Down the Tent Body
Now, stake down the tent body. Look for stake loops or grommets around the base of the tent floor. Pull the tent floor taut and drive stakes into the ground at an angle, ensuring the tent is firmly secured and the floor is taut.
Tip: Always use all the stake loops provided. This helps to keep the tent stable and prevents wind from getting underneath it.
Step 9: Use the Guylines
Guylines are ropes that attach to the rainfly and can be staked out further from the tent. They provide crucial extra stability, especially in windy conditions or heavy rain.
Attach the guylines to the designated loops on the rainfly. Extend them outwards and stake them down, using the tensioners to keep them taut. Position them so they are not a tripping hazard but are effectively supporting the rainfly.
Tip: Learn how to tie a taut-line hitch to adjust the tension of your guylines easily. This knot allows you to tighten or loosen the guyline without retying it.
Making Your Tent Comfortable
Once your tent is up, you can focus on making it a comfortable living space.
Sleeping Arrangements
Consider your sleeping surface. A good sleeping pad or a comfortable camping mattress can make a world of difference. For a luxurious feel, check out the best camping mattress for tent options. If you prefer something lighter and more compact, a quality camping mat is a great choice, like those found in guides to the best camping mat for tent.

Visual guide about How Do You Build a Tent
Image source: i.ytimg.com
Lighting
Proper lighting is essential for navigating your tent at night. Battery-powered lanterns or string lights can create a cozy atmosphere. Don’t forget to check out the best camping lights for tent to illuminate your space effectively.
Ventilation
Good ventilation helps prevent condensation buildup inside the tent. Most tents have vents in the rainfly or mesh panels. Open them up, especially if you’re using a camping heater, as proper airflow is critical for safety. For information on heating your tent safely, you might want to look into the best camping heater for tent.
Dismantling Your Tent
Just as important as setting up is taking down your tent properly to ensure its longevity.
Step 1: Remove Interior Items
Take everything out of the tent. Pack your sleeping bags, pads, and personal belongings.
Step 2: Remove Stakes and Guylines
Carefully remove all stakes from the ground. If the ground is hard, you might need to wiggle them or use the edge of a stake to pry them out.
Step 3: Remove the Rainfly
Unclip or unbuckle the rainfly from the tent poles and body. Fold it neatly.
Step 4: Take Down Poles and Tent Body
Carefully remove the poles from the sleeves or clips. The tent will start to collapse. Fold the tent body neatly.
Step 5: Clean and Dry
This is a critical step for preserving your tent. Before packing it away, ensure the tent body and rainfly are as clean and dry as possible. Brush off any dirt or debris. If it’s damp, spread it out in the sun to dry completely before packing. Even a little moisture can lead to mildew, which can damage the fabric and create unpleasant odors.
Step 6: Pack Everything Up
Fold the tent body and rainfly as neatly as you can. Roll them up tightly to fit back into the stuff sack. Make sure all poles, stakes, and accessories are packed into their respective bags or pockets.
Tip: It’s often easier to fold the tent fabric into a rectangular shape first, then roll it up. This creates a more compact and manageable bundle.
Troubleshooting Common Tent Problems
Even with the best intentions, you might run into a few snags. Here are some common issues and how to solve them.
The Tent Won’t Stand Up
Cause: Poles not fully inserted, incorrect pole placement, or stakes not properly secured.
Solution: Double-check that all pole sections are fully connected. Ensure poles are in the correct sleeves or clips. Re-stake the tent, pulling the fabric taut.
The Rainfly Doesn’t Fit Correctly
Cause: Rainfly is on backwards, or the tent is not pitched evenly.
Solution: Ensure the rainfly is oriented correctly, with doors aligned. Make sure the tent body is pitched evenly on flat ground.
Water is Leaking Into the Tent
Cause: Stakes are too close to the tent, rainfly is sagging, or seams aren’t sealed.
Solution: Ensure stakes are positioned so the rainfly is taut and not touching the tent body. Use guylines to keep the rainfly from sagging. For persistent leaks, consider using a seam sealer on the tent’s seams.
Condensation Inside the Tent
Cause: Poor ventilation, breathing at night, or cooking inside without proper airflow.
Solution: Open tent vents, windows, and doors as much as weather permits. Avoid touching the tent walls, as this transfers body heat and moisture. Ensure excellent airflow if using any heating elements, like abest pop-up tent heater.
Conclusion
Building a tent might seem daunting at first, but it’s a skill that will serve you well on countless adventures. By following these steps, preparing adequately, and choosing your campsite wisely, you can ensure your tent is a safe and comfortable retreat. Remember to practice, read your tent’s specific instructions, and don’t be afraid to ask for help if you need it. Happy camping!