
Putting tent pegs in the right way ensures your tent stays stable, safe, and secure in all weather conditions. This guide covers the best techniques, tools, and tips to anchor your tent like a pro—no matter the ground type.
Key Takeaways
- Angle matters: Drive pegs at a 45-degree angle away from the tent for maximum hold.
- Use the right pegs: Match peg material and shape to your terrain—metal for soft soil, Y-beams for hard ground.
- Hammer, don’t stab: Use steady force with a mallet or rock to avoid bending or breaking pegs.
- Tension is key: Keep guylines taut but not overstretched to prevent tearing or collapse.
- Protect your gear: Use pegs with reflective heads or attach bright tags for visibility at night.
- Mind the weather: In windy conditions, add extra pegs and use deadman anchors for heavy loads.
- Practice makes perfect: Test your setup before full deployment to catch weak points early.
📑 Table of Contents
Why Proper Tent Peg Placement Matters
You’ve found the perfect campsite—flat, scenic, and sheltered. You unpack your tent, start setting up, and within minutes, a gust of wind sends your rainfly flapping like a startled bird. Sound familiar? The culprit is often poor tent peg placement. Even the best tent won’t stay secure if the pegs aren’t driven in correctly.
Properly placed tent pegs are the foundation of a safe, comfortable camping experience. They keep your tent stable in wind, rain, and uneven terrain. More importantly, they prevent damage to your gear and reduce the risk of accidents. Whether you’re car camping at a national park or backpacking through rugged backcountry, knowing the best way to put tent pegs in can make or break your trip.
Choosing the Right Tent Pegs for Your Terrain
Not all tent pegs are created equal. The type of ground you’re camping on—soft soil, rocky dirt, sand, or snow—determines which pegs will work best. Using the wrong peg can lead to slippage, bending, or complete failure.
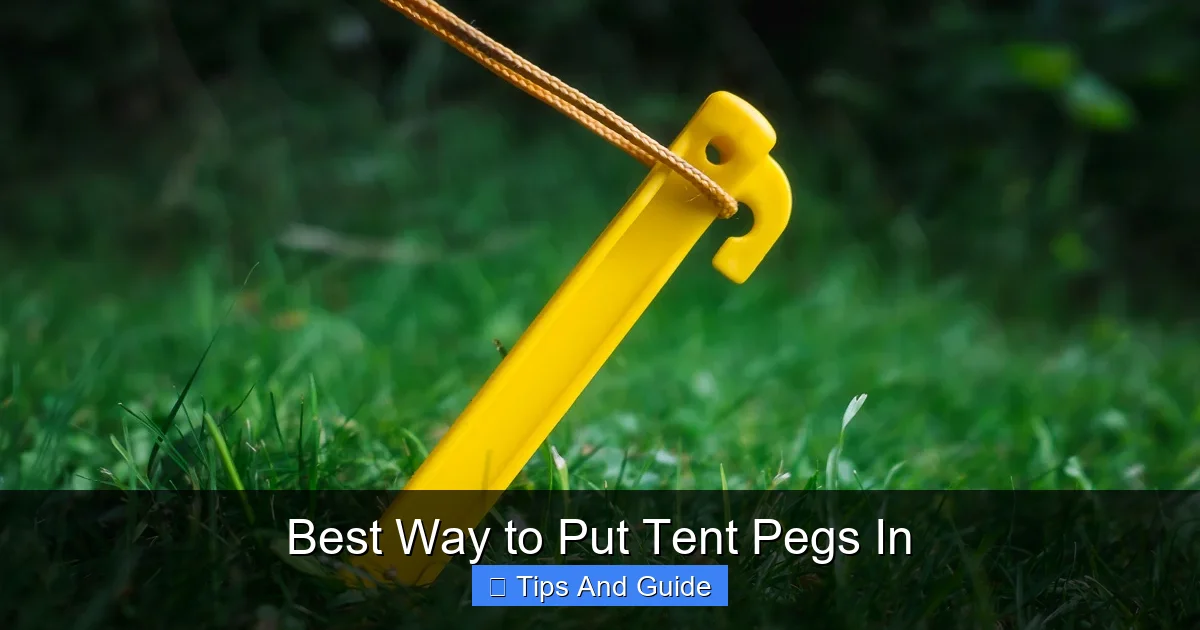
Visual guide about Best Way to Put Tent Pegs In
Image source: skipandjump.co.uk
Soft Soil and Grass
For loamy soil, grassy fields, or forest floors, standard metal or aluminum V-style pegs work great. These are lightweight, affordable, and easy to drive in. Look for pegs with wide flanges to increase surface area and prevent pull-out. Brands like MSR Groundhog or REI Co-op Trailbreak pegs are excellent choices.
Hard or Rocky Ground
In compacted or rocky terrain, traditional pegs often bend or won’t go in at all. Here, Y-beam or T-beam pegs shine. Their wider profile and stronger steel construction resist bending and grip better. Titanium pegs are another high-end option—lightweight and incredibly durable, though pricier.
Sandy or Loose Soil
Beach camping or desert environments require longer, heavier-duty pegs. Sand doesn’t hold tension well, so you need pegs that go deep. Consider using sand screws or snow stakes, which spiral into the ground like anchors. These can be turned with a stick or your hand and provide excellent hold in loose material.
Snow and Ice
Winter camping demands specialized gear. Snow stakes are wide and flat, designed to lie horizontally under snowpack. You can also use skis, trekking poles, or logs as deadman anchors—burying them under snow and tying guylines to them. This method distributes weight and prevents the anchor from popping out.
The Best Technique: How to Put Tent Pegs In
Now that you’ve got the right pegs, it’s time to drive them in—correctly. The best way to put tent pegs in isn’t just about brute force; it’s about angle, direction, and tension.
Angle and Direction
Always drive tent pegs at a 45-degree angle, pointing away from the tent. This creates a mechanical advantage, increasing the holding power. If you drive them straight down, they’re more likely to pull straight out under tension. Angling them ensures the force from the guyline pulls against the ground, not just the peg.
Use a Mallet or Rock
Don’t use your boot or hand to push pegs in—this can bend them or injure you. Instead, use a lightweight camping mallet, a rock, or even the back of your hatchet. Apply steady, controlled strikes. If the ground is hard, try pre-drilling a small hole with a stick or your multitool.
Keep Guylines Taut
As you drive each peg, keep the guyline tight. This ensures the tent fabric stays under proper tension, reducing flapping and stress on seams. Use tensioners or line locks to fine-tune the tightness. Over-tightening can strain the fabric, so aim for firm but not rigid.
Double Up in High Winds
In windy conditions, use two pegs per guyline. Drive them in at opposite angles to form a “V” shape. This creates a stronger anchor point and reduces the chance of failure. You can also add extra guylines to unused attachment points on your tent for added stability.
Advanced Anchoring Techniques
Sometimes, standard pegs just won’t cut it. That’s when advanced anchoring methods come into play. These techniques are especially useful in extreme weather or challenging terrain.
Deadman Anchors
A deadman anchor involves burying a long, sturdy object—like a stick, trekking pole, or snow shovel—under the ground and tying your guyline to it. The buried object acts as a lever, resisting pull-out. This is ideal for snow, sand, or when you don’t have enough pegs.
Bushwhacking with Natural Anchors
In a pinch, use trees, large rocks, or logs as anchor points. Wrap your guyline around a sturdy tree trunk or secure it to a rock with a taut-line hitch. Just be sure not to damage living trees—use padding or avoid tight knots that can girdle the bark.
Pegless Setup with Trekking Poles
Ultralight backpackers often skip traditional pegs altogether. Instead, they use trekking poles as tent supports and anchor guylines to nearby trees or rocks. This reduces pack weight and works well in established campsites with natural anchors.
Tools and Accessories to Make It Easier
Having the right tools can turn a frustrating setup into a quick, painless process. Here are a few must-haves for efficient tent pegging.
Peg Puller or Tent Stake Tool
Removing bent or stuck pegs is easier with a dedicated peg puller. These small tools hook under the peg head and give you leverage to pull it out without damaging your hands or gear. Some even double as bottle openers—perfect for post-setup relaxation.
Reflective or Glow-in-the-Dark Pegs
Nothing ruins a peaceful night like tripping over a guyline in the dark. Use pegs with reflective heads or attach bright tape or tags. This improves visibility and safety, especially on moonless nights.
Guyline Tensioners
Adjustable tensioners let you fine-tune the tightness of your guylines without re-tying knots. Look for models with easy-grip tabs or auto-locking mechanisms. They’re especially helpful in changing weather conditions.
Common Mistakes to Avoid
Even experienced campers make pegging errors. Avoid these common pitfalls to keep your tent secure.
Driving Pegs Too Shallow
Pegs need to go in at least 6–8 inches deep to hold properly. Shallow placement increases the risk of pull-out, especially in wind. If your peg comes out easily, it’s not deep enough.
Using the Wrong Knots
A loose or slipping knot can undo all your hard work. Use reliable knots like the taut-line hitch or bowline for adjustable tension. Avoid simple overhand knots, which can jam or slip under load.
Ignoring Wind Direction
Always set up your tent with the smallest side facing the wind. This reduces wind resistance and stress on guylines. Secure the windward side first, then work around the tent.
Overlooking Ground Conditions
Wet soil may seem soft, but it can lose strength when saturated. Avoid setting up on slopes or near water sources where ground could weaken overnight. If rain is expected, consider using longer pegs or extra guylines.
Final Tips for a Secure Setup
Once your tent is up, take a moment to inspect your setup. Walk around the tent and gently tug on each guyline. If any feel loose, re-tension or re-peg. Check that all pegs are angled correctly and deeply embedded.
For extra peace of mind, especially in storm-prone areas, add a tarp overhead. A properly pitched tarp can reduce wind load on your tent and keep you dry. Learn more about the best way to hang tarp over tent for optimal coverage.
And remember: a well-anchored tent isn’t just about survival—it’s about comfort. A stable tent means better sleep, less noise, and fewer worries. Whether you’re braving a winter storm or enjoying a summer breeze, mastering the best way to put tent pegs in ensures your shelter stands strong.
Frequently Asked Questions
What’s the best angle to drive tent pegs?
The best angle is 45 degrees, pointing away from the tent. This maximizes holding power by using the ground to resist pull-out forces.
Can I use rocks instead of tent pegs?
Yes, in a pinch. Use large, flat rocks as anchors by wrapping guylines around them or tucking them under logs. Just ensure they’re stable and won’t shift.
How deep should tent pegs go?
Pegs should be driven 6–8 inches deep. Deeper is better in loose or wet soil, especially in windy conditions.
What do I do if my tent pegs keep bending?
Switch to stronger pegs like Y-beam or titanium. Also, avoid driving them into rocks—pre-drill holes or reposition if needed.
Do I need different pegs for snow camping?
Yes. Use wide, flat snow stakes or deadman anchors buried under snow. Standard pegs won’t hold in deep or powdery snow.
How can I make my tent pegs easier to find at night?
Use reflective tape, glow-in-the-dark pegs, or attach bright tags. This prevents tripping and makes takedown safer in the dark.